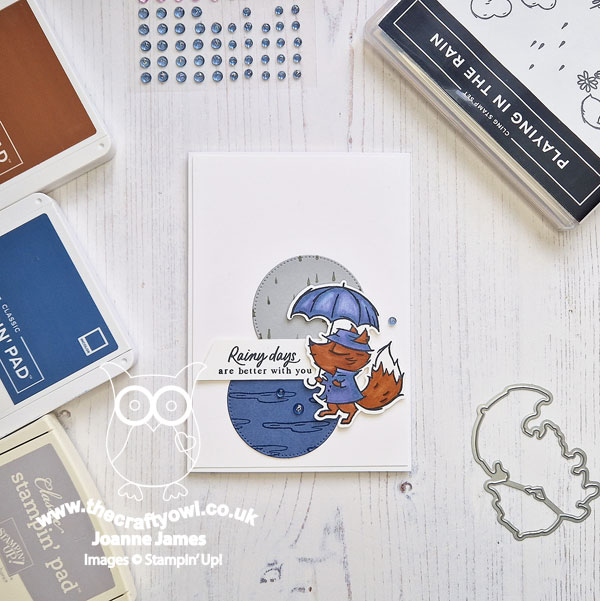
Today I'm sharing my design team card for our new challenge over at As you See It where it's time for an interesting colour challenge:
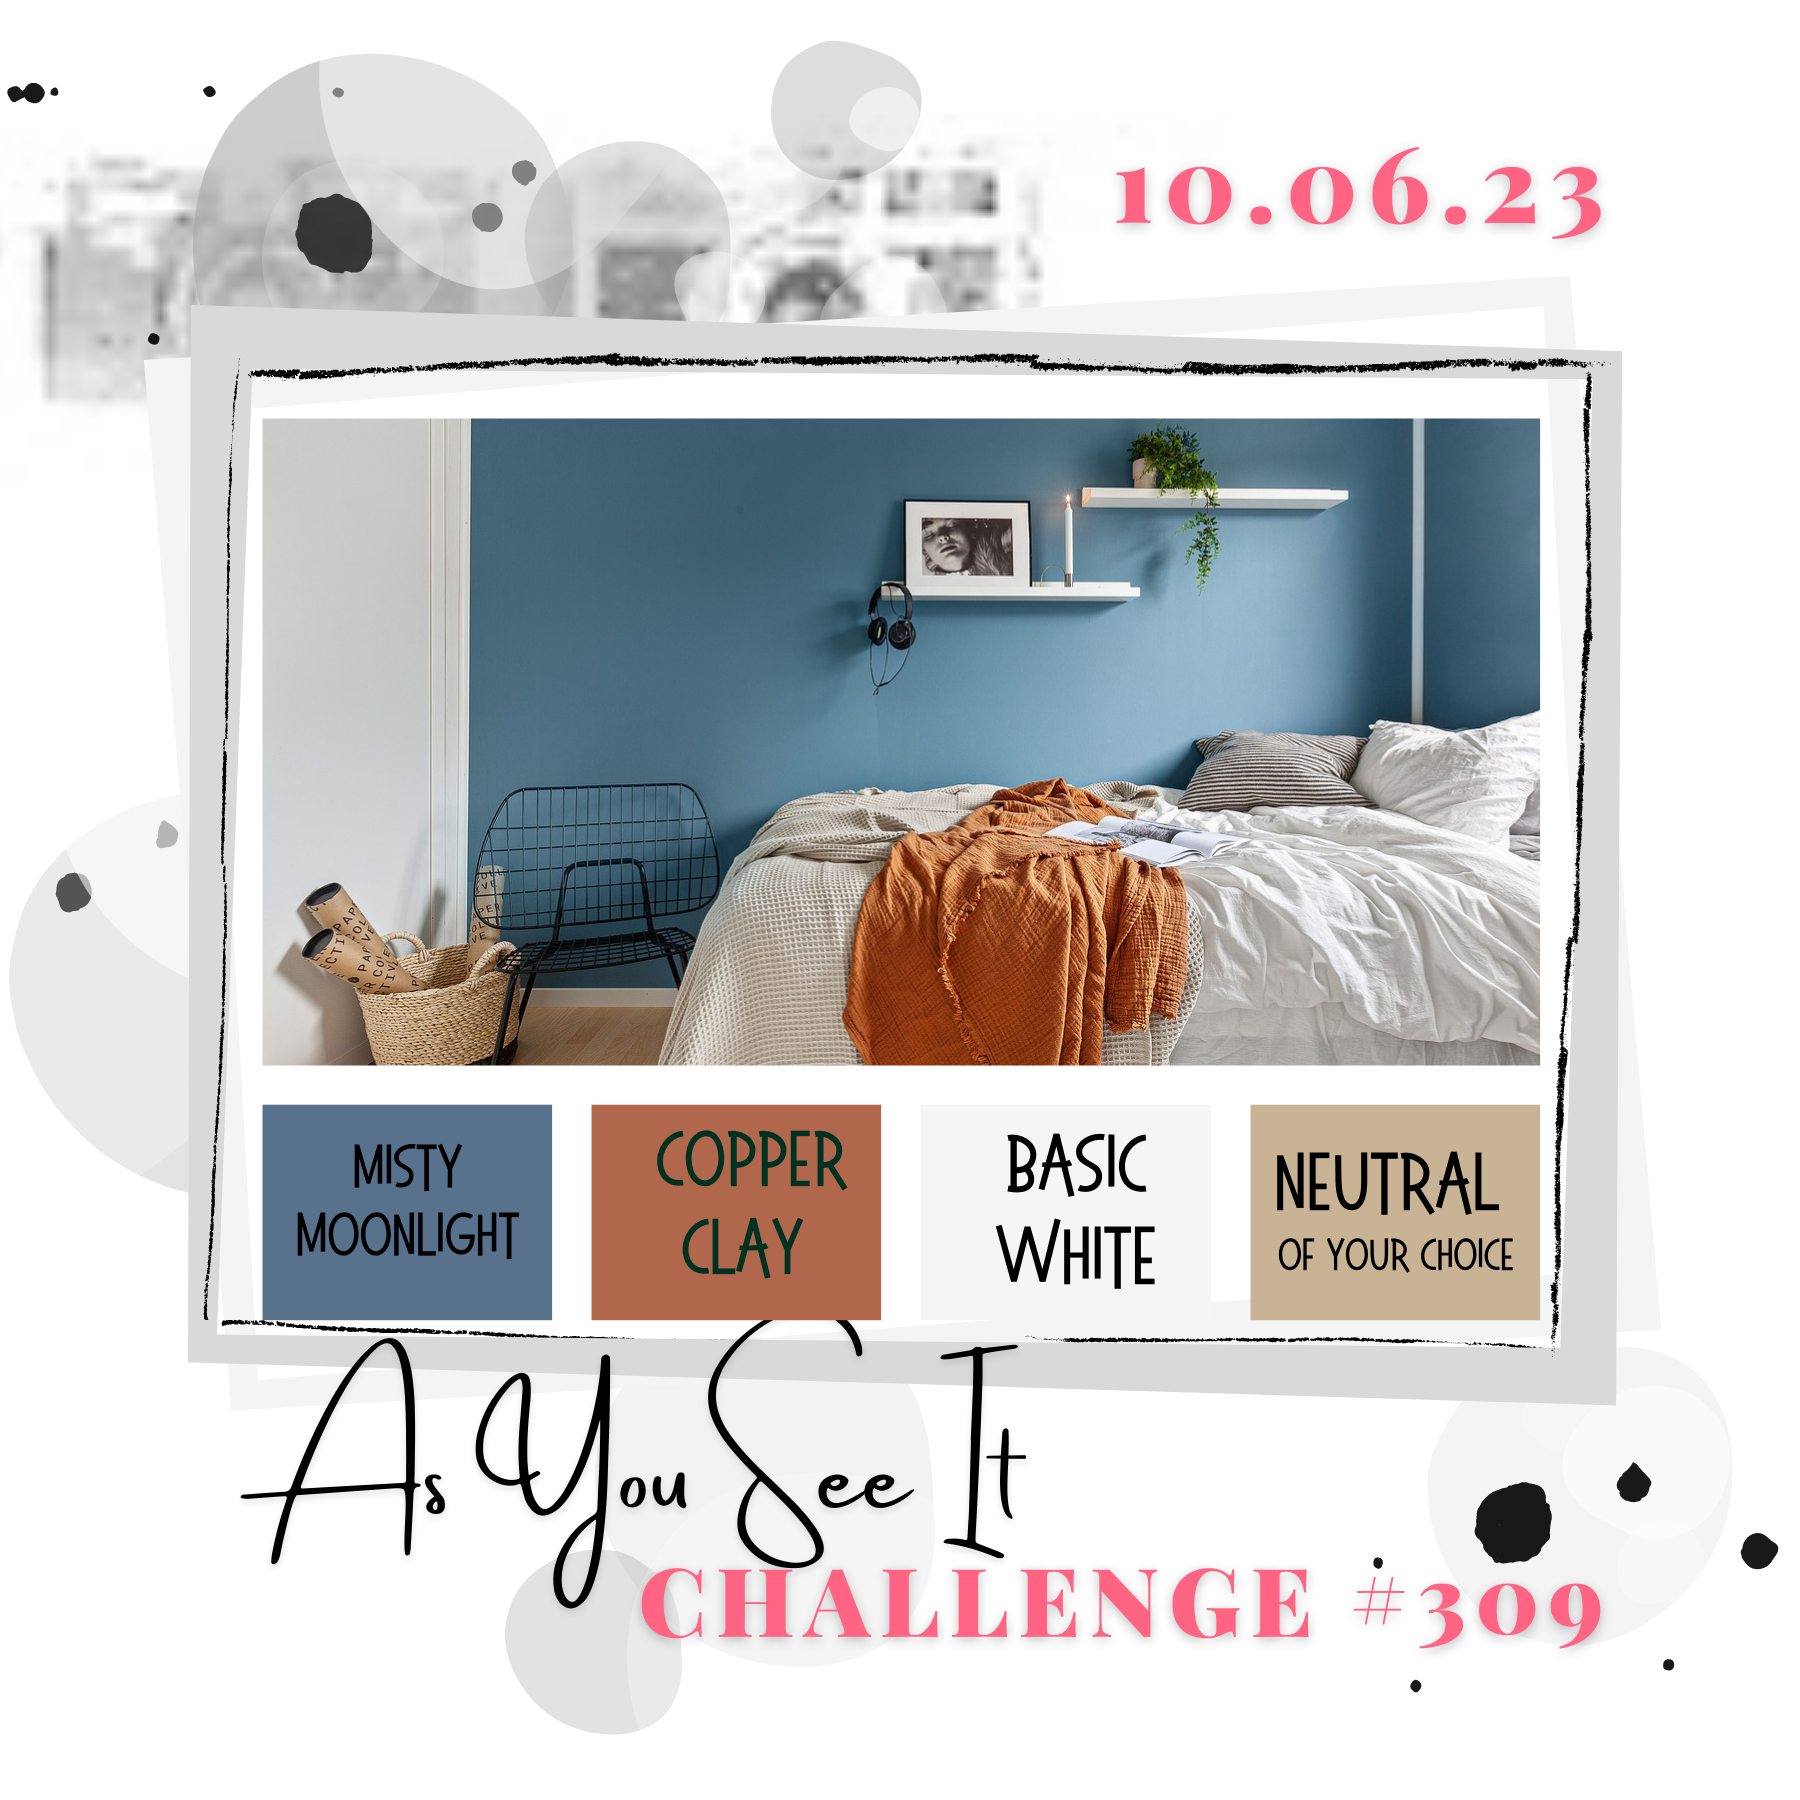

I say 'interesting' because I really like this week's colour combination - but I really struggled to make it work! I played around with a few different ideas and eventually decided to go with something clean and simple using a set that hasn't seen ink in a while, using Narelle's layout over at Freshly Made Sketches this week as the basis for my design. This is what I came up with:
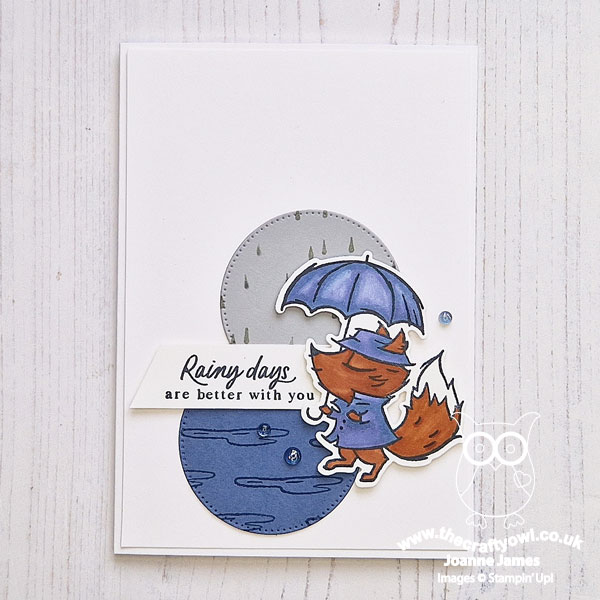
Here's the low-down on today's card:
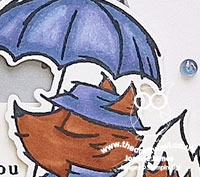
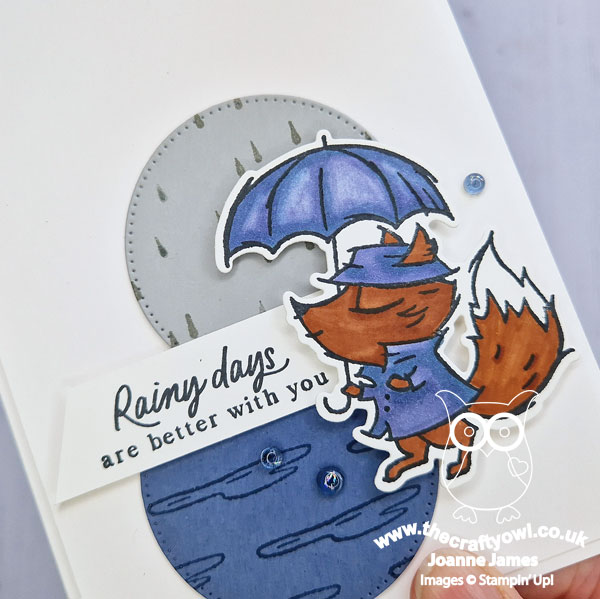
Colour Conundrum - Having discounted florals for today's card (sorry Narelle - I know you love them!) I decided that Copper Clay would be the perfect colour for some fox fur, so I grabbed my 'Playing in the Rain' stamp set and started to play. I then discovered that Copper Clay Blends were the only ones I didn't have in my collection (in short - a different colour ordered by mistake!) so I coloured the fox fur with my Stampin' Write marker and the Misty Moonlight clothes and umbrella with my Blends as usual. It gives less definition, but I figured it would be a good way to show that a) nobody's perfect and b) enable you to see the difference in both marker types on one project (well that's my story, and I'm sticking to it!!)
A Circle Trio - I knew my card would end up being clean and simple, because I didn't have many colours to play with. I decided that the three circular elements of the FMS sketch would work really well, enabling me to have my fox represent one element, then use the additional two circles to highlight both some stamped raindrops (I chose Smoky Slate as my neutral of choice) and some stamped puddles on the lower Misty Moonlight one. I layered my circles slightly different to the sketch in order to fit in my sentiment banner and to give balance. All I needed to complete my card was a trio of Misty Moonlight tinsel gems for a touch of raindrop-like sparkle.
An Inside Tip - I wanted to share with you a little tip for decorating the inside of your cards when you are colouring onto a white cardbase. As you know, if you colour with Stampin' Blends they do give the best finish but have the disadvantage of bleeding through and being seen on the reverse of your card. To combat this, I stamped another of the images in the set directly onto my cardbase and coloured the puddle with my Stampin' Write marker only. I then stamped the same image onto an additional piece of cardstock, coloured it with my Stampin' Blends, diecut it with my Playing In The Rain Dies, then pieced it into place onto the cardbase - problem solved!
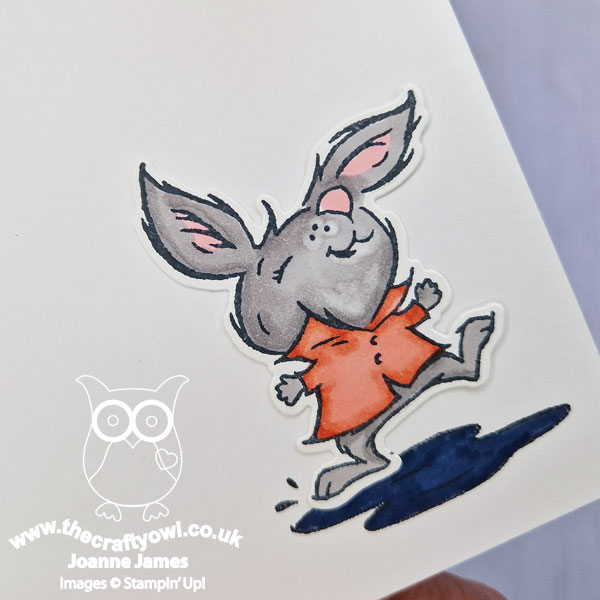
And yes, I know there's a hint of pink and a Calypso Coral jacket on my bunny, but since it's on the inside of my card I'm not breaking the rules ;-).
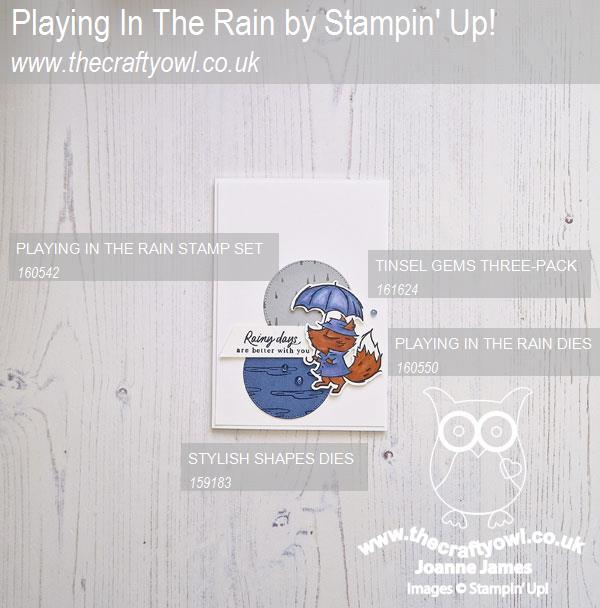
Here is the visual summary of the key products used on today's project for you to pin for easy reference:
You can see all of my 'How To' summaries on my 'How To - Tips and Techniques' Pinterest board in case you've missed any.
Here's a summary of our challenge rules:
- Create any card, scrapbooking page, 3D project or packaging project that fits the challenge.
- Please include the challenge graphic and link back to the challenge in your blog post. Turn off word verification so we can leave you lots of lovely comments. Make sure you link the post not the whole blog to the Linky. Use #AYSIXXX when uploading to a public gallery.
- If you’re unsure about ‘the rules’, check the details under the Challenge Guidelines tab on the As You See It Challenge homepage.
- In a colour challenge, black or other neutral can be used in outlines and sentiments but no other colours should be included. Stampin’ Up colours are used for reference but colours that are a close match are welcome.
We look forward to seeing your creations in the AYSI gallery.
Enjoy your day. I am meeting one of my oldest friends for lunch and it looks like it's turning into an unusually warm and sunny day, so that should be nice. I'll be back tomorrow with another project. Until then, happy stampin'!
Stampin' Up! Supplies Used:
