Today I'm squeezing in a card for the current colour challenge over at Fab Friday:

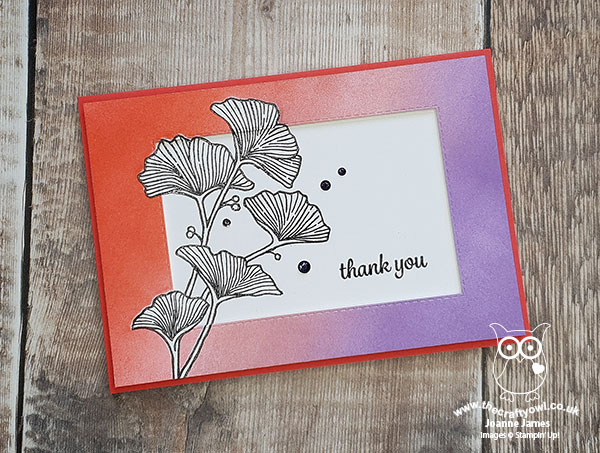
I have a little story behind today's card and although I ended up with two cards for my efforts it's not where I started out at all. I'll come to my story shortly but firstly here's the first of today's cards:
And so to my story! Are you sitting comfortably? Here's the low-down on today's card:
A Colour Conundrum - I often find colours more of a challenge as a starting point for a card and a combo either speaks to me or it doesn't. The minute I saw these colours, I immediately thought how great they would look with the 'Best Dressed' stamp set on a clean and simple card with lots of white space. That is, until I saw the fabulous card that my blog friend the talented Windy Ellard created using this set in these colours for this very challenge (you can see Windy's card in the FabFriday gallery and link to it on her blog directly here). I just adore this card and whilst the one I created looked nothing like it, I loved Windy's card so much mine looked mediocre in comparison. So, I went back to the drawing board!
Spotlight on Beautifully Braided - I used the 'Beautifully Braided' stamp set and co-ordinating Braided Border Punch in my monthly technique stamp class that I held earlier this week and I promised the ladies that attended that I would create lots of other samples for my blog that would give them further ideas on how they could use their bundle in other ways. I'm also on a mission to use colours other than green with it - we are in universal agreement that we dislike the very green-based samples in the Stampin' Up! Spring-Summer catalogue where this bundle debuts (sorry Stampin' Up!) I thought the flower stem in the stamp set would be perfect for the spotlight technique, where you highlight a portion of the image and either colour it or leave it uncoloured on the spotlighted portion of the image. Here I've heat embossed the image in black and then created an inner and outer element that I have diecut with the Stitched Rectangle Dies so that I could use both elements on two separate cards - a spotlight and reverse spotlight, if you will.
Masked Spotlight - We focused on the spotlight technique in class using another card which I will share another day, but for today's cards I took that one step further and once I'd heat embossed my image on the layer that I was going to use either as my top layer frame or inner section, I carefully masked the heat embossed image with a post-it note cut to the image exactly and then used my sponge brayers to create a graduated background comprising the 3 challenge colours. When the post-it is removed, you are left with a completely white image surrounded by a beautifully sponged panel of colour. Here is the second of my cards that shows the central rectangle piece:
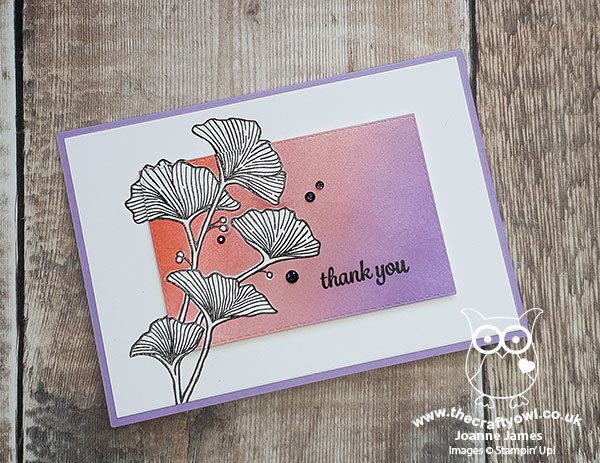
I mounted each of my cards on different coloured card bases - here's a photo of them together:
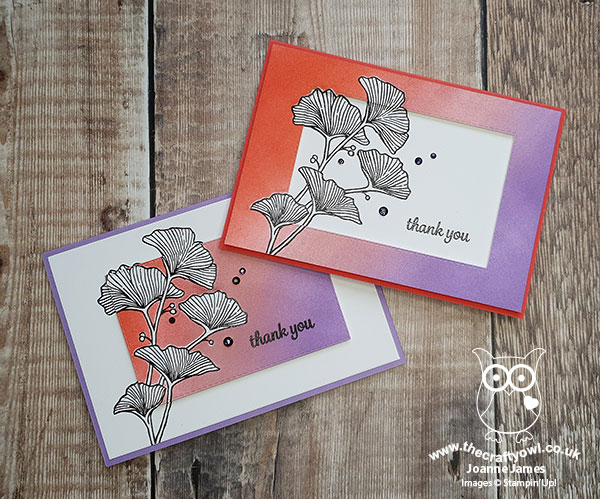
So what do you think? Do you like one more than the other? These cards did take a while to create, but I love them both. And they are completely different to Windy's :-).
Here is the visual summary of the key products used on today's project for you to pin for easy reference:
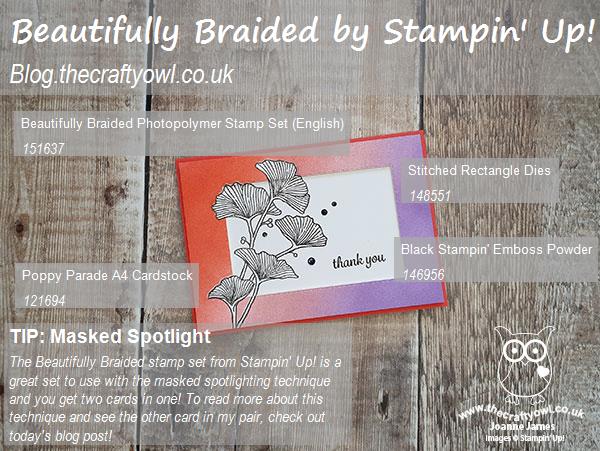
You can see all of my 'How To' summaries on my 'How To - Tips and Techniques' Pinterest board in case you've missed any.
Enjoy your day and I'll be back tomorrow with another project for our new challenge over at As You See It. Until then, I'm off to turn my attention to the dreaded tax returns (I can't put it off any longer!) Happy stampin'!
Stampin' Up! Supplies Used: