Blossoms In Bloom Rainbow Glimmer Acetate Front Easel Card

by Joanne James5. July 2020 09:00

Today it's Sunday and time for this week's new challenge over at The Paper Players! It's the turn of the super-talented Ann to host this week and she has a fun theme challenge for you to work with:
 

I have a rather special card for you today - in fact, I have two cards for you! My sister-in-law celebrated a significant birthday recently and so I wanted something fancy to mark the occasion. I had seen an easel card using the Blossoms in Bloom bundle by Kylie Bertucci and decided to take the idea but step it up a notch with my own design and one of my favourite new products from the new annual catalogue - take a look:
 

Here's the low-down on today's card:

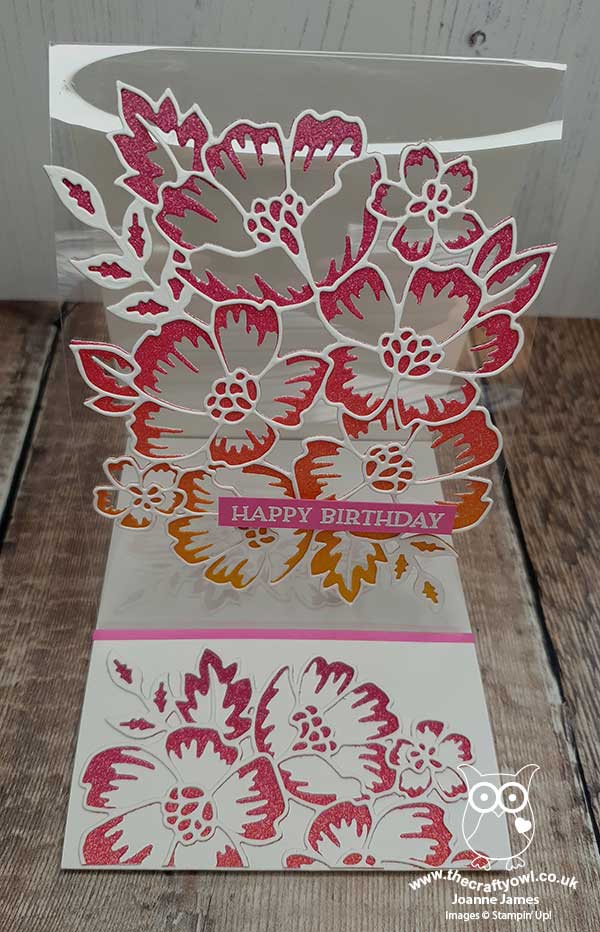
An Easel Card Fancy Fold - Today's post is super picture-heavy, as this is the easiest way to explain how I made my card and show each of the layers/folds. Here is the card in its standing position, with an acetate front panel to showcase the Many Layered Blossoms Dies, which is attached to a trifold panel of white cardstock:
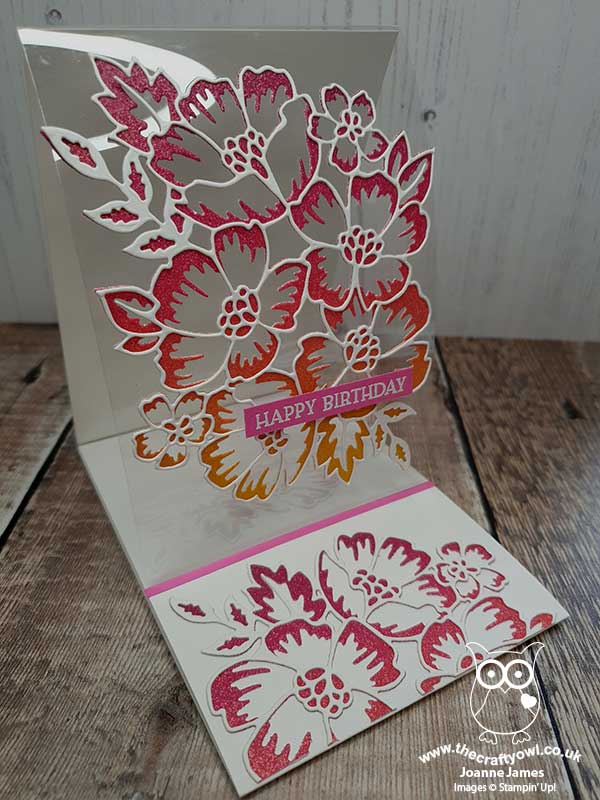
 

This is the card with both of the outer flaps folded in, which shows the ledge that holds the easel up when on display:
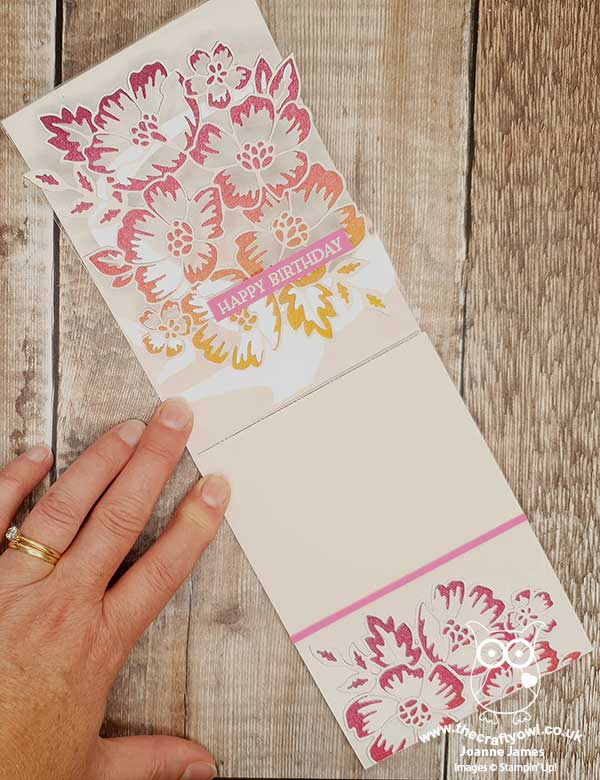
 

And this is how the card opens out fully, to show the inside panels, ready for my birthday message:
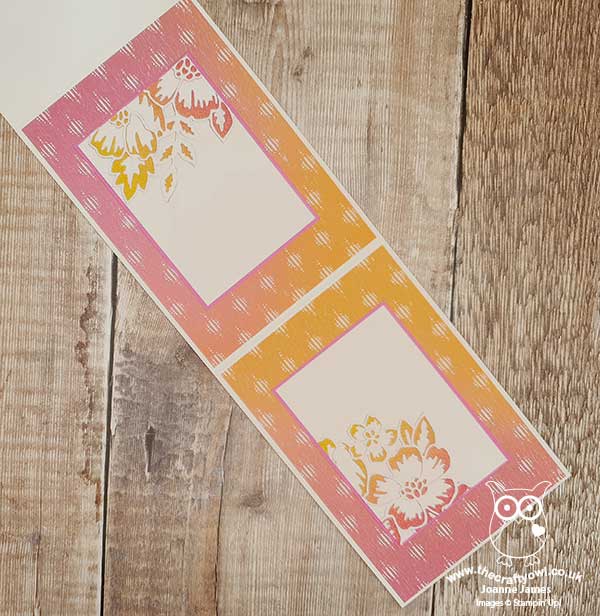
 

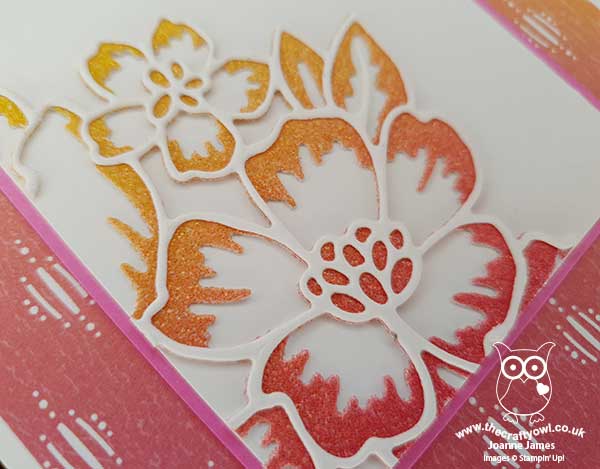
I decorated both of these panels with a co-ordinating pattern in the Artistry Blooms designer series paper pack, in a pretty ombre pattern that matches the pink-orange-yellow tones of the rainbow glimmer paper:
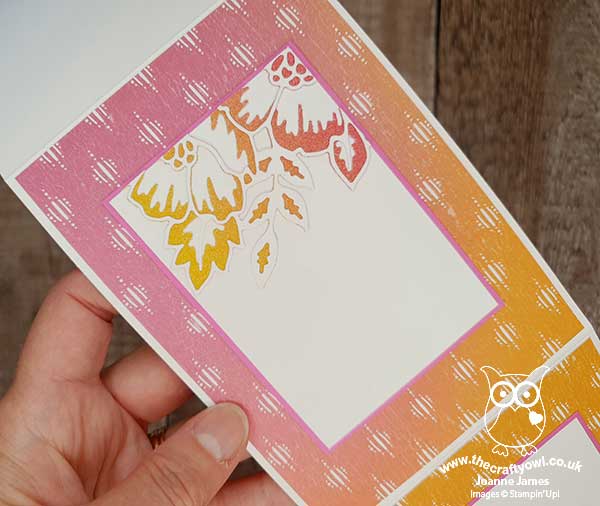
 

And this is the inside of the outermost flap (the one with the ledge that holds up the acetate panel on the reverse) - I used one additional layered diecut split into three pieces to decorate the outer edge and both of the inner panels:
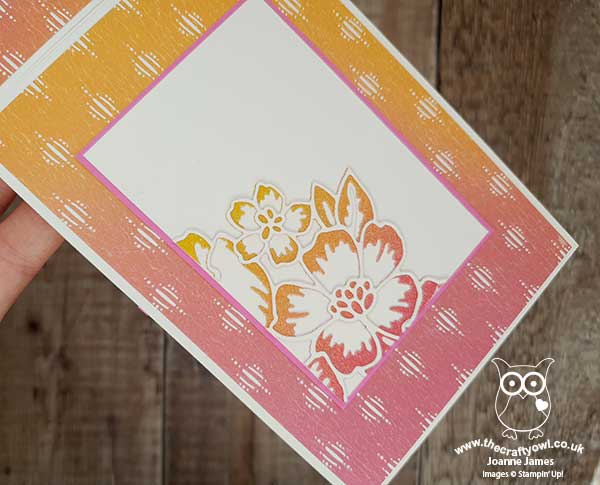
 

This is how the card folds flat for mailing, although with all of those layers it is still quite bulky and probably worthy of delivery by hand:
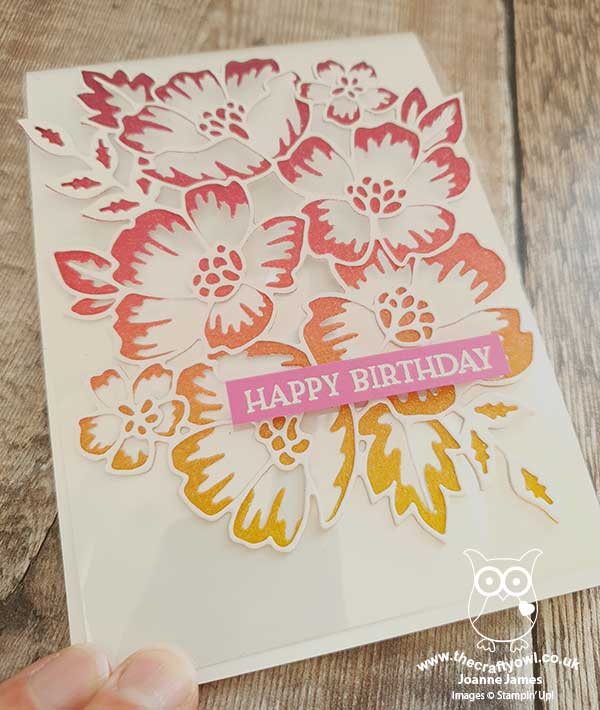
 

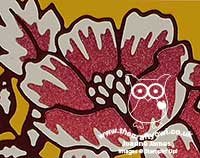
Rainbow Glimmer Love - So the rainbow glimmer paper is definitely one of my favourite products in the new annual catalogue. Whether it's the green-blue-purple hues of yesterday's project or the pink-yellow-oranges of today, I love it!! Just look at the variation on colour and the sparkle and shimmer it has:
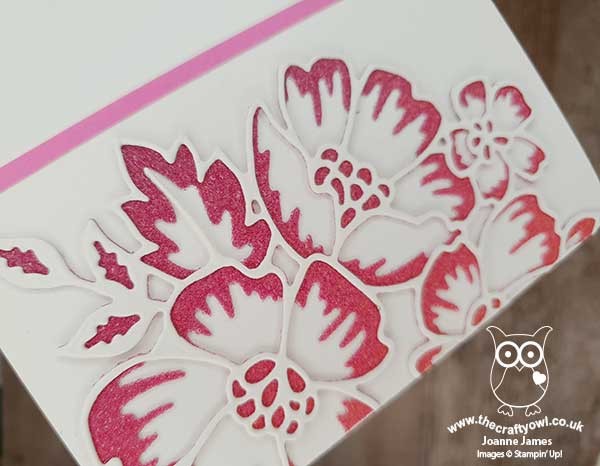
 

You can achieve a totally different look, depending on where you cut from the sheet - and as with all of our glimmer papers, there is no shedding and no mess!
 

Two For One - I love this glimmer paper so much, I couldn't bear to see any of it go to waste. I used some Press and Seal to keep all of the waste diecut pieces from the above card together, then created a second card where I paper-pieced these into a white outline die - take a look at both cards together to get a better idea of what I'm talking about: 
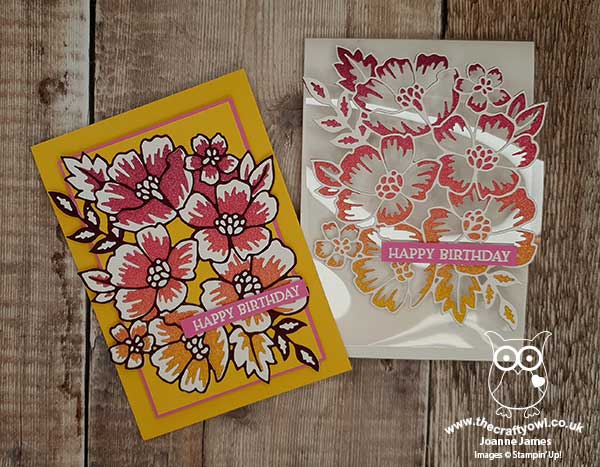
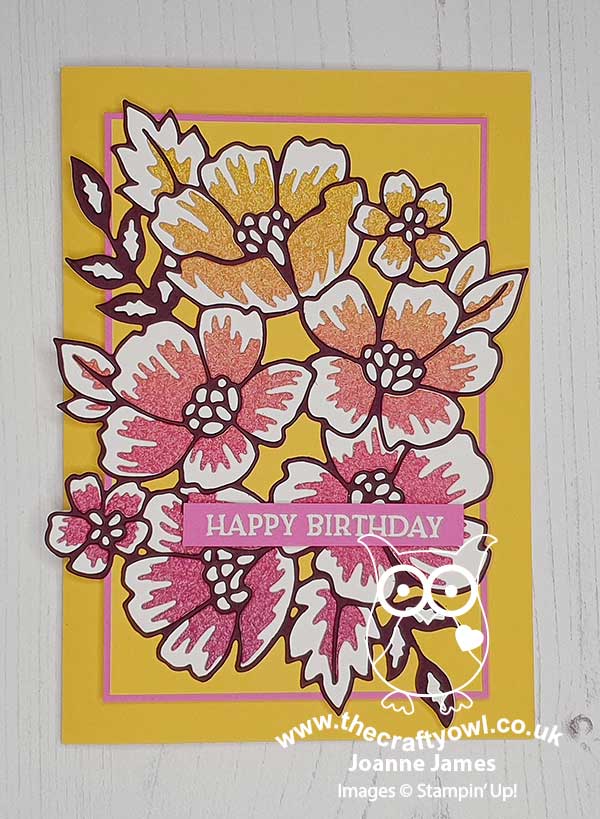
Here's my yellow card on its own - no fancy fold this time, but a yellow base and then after paper-piecing the rainbow glimmer pieces into a white layer, I then added a Blackberry Bliss outer layer for additional definition:
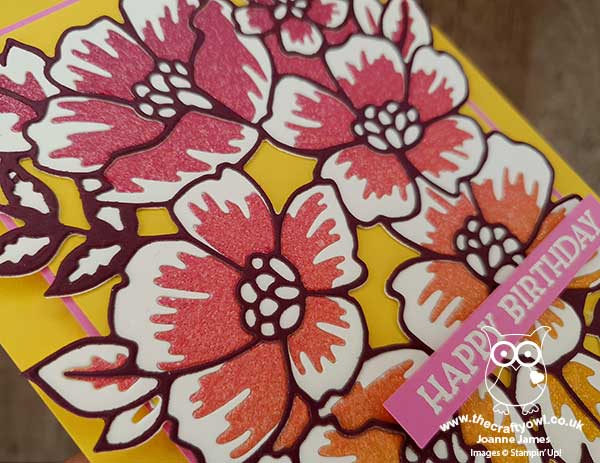
Here you can see the detail of the paper-piecing and layering:
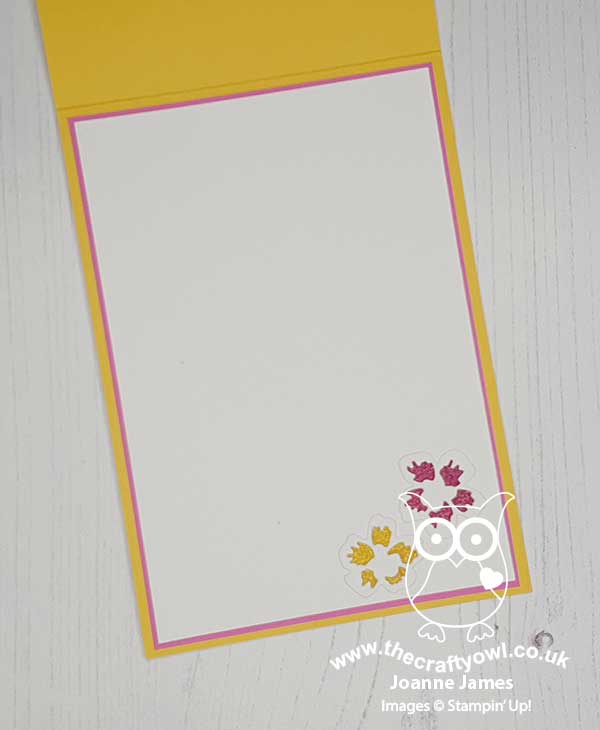
I also used my offcuts to get a couple of single flowers cut and used them to decorate this inside of this card:
 

I know I'm biased but is that not just the prettiest pair of cards you've ever seen?! I really love both of them. A fancy fold is always fun and the rainbow glimmer paper totally moves this card up a notch in my book!

Here is the visual summary of the key products used on today's project for you to pin for easy reference:
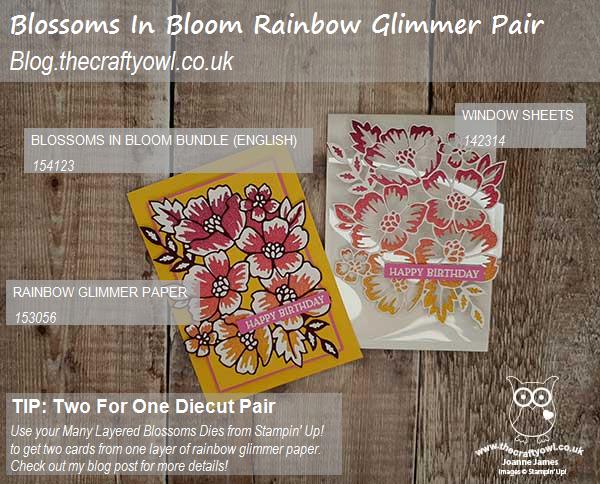
 

You can see all of my Product and 'How To' summaries on my 'How To - Tips and Techniques' Pinterest board in case you've missed any. 

Before you reach for your ink and papers, check out what our amazing team has created to inspire you this week:

   
Here's a quick recap of our challenge rules:
 
1.  Create a new paper project
2.  Upload your creation to your blog with a link back to us and provide a direct link to the post featuring your challenge submission.
3.  Please link your card to no more than four challenges, TOTAL.
4.  Have FUN!

You can see all of my 'How To' summaries on my 'How To - Tips and Techniques' Pinterest board in case you've missed any. 

Enjoy your day; for my fellow Paper Player teamies and my US readers I hope you continue to enjoy and celebrate your Independence Day weekend; we have no special plans so will likely just potter today. I'll be back tomorrow with another project. Until then, happy stampin'!


Stampin' Up! Supplies Used:

Table built using Product Table Builder by The Crafty Owl - Independent Stampin' Up! Demonstrator.


Comments (12) -

Deborah Wheeler
Deborah WheelerUnited Kingdom
05/07/2020 15:55:04 #

really pretty.  loved the card you sent with my class kit

Anne Marie Hile
Anne Marie HileUnited States
05/07/2020 17:45:23 #

Wow, wow, WOW!! I absolutely love this Joanne! A card definitely worthy of display, indeed. I just love how the flowers pop on the window sheet. That's so clever! That blackberry bliss/yellow card is really striking, too. Just gorgeous!

Laurie
LaurieUnited States
05/07/2020 21:28:57 #

Wow this is gorgeous! So beautiful and such a clever design!!!!

Claire Broadwater
Claire BroadwaterUnited States
06/07/2020 00:51:06 #

Joanne, I couldn't wait to comment on this card!  I certainly don't know how to recreate it, but I wish that I could!  THIS IS GORGEOUS!!!!!!!!!!!!! I would display this with pleasure if I received it!  The colors and the acetate layer are just so clever!  I love both of these cards so much!!!!!!!  You certainly  made Ann's challenge shine!  Have a great week!  XX

Colleen Begley
Colleen BegleyUnited States
06/07/2020 19:28:09 #

Well, these are pretty AWESOME! I've made some of these triple fold cards, but mine certainly were not this nice. Works of art, Joanne!

Stef Perry
Stef PerryUnited States
06/07/2020 21:33:52 #

I was so intrigued to find out how you made the acetate card, it looks so beautiful in the easel position.  The interior is so elegant, this definitely is a work of art, and I'm sure your SIL loved receiving it!  And, bonus, we get to see a second beautiful card, which is so very lovely with the inlay blooms and yummy colors!  Both are indeed some of the prettiest I've seen!

LEANNE M PUGLIESE
LEANNE M PUGLIESEUnited States
09/07/2020 17:29:35 #

This really goes over the top as far as fancy folds, glamour and glitz!  Amazing!!

Jan Clothier
Jan ClothierNew Zealand
09/07/2020 21:36:49 #

This is an absolute masterpiece! I love a good acetate window style card but have never thought of making an easel of it. As for the glimmer paper, I'd looked at it and not fallen in love but now will be adding some to my next order. I've done a few things with Blossoms in Bloom so know how hard it can be to keep track of all the bits in order to inlay them as you have done - press and seal and I had better get reacquainted! This is just all out wonderful!

Mary Deatherage
Mary DeatherageUnited States
10/07/2020 16:28:19 #

Oh.  My.  Goodness!  This is stunning!  I do love that new Rainbow Glimmer paper - and I LOVE that you used ALL of your die cut pieces for cards!  Whoo-hoo!  Both cards are amazing! Smile

jaydee
jaydeeUnited States
10/07/2020 16:54:32 #

Joanne, so impressed.  You showcased this set and the glimmer paper beautifully.   What a perfect card to celebrate a milestone birthday.  Both cards are fabulous
hugs
jaydee

Ann Schach
Ann SchachUnited States
10/07/2020 21:15:46 #

Oh, wow, Joanne! This card is amazing!  This is definitely a card that the recipient will treasure! I love the glimmer paper. And using the acetate...how clever!!! Thank you for rockin' my challenge this week!

Allisa
AllisaUnited States
10/07/2020 21:59:39 #

Such a stunning set of cards.  You certainly stepped it up a notch!  Love the color scheme.

Comments are closed

Mini Catalogue

BROWSE THE CATALOGUE

The mini catalogue is now live! Read and download your copy here.

Shop Online

Access my online shop 24 x 7, 365 days of the year:

Current April hostess code:

VDKNV7BH

Shop Online

Join My Team

It's always a great time to join Stampin’ Up! New team members can get £130 worth of products for only £99 + free business supplies + free shipping + all the fun being a part of Stampin’ Up! Stampin' Up! has something for everyone: join my growing team and benefit from my support to enjoy Stampin' Up! however you choose.

If you're interested, call me for a chat to understand how I can help you realise your goals. Alternatively, if you have already decided to sign up and you just can't wait, please click here for the link to the online form where you can sign up and order your starter kit right away! 

Latest Kit!

Stampin Cut and Emboss

The Rock Legend Kit has all you need to make 8 cards with coordinating envelopes. Along with the new Panda Friends Kit, both are available from January 4th for just £14 each - get yours here!

2023-24 Annual Catalogue

BROWSE THE CATALOGUE

Click on the catalogue for a full list of current SU! supplies - if you would like to order any of the items featured, please drop me a line at [email protected] or give me a call on 07773 421446 - I'd be happy to help.

New Online Exclusives

There are new products available exclusively in the online store from 5 March - check them out here.

About Me

Hi I'm Joanne and live in Northampton and when I'm not looking after my husband and two beautiful children, am an avid crafter with a passion for all things Stampin' Up!

I must confess that I have never been a big rubber stamper - until I discovered Stampin' Up! that is. I love the fact that I can get such great results with co-ordinating stamps, inks, papers and punches - the possibilities are endless! Join me on my stamping journey as I share the things I love and be inspired to create amazing things yourself!

Follow Me

Monthly Newsletter

Box Builder

Click the button above to use Box Buster to create your custom box design using the Envelope Punch Board!

Kits Collection Now Available!

Stampin Cut and Emboss

The new Kits Collection from Stampin' Up! is now available!

Click here to see the current kits available and order yours online today.

I Design For


Stampin' Up Stuff

This is my personal blog and is not endorsed by Stampin’ Up! I hope you find it a plentiful source of ideas and personal inspiration but please don't copy my designs for contest submission or use for classes, publication or sale without express permission.