
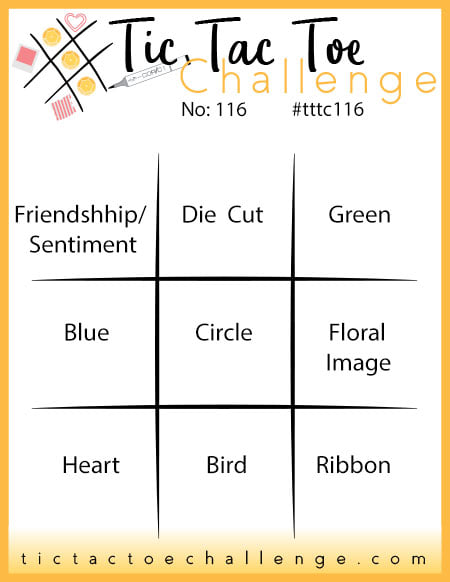
It's Thursday and time for a new challenge over at TicTacToe! It's the turn of Team X to host this week and the lovely LeAnne is our featured designer this week. This is the fun board that we are playing along with:
I went down the first column with Friendship/Blue/Heart and decided to get my ombre on for the current challenge over at Addicted to CAS - take a look:
Here's the low-down on today's card:
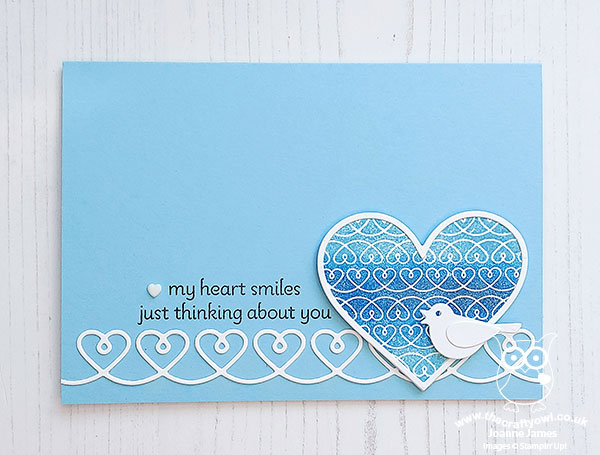
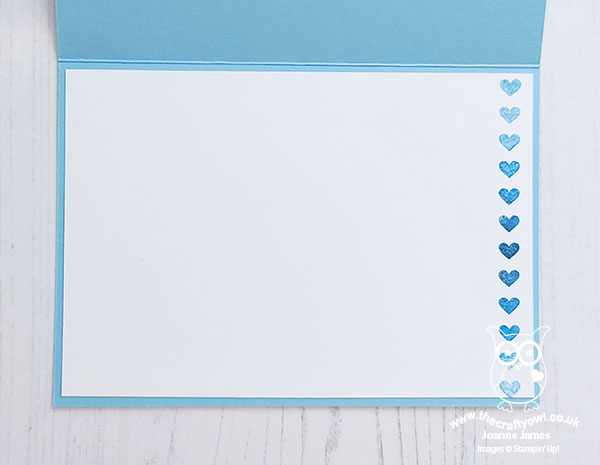
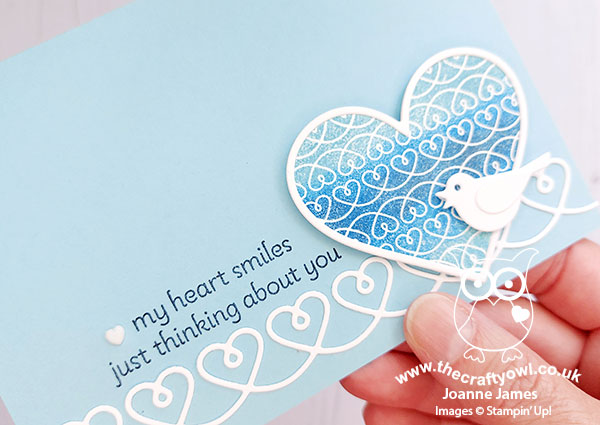
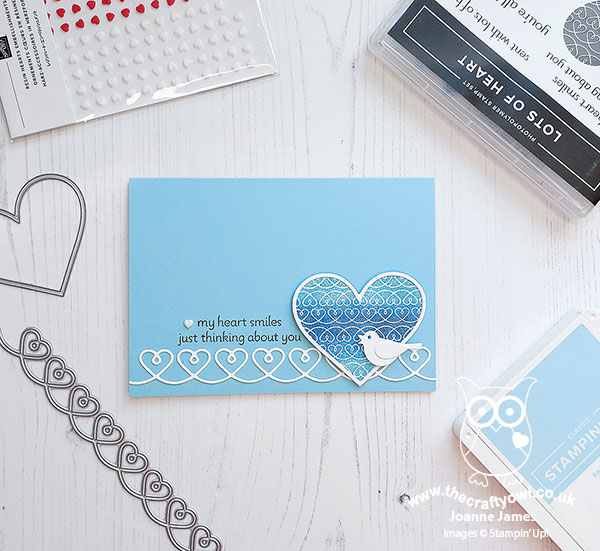
Blue Ombre - Keeping with my theme of 'hearts are for all year long, not just for Valentines' I have another 'Lots of Heart' card for you today and once again deliberately not in a pink/red colour theme. The large solid heart stamp with the swirl pattern is perfect for an ombre colourway; I used a trio of Balmy Blue, Pacific Point and Night of Navy, going from light to dark to light on my heart and using a sponge dauber to blend the colours. I also used the line of hearts stamp to create an ombre border on the inside of my notecard:
The White Details - I love the way the swirl of the heart stamp echoes the line of the horizontal heart diecut, so used this to anchor my heart (I also added a white outline heart die to give my heart a more finished look). I decided to add a bird too - for no reason other than he is also in the same die set and I thought he would add additional interest without making my card too fussy.
A Neat Trick - I stamped my sentiment in Night of Navy onto my Balmy Blue card base, but the sentiment is designed to be centred. The right side followed the curve of my heart, so in order to level up the left side and ensure good alignment, I added a tiny white resin heart embellishment. This both ties in with the heart theme and improves the symmetry and lines if my card - perfect, even if I say so myself!
I'm also linking today's card up over at SUO Challenges where they are looking for favourite retired/retiring/current stamp set; I'm including today's card because this is a set that I 'discovered' rather late in the current January-June mini catalogue, and it's not carrying over so will retire at the end of the month. I really like it and am finding so many ways to use it outside of the valentines/love/pink genre of card that I think it may end up being a keeper for me. If you like it too, now is the time to snap it up! What's more, both stamp set and dies have 50% off in the retiring sale so if you buy individually you can save big time - a stamp set for £8? Now that is a bargain!
I have an extra offer for anyone else buying the 'Lots of Hearts' stamp set and co-ordinating Many Hearts Dies from me this month: if you buy both items, I will send you a written tutorial for 3 cards using this bundle for FREE. What's more, if you buy the items in the Lots of Heart bundle and spend £50 or more in my online store during June, I'll throw in the materials to make the cards too - a complete FREE card class in the post! Tutorial/materials will be sent out separately to your order at the start of July.
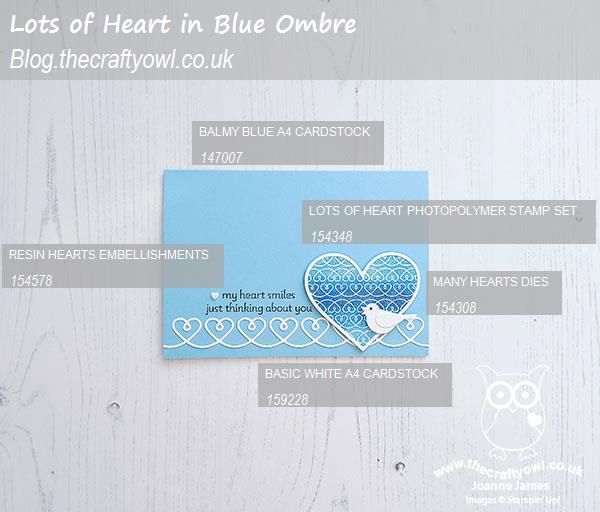
Here is the visual summary of the key products used on today's project for you to pin for easy reference:
You can see all of my Product and 'How To' summaries on my 'How To - Tips and Techniques' Pinterest board in case you've missed any.
A tictactoe board offers so many creative possibilities - how does this week's board inspire you? Why not have a go? We would love to see you in the gallery and who knows - you might be selected for Designer's Choice and be eligible to be a guest designer on a future challenge.
Enjoy your day; it's cooler here today so has been a good day to get some household chores done. I'm hoping the sun returns tomorrow when I'll be back with another project. Until then, happy stampin'!
Stampin' Up! Supplies Used: