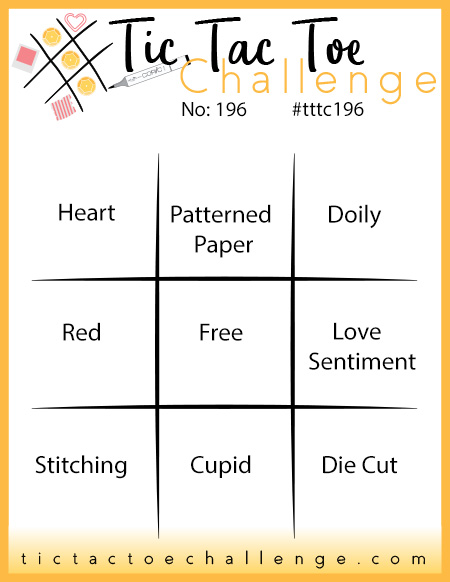
It's Thursday and time for a new challenge over at TicTacToe! It's the turn of Team X to host this week and the lovely Elizabeth is our featured designer this week. This is the fun board that we are playing along with:


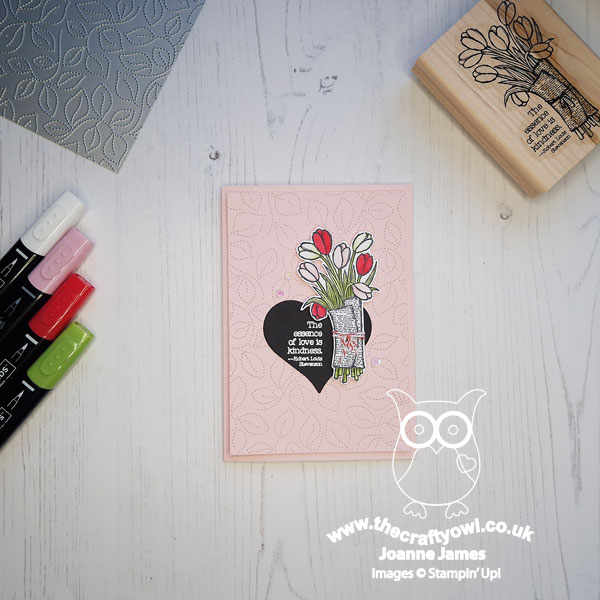
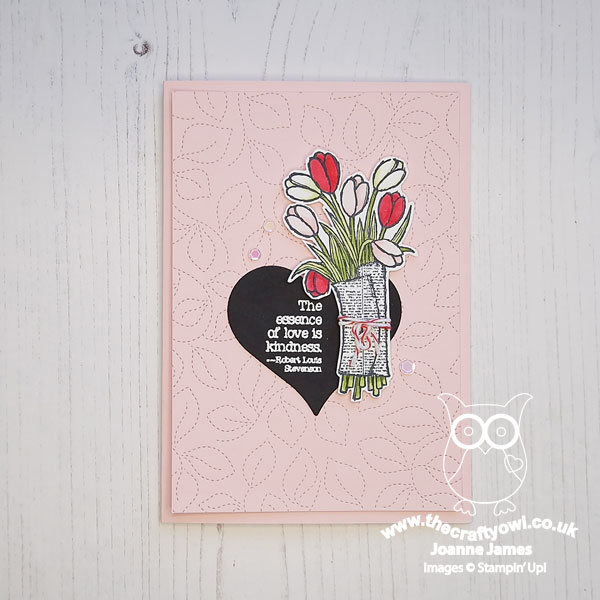
I took the diagonal of heart/free/diecut on our board (it also works for the first column heart/red/stitching) and was totally inspired by the image over at The Card Concept too for my clean and layered card - those pretty tulips and the chalkboard hearts. This led me to go rooting through my retired stamps for the perfect stamp - and I ended up finding not one but two stamps, so I made two cards! Since they are old stamps and my colours also match the current challenge over at Retro Rubber (I used pink, white and green) I'm linking up there too. So here's my first card - take a look:
Here's the low-down on today's card:
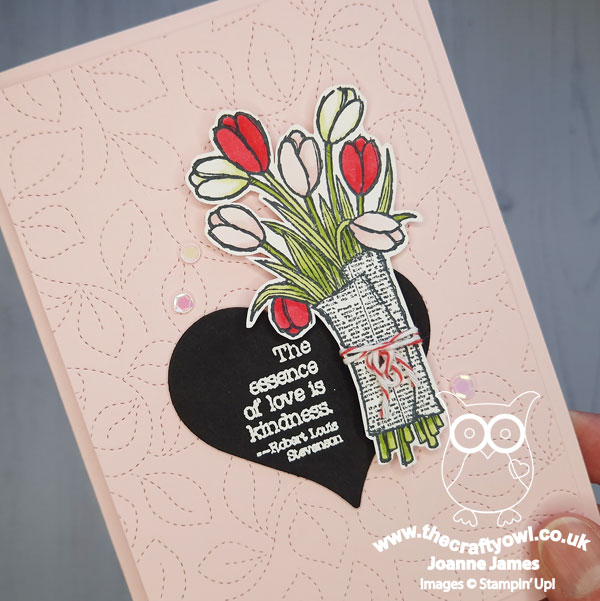
Love Is Kindness - 'Love is Kindness' is a stamp from way back in 2015 but one I couldn't part with! I love those wrapped tulips and that sentiment quote is just so beautiful and true. It is actually a single wood-mount stamp, but for today's card I stamped just the sentiment first in Versamark onto Basic Black cardstock so that I could heat emboss it in white and cut it out with my (retired) Sweet & Sassy Hearts Framelit Dies. I then stamped the stamp again in black onto white cardstock, so that I could fussy cut the tulips and colour them with my Stampin' Blends. I added a piece of Sweet Sorbet baker's twine before adding to the edge of my chalkboard heart.
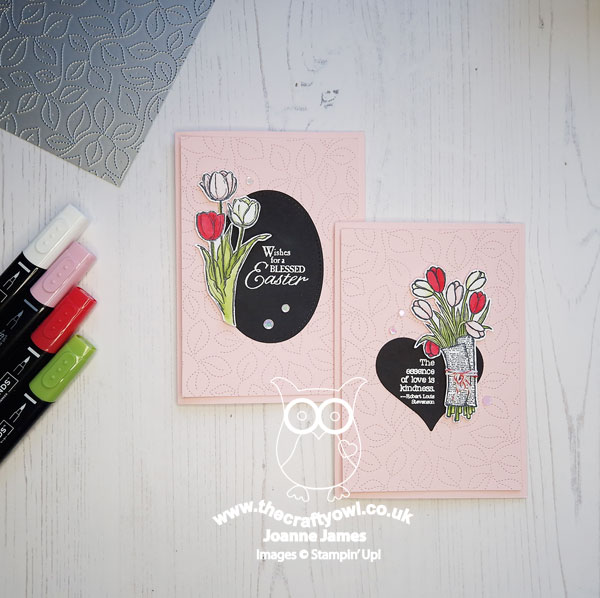
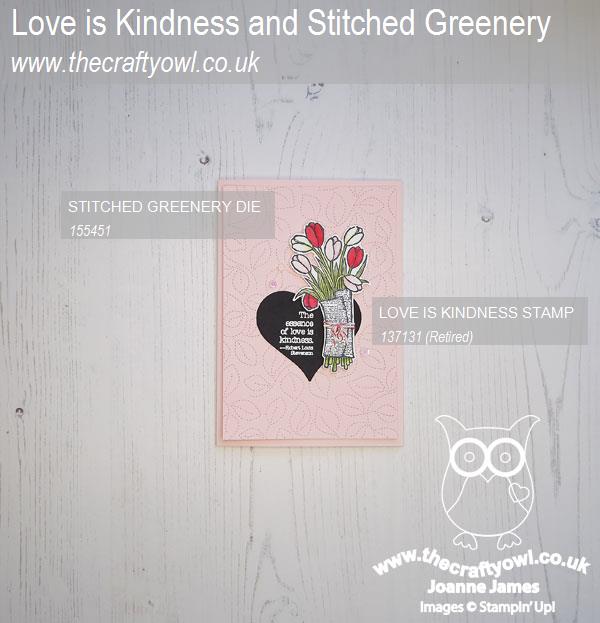
Stitched Greenery - The background for both of my cards features the current Stitched Greenery coverplate die. I don't use this nearly enough - it gives such a delicate background detail and adds interest without overwhelm. A few complimentary pink sequins was the final finishing touch for my cards - here's a photo of them both together:
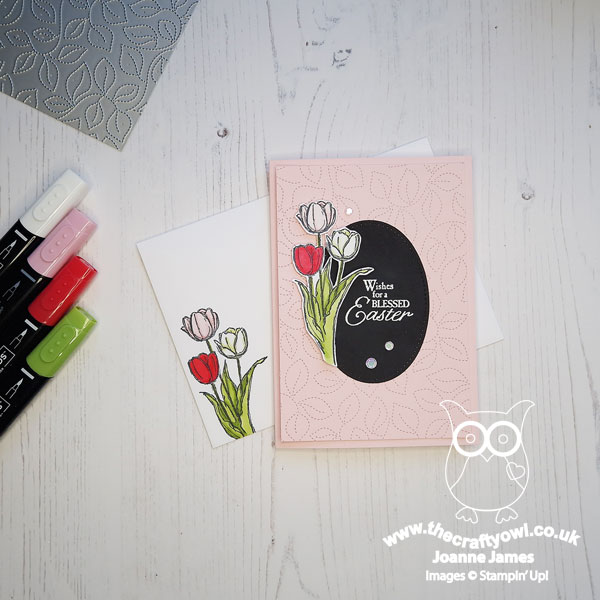
A Blessed Easter Bonus - As I mentioned above, whilst rooting through my retired stamps, the next one on the shelf was 'Blessed Easter' from 2014 and I thought these tulips would also work in this colourway. I switched out the heart for an oval and added an Easter sentiment. A little extra envelope decoration on this one too:
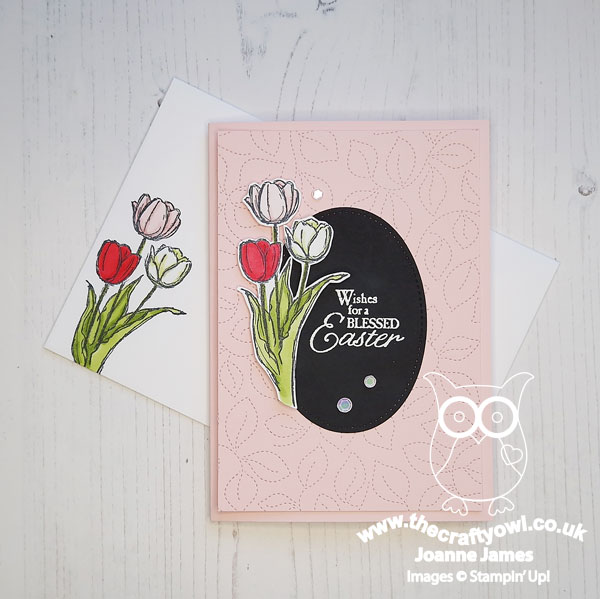
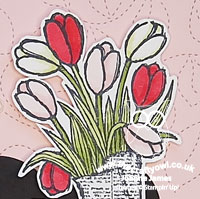
Here's a close up of this one - which version do you prefer? Do leave me a comment below - I'd love to hear your thoughts.
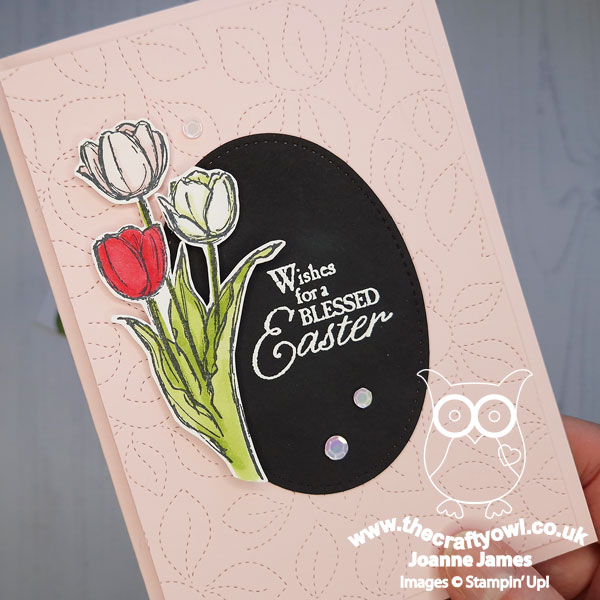
I have to say for me I think the first one wins - but I love them both and hope you enjoyed seeing the same idea with two different sets.
Here is the visual summary of the key products used on today's project for you to pin for easy reference:
You can see all of my Product and 'How To' summaries on my 'How To - Tips and Techniques' Pinterest board in case you've missed any.
A tictactoe board offers so many creative possibilities - how does this week's board inspire you? Why not have a go? We would love to see you in the gallery and who knows - you might be selected for Designer's Choice and be eligible to be a guest designer on a future challenge.
Enjoy your day; I'll be back tomorrow with another project. Until then, happy stampin'!
Stampin' Up! Supplies Used: