by Joanne James3. April 2017 08:00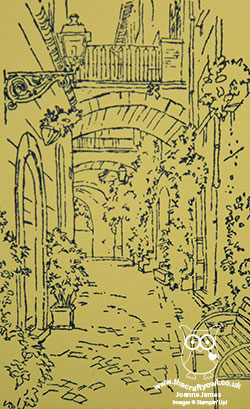
I've a busy this week ahead with this month's technique classes then a trip to Amsterdam for Onstage Live with thousands of other Stampin' Up! demonstrators from across Europe for the launch of the new Stampin' Up! Annual Catalogue - a whole two months ahead of its publish date - just one of the many things I love about being a Stampin' Up! demonstrator. More of that in future posts for sure, so this is a week I have to be organised! Today I have a couple of cards to share: here is the first one for this week's challenges over at The Color Throwdown and CAS Colours and Sketches:

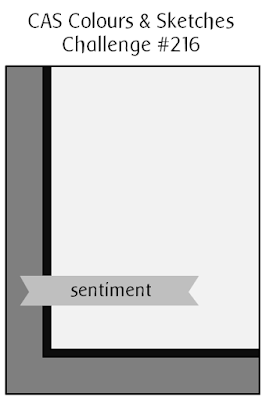
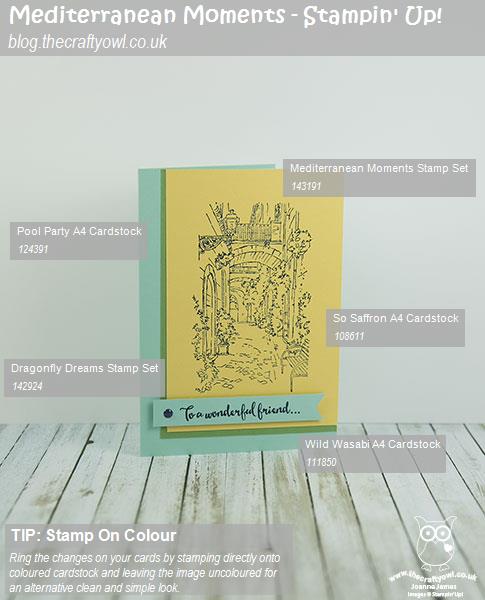
I love this sketch layout - perfect for a large image. I chose to use one of the sketched images from the 'Mediterranean Moments' set and unusually decided to stamp it directly onto a coloured background:
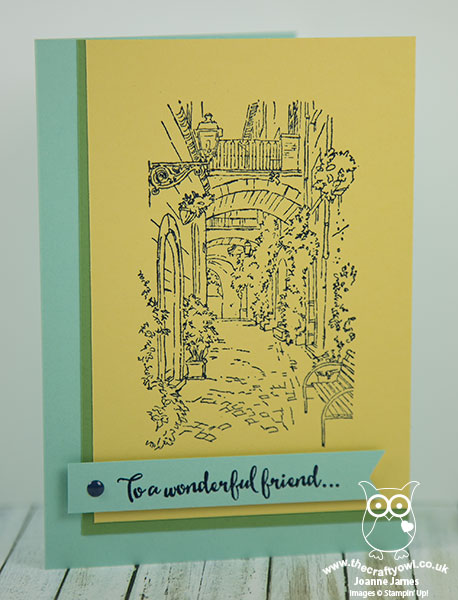
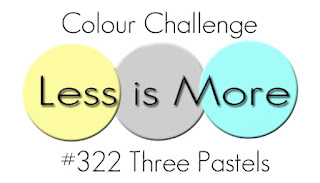
I stamped in Night of Navy rather than black and added an enamel dot to my sentiment banner, but otherwise the stamped image speaks for itself and is perfect uncoloured for a clean and simple card. I also stamped one of the other images from the Mediterranean Moments set on the inside of my card. I'm also linking this card up with the challenge over at Less Is More where the recipe this week is to use three pastel colours.
Here is the visual summary of the key products used on today's project for you to pin for easy reference:
You can see all of my 'How To' summaries on my 'How To - Tips and Techniques' Pinterest board in case you've missed any.
Stampin' Up! Supplies Used:
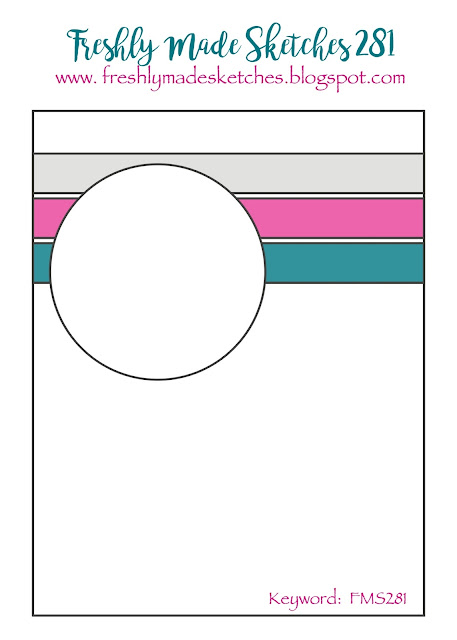
My second card today is for this week's Freshly Made Sketches challenge where the sketch was perfect for a fun Easter card idea that I had:
I saw some great Easter biscuits on Pinterest and one of them got me thinking about creating a round punch art-style chick - take a look:
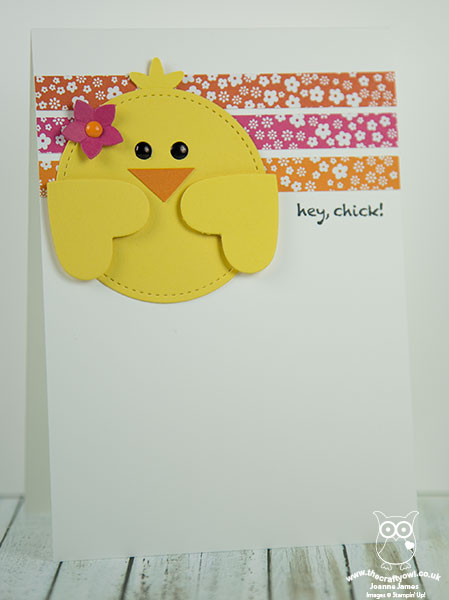
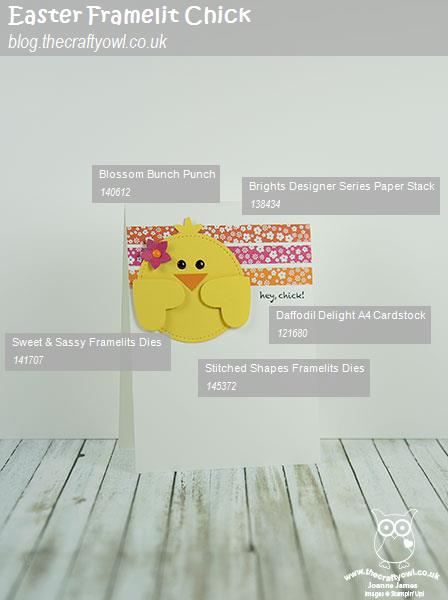
I used my stitched shape circle framelit, a heart and flower framelit and the smallest shape from the Blossom Punch to create my fun chick and added a few co-ordinating strips of floral Brights designer series paper. My sentiment is from the Sale-A-Bration set 'Hey Chick' but if you don't have this you could add a 'Happy Easter' from Teeny Tiny Sentiments instead. A lighthearted clean and simple take on the sketch this week.
Here is the visual summary of the key products used on today's project for you to pin for easy reference:
You can see all of my 'How To' summaries on my 'How To - Tips and Techniques' Pinterest board in case you've missed any.
Enjoy your day and I'll be back tomorrow with another project. Until then, happy stampin'!
Stampin' Up! Supplies Used:
ca6e259e-3d0f-40de-ade1-18b17e695fe2|0|.0|96d5b379-7e1d-4dac-a6ba-1e50db561b04
Tags: Mediterranean Moments, Stitched Shapes Framelits, Stamping, Stampin' Up, Stampin' Up Card, Stampin' Up Card ideas, Stampin' Up Supplies, Shop online, Shop Stampin' Up online, Shop Stampin' Up! Online, Easter
Cards | Shop Online | Shop Stampin' Up! Online | Stamping
by Joanne James2. April 2017 21:00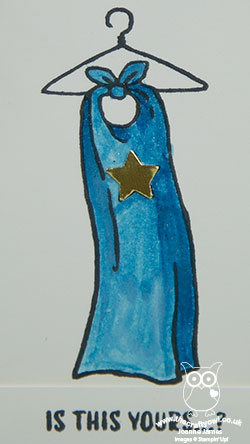
This is my second post for today - you can see my regular Paper Players post here. This card is for this week's challenge over at The Global Design Project where this week they are casing one of their design team, Louise Sharp and this is her inspiration card:
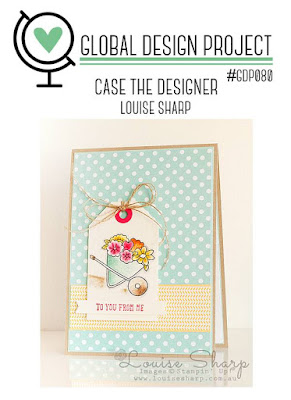
I haven't made a tag card in a while and this one of Louise's is so pretty! Here's my take on it:
Here's the lowdown on today's card:
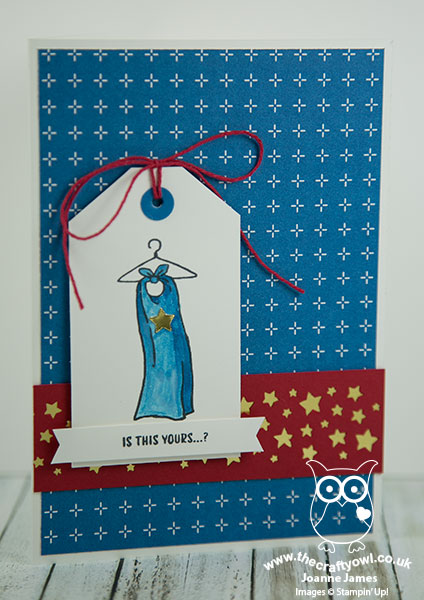
If The Cape Fits - I chose to feature the fun cape image from Everyday Hero on my tag as opposed to Louise's wheelbarrow and go with a fun card in bright primary colours that would make a great masculine card, for a would-be superhero. My image was also coloured, albeit in just one colour, Pacific Point - I also added a gold foil star and brushed my whole cape with my clear Wink of Stella brush for some caped-crusader sparkle. I also included the first part of my sentiment across my tag - the remainder I stamped on the inside:

Party Pattern - For my background I also chose to use a piece of designer series paper, taken from the Party Animal pack. The bold Pacific Point paper with subtle pattern was just what I needed for today's card.
Superstar Border - Instead of using a co-ordinating piece of DSP for my horizontal border, I decided to go with a punched border of confetti stars in red and gold, to add to my hero design. The fun thing about casing someone else's card is that you can take lots of basic elements that are the same - the layout, tag, coloured image - yet make them your own to produce something completely different.
My card is much less subtle than the challenge card, but similar in many other ways and it's clear to see where I did a 'Copy And Selectively Edit' of Louise's original. Thanks Louise for the inspiration this week!
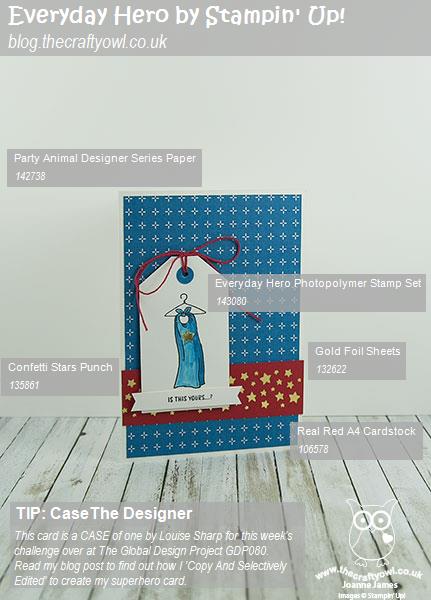
Here is the visual summary of the key products used on today's project for you to pin for easy reference:
You can see all of my 'How To' summaries on my 'How To - Tips and Techniques' Pinterest board in case you've missed any.
I'll be back tomorrow with another project (or two!) Until then, happy stampin'!
Stampin' Up! Supplies Used:
by Joanne James21. February 2017 07:00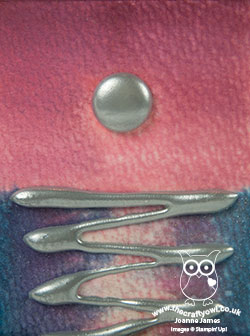
Today I'm sharing a card for the current challenge over at As You See It - so happy to see these fabulous ladies back up and running and thank you for choosing me for the Featured Artist spot last week with this card!

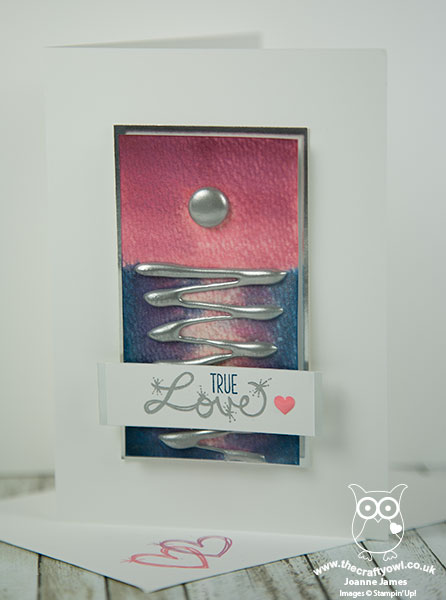
My second colour challenge this week - a rare thing! I find with colours as my starting point it takes me longer to come up with an idea (so glad that AYSI is on a two week challenge schedule now, it gives my ideas time to percolate!) I had so much fun making my card for Nance's challenge over at The Paper Players a couple of weeks ago (you can see that card here) and received such a lot of interested comments about the technique that I used - hot glue embossing - I thought I would make another card using the same idea but this time inspired by the AYSI challenge photo, I created a moonscape over the water - take a look:
Here's the low-down on today's card:
A Fun Technique - I used the same layout and technique as for my previous card here, but this time embossed my hot glue in silver with a moon in my pinky-purple twilight sky. I then blended the pink and purple with the Dapper Denim blue for the water and reflection below the horizon using my re-inkers and aquapainter. I added a liberal does of Clear Wink of Stella to the sea to finish - this adds a wonderful sparkle that is difficult to see in the photo, but trust me, it's there!
Love Sparkles - The colours of this card I thought lent themselves to a more romantic card, so I decided to use the sparkly 'Love' sentiment from the Love Sparkles stamp set and turn this into an anniversary card for my husband since it was our 18th wedding anniversary yesterday. I'm not sure my husband was as impressed with my handiwork, but then I think he sees so many of my cards theses days he just takes it all in his stride!
All Heart - I added a tiny pink enamel heart shape to finish my card in keeping with my theme and also stamped the inside of the card and the envelope to co-ordinate.
Here is the visual summary of the key products used on today's project for you to pin for easy reference:
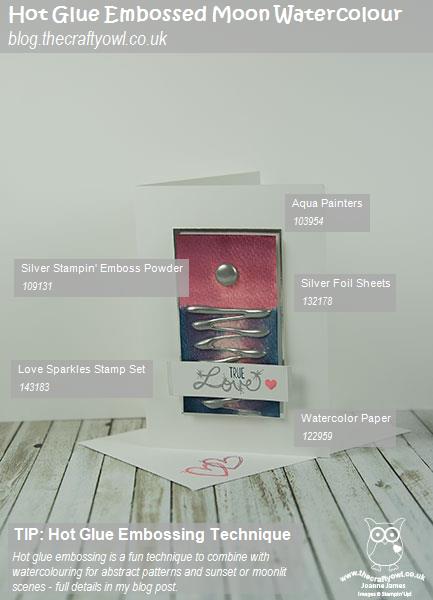
You can see all of my 'How To' summaries on my 'How To - Tips and Techniques' Pinterest board in case you've missed any.
So what do you think - does the card say 'romance' to you? I'd love to hear your comments and thoughts below.
Enjoy your day and I'll be back tomorrow with another project. Until then, happy stampin'!
Stampin' Up! Supplies Used: