by Joanne James10. September 2014 10:02Here is today's card for this week's challenge over at Colour Me...! where we have a striking colour palette to work with:
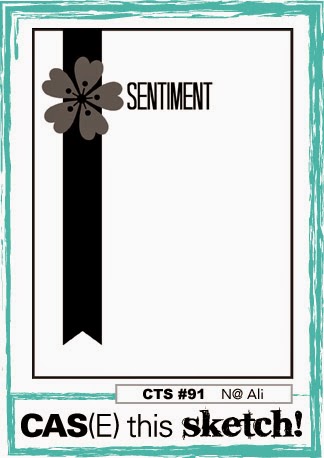
I used this week's layout at CAS(E) This Sketch again for today's card, although interpreted it quite differently to the card I made using this sketch earlier in the week (you can see that card here). I played about with this week's colours for a bit before deciding on the final version of my card - I had lots more layers and DSP galore, but eventually decided that a less fussy layout was in order. Here is my card:
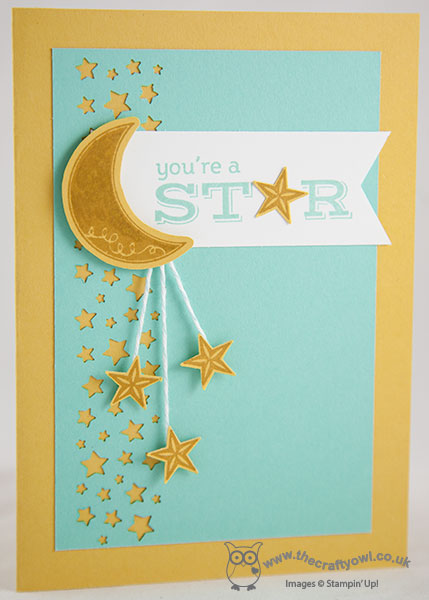
I used Hello Honey for my card base, and matted a piece of Coastal Cabana that I had first punched along the edge with the Confetti Star punch. I can't stop using this punch, the floor of my office is littered with tiny punched stars! I stamped the greeting from Pictogram Punches in Coastal Cabana ink onto a banner of Whisper White and flagged the end with my hexagon punch - so useful for perfectly even banner ends! I then stamped the moon and three stars in Hello Honey onto Hello Honey cardstock and fussy cut the moon and punched out the stars with the co-ordinating punch - easy peasy! I attached the falling stars to the moon using some vintage Pool Party baker's twine (a bit of a cheat, but it added a little more colour than Whisper White twine and against the Coastal Cabana it looks the same colour!) You could achieve the same look by using one of the Coastal Cabana Blendabilities markers to colour some white baker's twine. I attached the shapes to my card using dimensionals for lift, then stamped and punched another yellow star and attached it to the sentiment to tie this in to the rest of my card.
This card is heading for a member of my team who recently achieved a promotion - a fun congratulations card! Why not visit the other Colour Me...! designers and check out their takes on this week's colour combination:
We look forward to seeing your striking creations.
Back tomorrow with another project; until then, happy stampin'!
Stampin' Up! Supplies Used:
by Joanne James10. September 2014 09:35It's Wednesday so that means a new collection of Wednesday Weekly Deals! This week's deals are included below - they will be available for one week only, before a new collection of deals is announced.
As always, if you want to take advantage of any of the deals on offer, you can support my business by placing your order online by clicking here or using the link to my store on the right hand side of my blog page where it says 'Shop Online' or with me in person. Don't forget to add the Hostess Code for September (you can find this under the 'Shop Online' section on the right).
Here's a summary of this week's one-week only Wednesday deals - click on each item to go to the online store to purchase:
This weeks deals:
More great offers this week: the Modern Mosaic TIEF and Mosaic Punch are both great prices and just over £16 if you purchase both. At £8.63 the Banner Punch is a bargain; what's more if you combine it with one of the co-ordinating stamp sets from the annual catalogue, such as Banner Banter (134060 clear, £12.95) this would make a great gift for a crafty friend for just over £20 - a good opportunity to get started with some Christmas shopping perhaps! Plus framelits, ribbon, cardstock and MDS - so much to choose from!
Back shortly with today's creative project; until then, happy shopping!
by Joanne James9. September 2014 12:00Today my blog posts are a little like buses: nothing for ages then three come at once! Well, maybe not for ages, but this post was actually yesterday's scheduled post (apologies to those of you who were waiting for a post only to find it never arrived!) but it didn't publish as there were some server problems at my blog hosting site. All sorted today though, so here is Tuesday's post - soon to be followed by the Wednesday Weekly Deals and Wednesday's actual creative post - this week's Colour Me..! card!
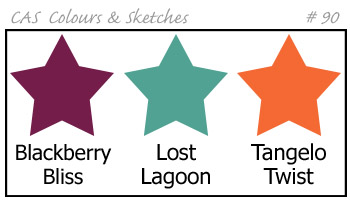
Today I'm sharing another Halloween card, featuring lots of goodies from the current seasonal catalogue. I'm also using this week's colour palette over at CAS Colours and Sketches:
I haven't played along with these ladies for a little while and this week's colours were just perfect for my spooky Halloween card:
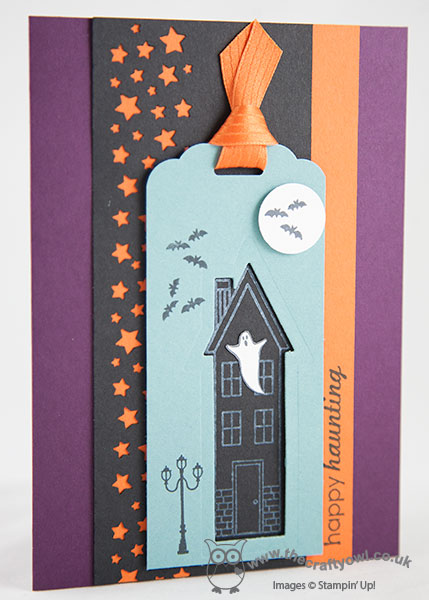
I used a Blackberry Bliss base for my card, to which I adhered a piece of Tangelo Twist, partially overlaid with a section of Basic Black cardstock, which I punched down one side with the Confetti Stars punch to allow the orange to peek through and then alongside this I stamped a house from the 'Holiday Home' photopolymer stamp set in Whisper White Kraft ink. I used the co-ordinating framelit to cut out the same shaped house out of a Lost Lagoon tag, made using the Scalloped Tag Topper Punch, and after decorating, adhered this to my card using dimensionals so that the house could be seen on the layer beneath. I punched a small moon using my 3/4" circle punch and decorated this and my tag with the bat and lamp images from the Holiday Home set. I also stamped a ghost from the same set onto Whisper White, fussy cut him and adhered him so that it looks as if he is floating out of the window of my haunted house.
The Holiday Home set is one of my favourites in the seasonal catalogue - it is so versatile, with options from new home to Christmas, Halloween and tons in between and it comes with lots of little stamps to enable you to make your cards unique, along with matching framelits to make for easiest ever cutting out. What's more, if you buy the bundle you save 15% so all in all lots of great reasons to put this in your Top 5! To finish, I added my sentiment from the 'Ghoulish Greetings' stamp set - perfect for my spooky house - and a piece of Tangelo Twist satin ribbon to my tag.
A fun Halloween-inspired card for this time of year; I think I might use mine as an RSVP to an invitation I received to a Halloween party this year. I often have fun with my kiddies at home at this time of year, but must confess to being quite excited at the prospect of a family Halloween party, with obligatory fancy dress (pictures to follow nearer the time!!)
That's all from me today; back tomorrow with this week's Wednesday Weekly Deals and my Design team card for Colour Me...! Until then, happy stampin'!
Stampin' Up! Supplies Used:
aa93e58b-0a6c-429e-88e8-d3beab734345|0|.0|96d5b379-7e1d-4dac-a6ba-1e50db561b04
Tags: Ghoulish Greetings, Halloween, Confetti Stars Punch, Scalloped Tag Topper Punch, Holiday Home, Homemade Holiday Framelits, Stampin' Up, Stampin' Up Card, Stampin' Up Card ideas, Stampin' Up Supplies, Shop online
Cards | Stamping
by Joanne James8. September 2014 22:22It's the start of the week and I've had such a busy - and productive! - day; I love days like that! I'm late blogging though, so a quick post from me with a card I made today using this week's sketch over at CAS(E) This Sketch:
I've been making Halloween card samples for a party that I'm running this week, where the hostess is mad about all things Halloween! This sketch allowed me to make a really quick and simple card using one of the cute monsters from 'Freaky Friends' and probably the only piece of designer series paper in the Motley Monsters DSP pack that I really wasn't sure about. Here's my card:
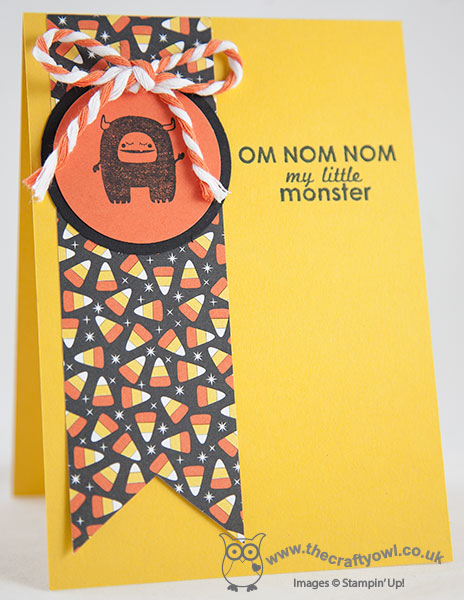
So my American friends tell me the little triangles on this paper are known as 'candy corn', a popular sweet treat at Halloween. We don't have it here in the UK and wasn't sure how to use it on my card, when it came to me - I could pair it with a stamp that I'm never quite sure how to use either - the 'Om Nom Nom' stamp in the 'Ghoulish Greetings' set and one of the cute little monsters from 'Freaky Friends'. So using the DSP as my starting point, I cut a base of co-ordinating Crushed Curry cardstock and added a pennant banner of the DSP. I stamped my monster in Memento Black onto Tangerine Tango cardstock and punched it out with a 1 3/4" circle punch and mounted this on a 2" circle punched out of Basic Black. I added a decorative twine bow using the extra thick twine in the seasonal catalogue (it comes in Old Olive too) and lastly stamped my sentiment, a combination of two stamps from the 'Ghoulish Greetings' set. I was going to go with the 'Om Nom Nom' on its own - I figured this is what the monster would be saying if he was eating all the candy corn, right? - but then I added 'my little monster' as I think I will use it as a funny card for one of the James juniors - either the one who is often my little monster, or the one who never stops eating - I'll leave you to work out which is which!
Back tomorrow with another Halloween card; until then, happy stampin'!
Stampin' Up! Supplies Used:
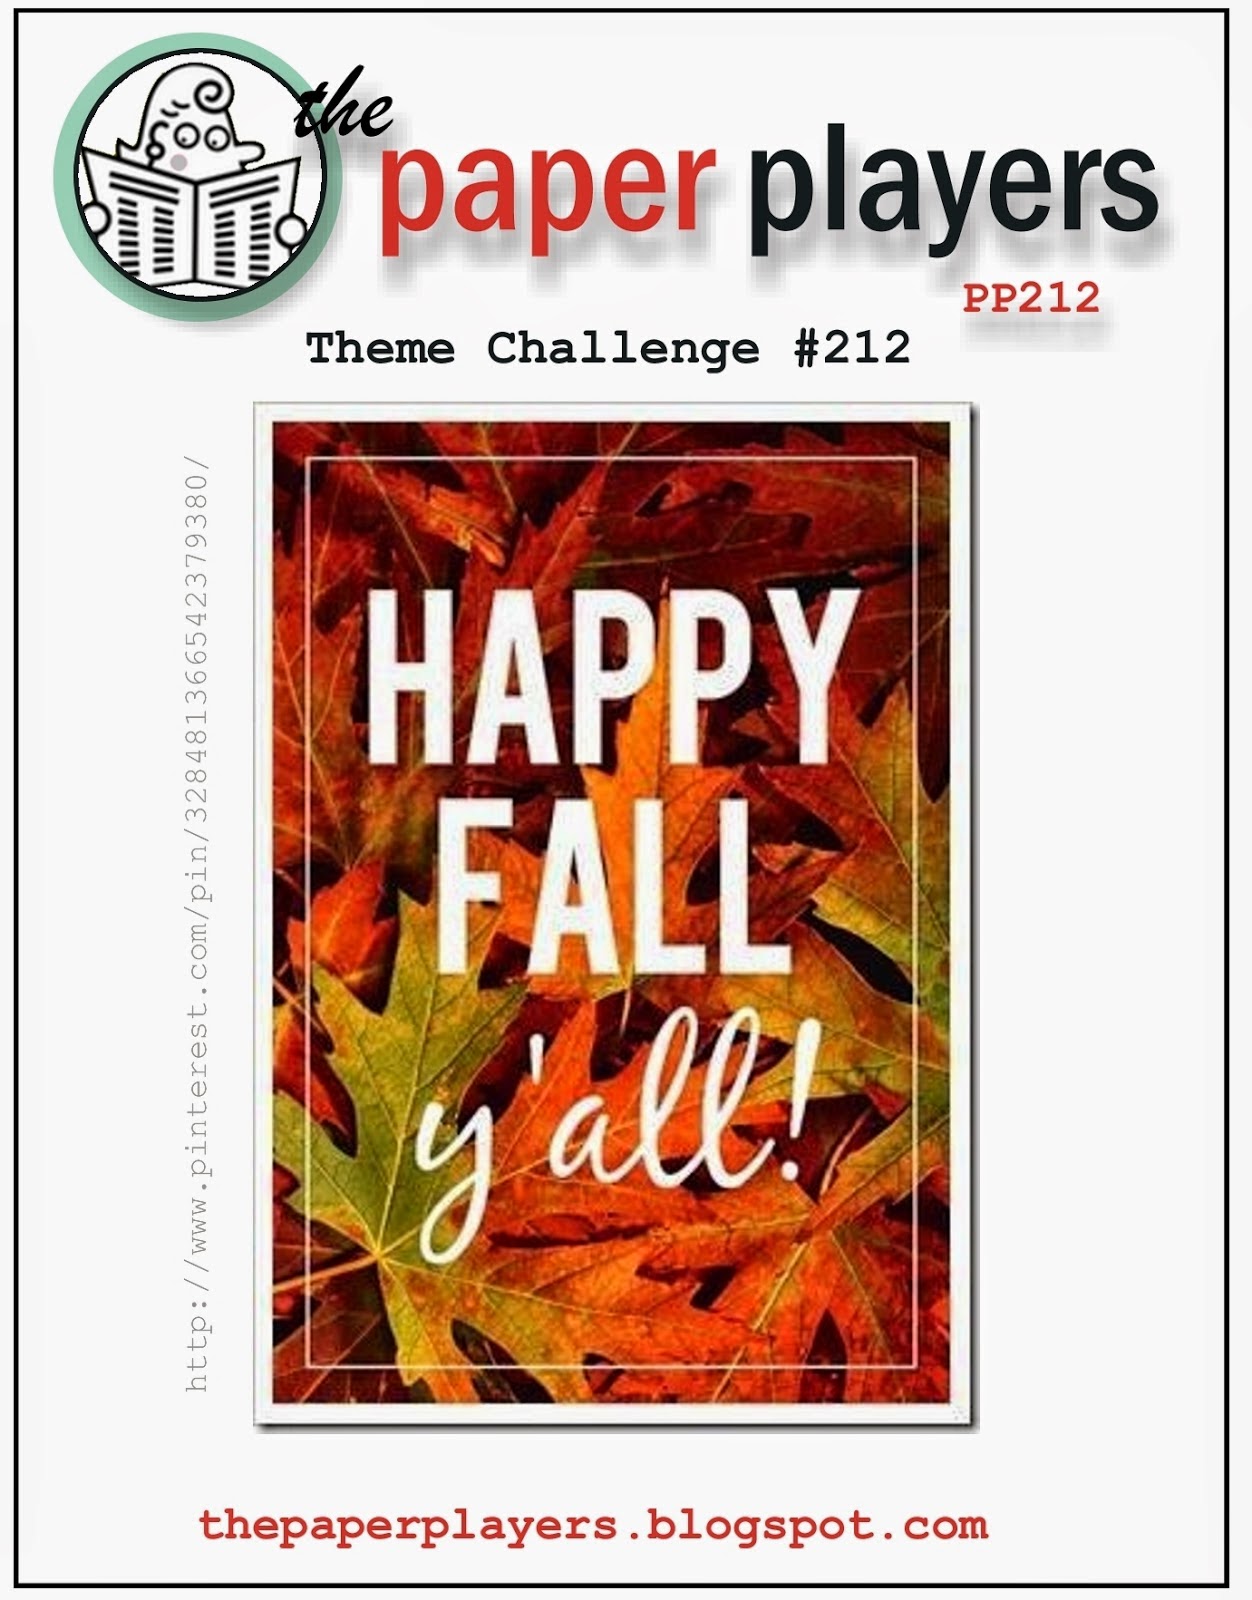
by Joanne James7. September 2014 08:00Today's card is for this week's challenge over at The Paper Players, where Ann has a 'Happy Fall, Y'all' theme for us this week:
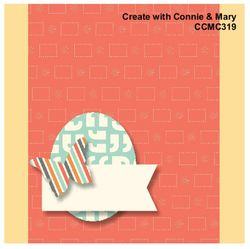
I immediately knew what I was going to do for my fall card this week; I've had my eye on a sheet of the DSP in the Motley Monsters Designer Series paper pack that I thought would be perfect for a fall-themed card, and this week's sketch over at Create with Connie and Mary provided the perfect layout. Here's my card:
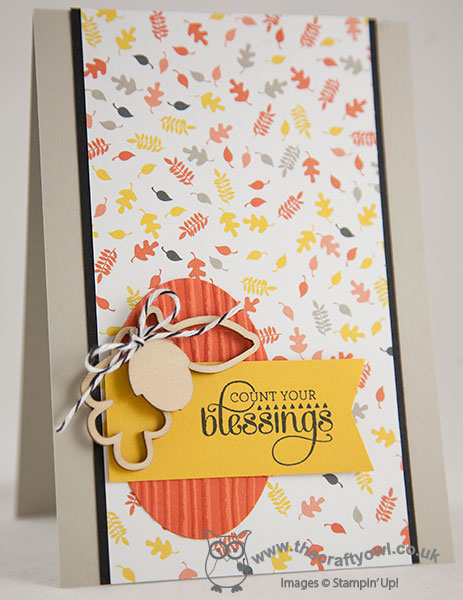
This falling leaf paper is actually the top of the sheet that has the little Motley Monsters pattern across the bottom, but by only using the top section this paper is perfect for fall. In fact, of the 12 designs in the pack, half of them can be used for non-Halloween themed projects, so it's definitely worth a look for more than just Halloween. Anyway, I digress!
I took the colours for my card from the DSP, and used Sahara Sand for my base, with a vertical border of Basic Black to edge my piece of leafy DSP. I then cut an oval in Tangerine Tango using my Big Shot and Oval Framelits and embossed this with the Woodgrain embossing folder. I stamped my sentiment from the 'Gratitude For Days' set in Memento Black onto Crushed Curry and layered this on top, then finished with the real focal point of my card, a trio of wooden shapes from the Autumn Wooden Elements set, which I layered and finished off with a black and white baker's twine bow.
A simple card that reminds me of fun afternoons in the park, kicking leaves and collecting conkers on a crisp Autumn day. Do pop by and visit the other Paper Players Design Team blogs - there is some great inspiration for you out there as always this week and they would love you to leave a comment or two.
I'm having a lovely weekend: yesterday Rebecca had a great day in London - Mama Mia The Musical was excellent - and today I am expecting to be truly spoiled as it's my birthday! I am looking forward to a roast dinner with all the trimmings and a day of fun with my family.
Back tomorrow with another project; until then, happy stampin'!
Stampin' Up! Supplies Used:
by Joanne James6. September 2014 09:00Today I'm sharing a birthday card I made for a dear friend of mine, who is celebrating her birthday tomorrow (I'm safe to share here, as she doesn't follow my blog although I will need to make sure I don't post it on Facebook until tomorrow, just in case!) I used this week's sketch over at the Paper Craft Crew for this card and this week's Colour Throwdown colours:
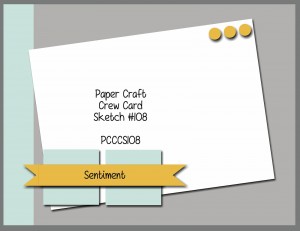
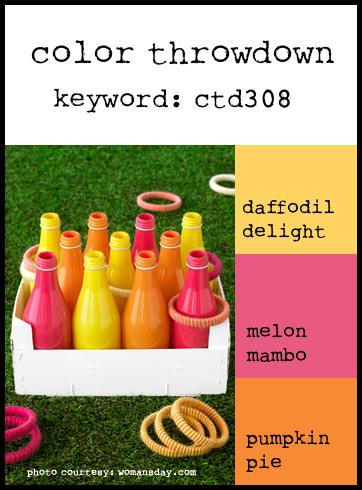
This is one of my favourite colour combinations, so it was an obvious choice for this card. You see the recipient is not only a good friend of mine, but we are 'birthday buddies' - we both share the same birthday! So the card is send often the image of the card I would like to receive and features lots of my favourite things! Would you like to see my card? Here it is:

A simple card in bold colours, with a distinctly starry theme. I randomly sponged same-colour stars using my mask onto the Melon Mambo card base and edged this in a piece of Daffodil Delight that I had first embossed with the stars embossing folder. I then stamped my main birthday sentiment onto the central panel and mounted this onto a piece of Pumpkin Pie cardstock. I stamped and fussy cut two candles from the same 'Big News' stamp set and adhered these in place of the two squares on the sketch (a liberal interpretation, but it fitted with my theme!!) and replaced the flames with two stars punched from the new Confetti Stars punch and finished these with a couple of rhinestones, coloured to match with the corresponding colour of Blendabilties marker. I then added a flag with the second piece of my sentiment, stamped in white Stazon on Pumpkin Pie cardstock, using Dimensionals. To finish, I added three small punched stars to the upper right hand corner of the main sentiment panel.
Hope you like today's birthday card - it comes with a happy birthday to my friend Louise for tomorrow and a little happy birthday to me!
Rebecca and I are off to London today to see the musical 'Mama Mia' as part of the birthday celebrations of one of her school friends, so we are sure to have a fun day. Back tomorrow with this week's Design Team post for The Paper Players; until then, happy stampin'!
Stampin' Up! Supplies Used:
by Joanne James5. September 2014 12:00Finally it's Friday - although I'm not quite sure where this week went! Today I have a fun card that I made using the sketch and colour inspiration from a new-ish challenge appropriately called The Challenge that the talented Lesley Croghan is running on her blog Always Playing With Paper, which I'm entering for the first time:
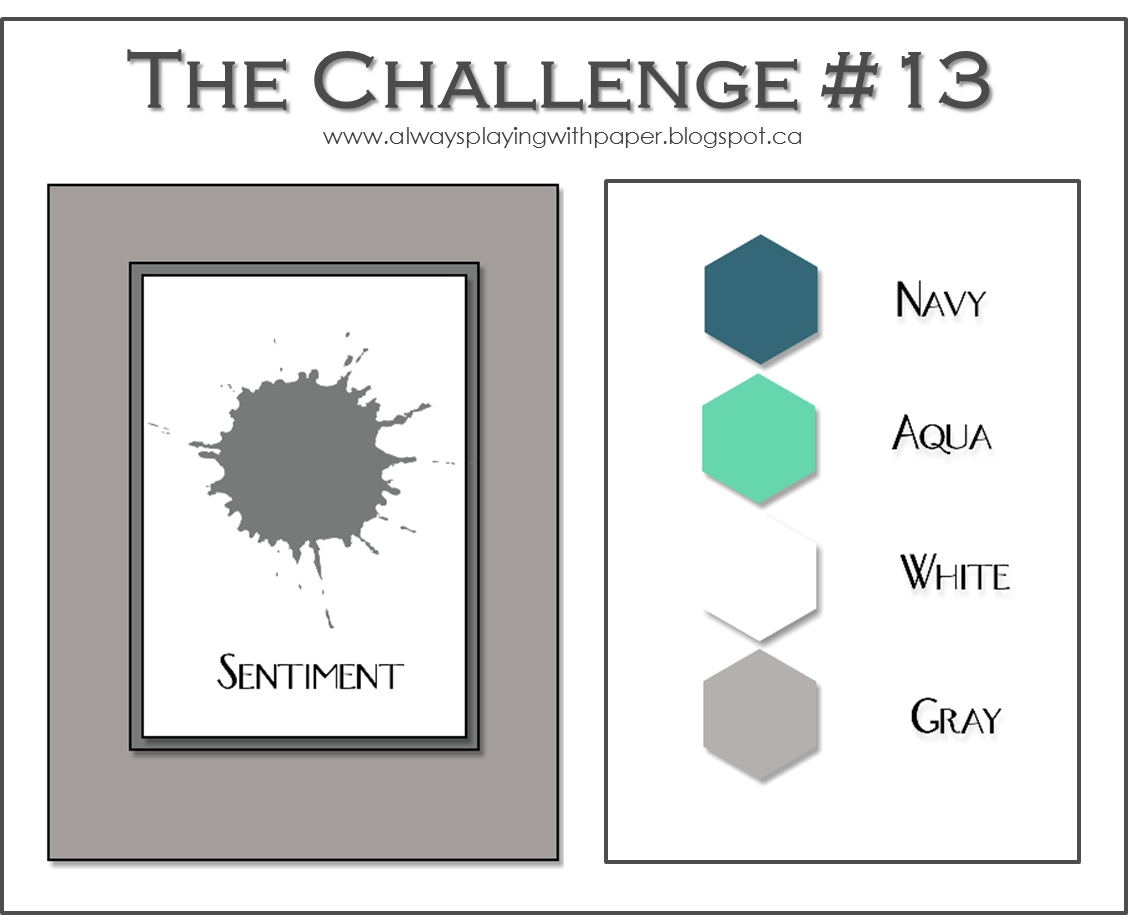
I decided to use both the sketch and colour palette and since September is probably one of my biggest personal card-making months - many birthdays and anniversaries - took the opportunity to get cracking and add a birthday card to my pile. Here is my card:
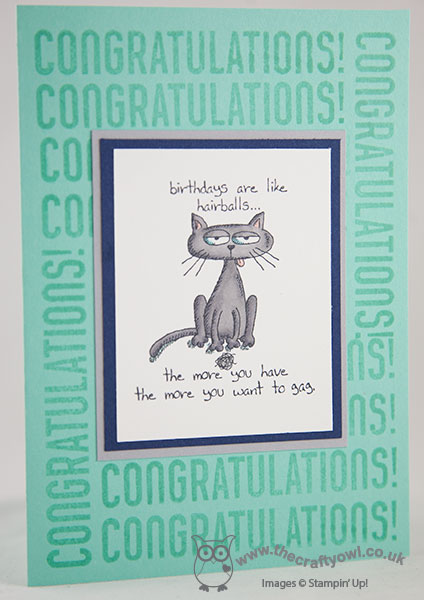
I started out with the intention of making a female birthday card, but I quickly decided that the colour combination was better suited to a masculine card - and this fun stamp and sentiment from the 'Giggle Greetings' set would be perfect for a grumpy old man (I didn't have one in mind as I worked, but choosing a recipient won't be too difficult I'm sure!) I used my Coastal Cabana and Smoky Slate Stampin' Up! Blendabilities sets to colour my main image, and mounted this onto a layered mat of Night of Navy and Smoky Slate. I used Coastal Cabana for my card base and when I went to lay up my card, I felt it was a little bare, even for my 'clean and layered' style. So I decided to create my own tone-on-tone stamped background using the 'Congratulations' stamp from the 'Bravo' stamp set and some Coastal Cabana ink - I love how it turned out!
Back tomorrow with another project; until then, happy stampin'!
Stampin' Up! Supplies Used:
by Joanne James3. September 2014 09:30Wednesday already? This week is zipping by! Today I'm sharing my card for this week's challenge over at Colour Me...! where we have a monochromatic colour palette to work with:
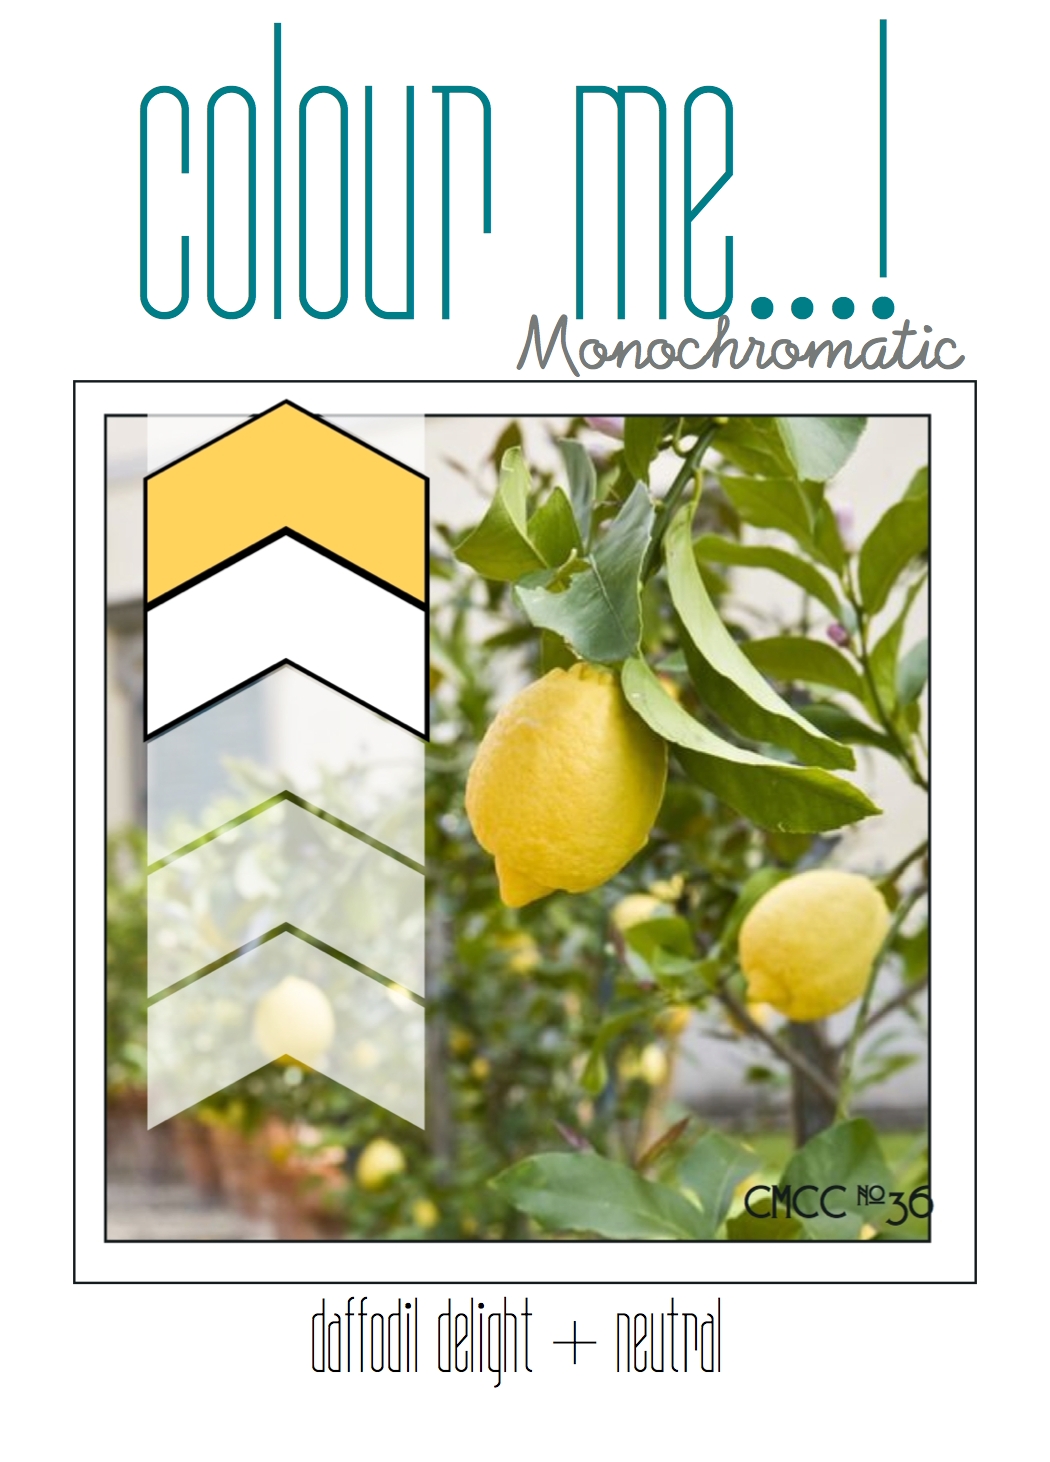
Daffodil Delight yellow - a favourite of mine! - and white. I used this week's sketch over at CAS(E) This Sketch for my layout and this is what I came up with:
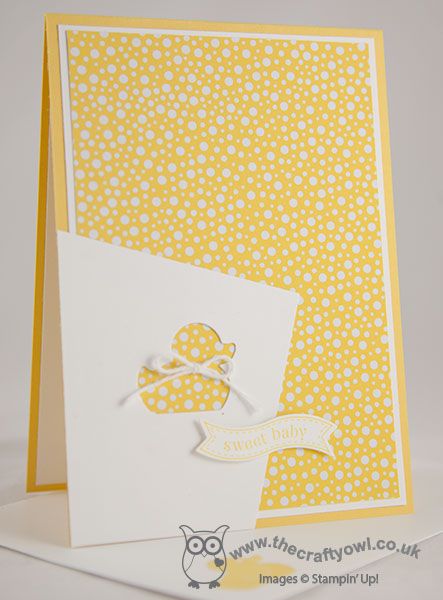
A simple card where the feature is this lovely piece of Daffodil Yellow DSP from the All Abloom DSP paper stack (the little white spots remind me of bubbles!). I overlaid this with my angled panel of Whisper White, having used my Big Shot and Baby's First framelits to cut out the duck shape to allow the DSP to peek through. I finished the duck with a simple white baker's twine bow before adding my Bitty Banner 'Sweet Baby' sentiment on dimensionals for added height.
A great 'welcome baby' card that is the perfect store cupboard standby as it would be suitable for a boy or a girl - I'm also linking up with SUO Challenges as it fits nicely with their 'clean and simple' theme. Why not visit the other Colour Me...! designers and check out their takes on this week's colour combination:
We look forward to seeing your bright monochromatic creations. Back tomorrow with another project; until then, happy stampin'!
Stampin' Up! Supplies Used:
93074b95-88b2-446a-9caa-af020661e148|0|.0|96d5b379-7e1d-4dac-a6ba-1e50db561b04
Tags: Baby cards, Baby's First, Bitty Banners, Big Shot, Itty Bitty Banners, All Abloom, Shop online, Stampin' Up, Stampin' Up Card, Stampin' Up Card ideas, Stampin' Up Supplies, Colour Me...!
Cards | Stamping
by Joanne James2. September 2014 22:21It's Wednesday so that means a new collection of Wednesday Weekly Deals! This week's deals are included below - they will be available for one week only, before a new collection of deals is announced.
As always, if you want to take advantage of any of the deals on offer, you can support my business by placing your order online by clicking here or using the link to my store on the right hand side of my blog page where it says 'Shop Online' or with me in person. Don't forget to add the Hostess Code for September (you can find this under the 'Shop Online' section on the right).
Here's a summary of this week's one-week only Wednesday deals - click on each item to go to the online store to purchase:
Today's MDS digital download is perfect for capturing back to school memories and there are plenty of opportunities to get inky with lots of reinkers on offer, along with Stampin' Up!'s Simply Pressed Clay. This can be used to make buttons or flowers using Stampin' Up! moulds or be shaped to create ornaments or tags like this one I created here earlier this year or alternatively this festive decoration using the new Cheerful Christmas set featured on page 14 of the new seasonal catalogue - I think Stampin' Up! took their inspiration from my original project :-):
Back shortly with today's creative project; until then, happy shopping!
by Joanne James2. September 2014 21:12Another busy day today - getting ready for the return to school tomorrow of my beloved James Juniors, including an early visit to meet Ben's new teacher, as it has changed over the vacation to the one he was expecting prior to the end of last term. I love having them at home during holiday time and we have had lots of fun, but I think we will all benefit from a little more routine in our lives (although this time next week I might disagree!)
So today a quick share of another card I made with the 'Partridge & Pears' stamp, this time in reds and browns and stamping onto Sahara Sand as my base, rather than Whisper White. It give a totally different look and feel - take a look and see what you think:

I used Early Espresso as my card base, with a layer of the lovely Cherry Cobbler plaid patterned paper from the Trim The Tree DSP paper stack, the stamped my main image in Early Espresso on Sahara Sand. I coloured the image with my standard Stampin' Write markers and only used my Blendabilities on the pears (Old Olive) and the partridge's breast (skin tones). You have to be really careful when using Blendabilties on coloured cardstock, as they bleed into the paper much more quickly than with Whisper White. I added some colour to the leaves with my chalk marker. I finished my card with a sentiment from the 'Watercolor Winter Too' set stamped in Cherry Cobbler on Sahara Sand and cut it out with my Big Shot and Project Life framelits, then matted it onto a piece of Early Espresso which I just snipped the corners away from with a circle punch to echo the shape of the framelit.
I really like the more muted colours of this card - it's just a little bit different. Back tomorrow with my Design team post for the Colour Me...! challenge, so do pop by to see what our theme is this week, along with a new set of Wednesday Weekly Deals.
Until then, happy stampin'!
Stampin' Up! Supplies Used: