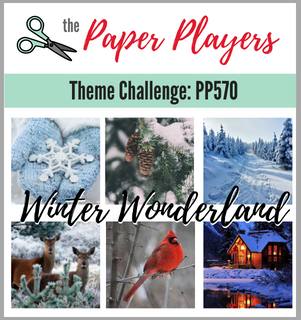
Today it's Sunday and time for this week's new challenge over at The Paper Players! It's the turn of the fabulous Jaydee to host this week and she has a festive theme challenge for us to work with:

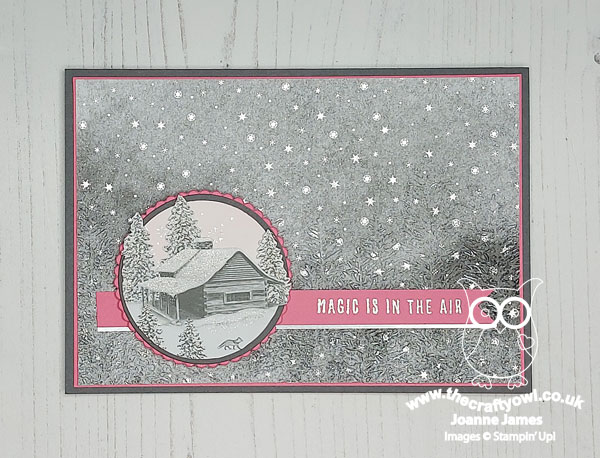
We've had snow twice this week in my part of the world and the current freezing temperatures are definitely showing early signs of a winter wonderland! I decided to make another card using the current colours over at The Color Throwdown and decided to get creative with my Peaceful Place designer series papers and create my own idyllic winter wonderland - take a look:
Here's the low-down on today's card:
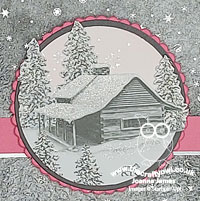
Peaceful Place - I decided to fussy cut one of the log cabins from the Peaceful Place designer paper, across the upper horizon including some trees, and added this to a precut white circle, that I had added Polished Pink ink to with a blending brush and stamped on some snowflakes in Encore silver. I allowed the trees to overhang the circle border and liberally brushed the snowy areas of the scene with clear Wink of Stella. It's difficult to see on the photos, but this card is so sparkly in real life!
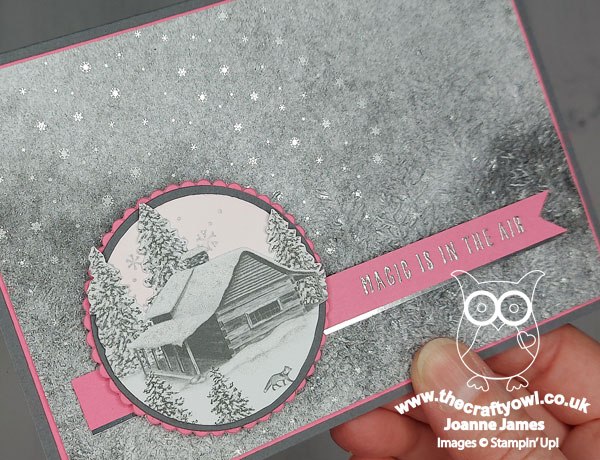
Evergreen Forest - I used another sheet of Peaceful Place designer series paper for my background, this time the sparkly silver snowflakes on a mottled grey background. I ran this panel through the Evergreen Forest Embossing folder to add a row of embossed fir trees to the background for added interest. Again, it's easier to see in real life - the texture adds subtle additional detail. I used the pink for my sentiment banner and borders for a pop of colour against the silver and grey:
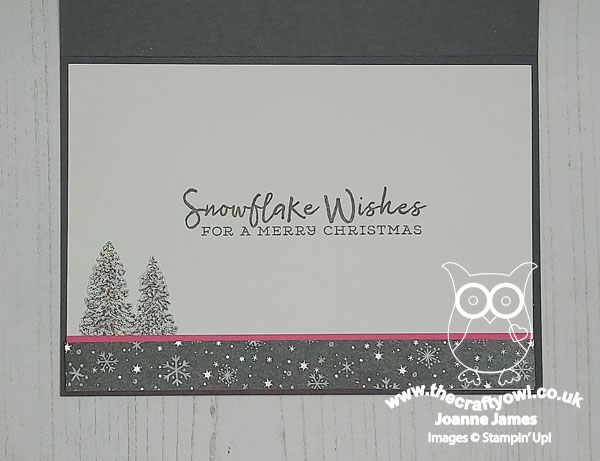
Don't Forget The Inside - I carried the winter wonderland theme over to the inside of my card, adding a strip of the sparkly snowflake paper along with a couple of fussy-cut trees and a sentiment from the 'Snowflake Wishes' stamp set:
Doesn't that cosy log cabin look inviting? I could totally hole myself up there with my craft supplies and a roaring log fire for a week or two!
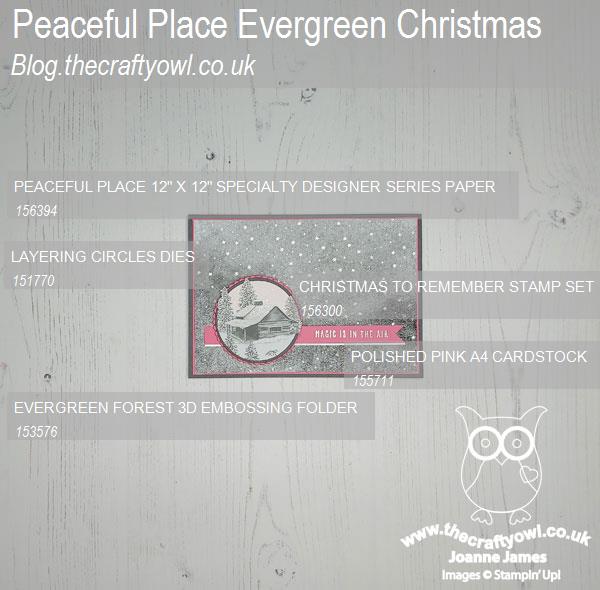
Here is the visual summary of the key products used on today's project for you to pin for easy reference:
You can see all of my Product and 'How To' summaries on my 'How To - Tips and Techniques' Pinterest board in case you've missed any.
Before you reach for your ink and papers, check out what our amazing team has created to inspire you this week:
The Paper Players Design Team
Here's a quick recap of our challenge rules:
1. Create a new paper project
2. Upload your creation to your blog with a link back to us and provide a direct link to the post featuring your challenge submission.
3. Please link your card to no more than four challenges, TOTAL.
4. Have FUN!
You can see all of my 'How To' summaries on my 'How To - Tips and Techniques' Pinterest board in case you've missed any.
Enjoy your day; I'll be back tomorrow with another project. Until then, happy stampin'!
Stampin' Up! Supplies Used: