by Joanne James12. November 2019 20:00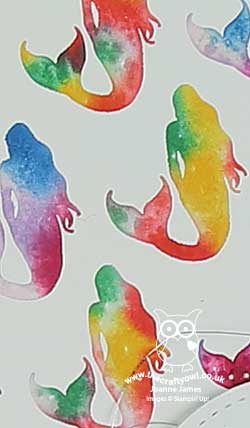
Today I'm sharing a card that uses a fun technique that is inspired by the theme and photo inspiration for the current FUSION challenge:

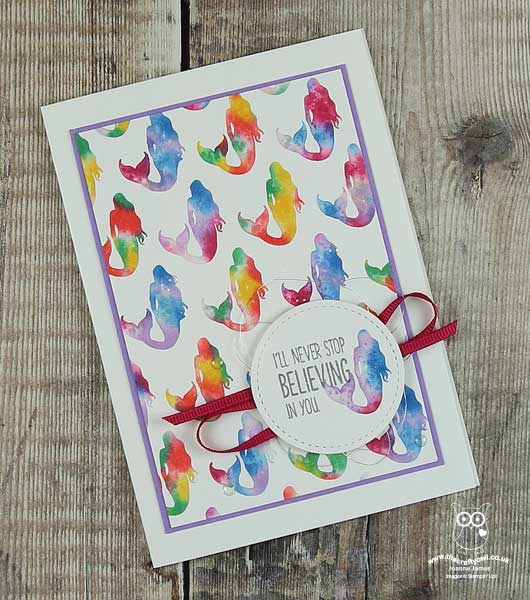
I love that fabulous colourful mermaid tail cupcake and took that as my inspiration rather than the sketch this week, as I also wanted to try out a fun technique inspired by a rather unusual household item. Here's my card:
Here's the low-down on today's card:
A Magical Mermaid ... Or Two Or Three - I created a mermaid-patterned cardfront using the small solid mermaid image from the 'Magical Mermaid' stamp set; I stamped each image freehand as I wanted the spacing close than I could achieve with my stamp positioning tool. I haven't used this stamp in this set before - I usually use the large mermaid image - so it was a good opportunity to use the set in a different way.
A Fun Technique - to achieve the multi-coloured effect, I revisited the 'oldie but goodie' baby wipe technique. I created two separate stamp pads using baby wipes and drops of three reinkers on each, then alternated stamping with each one to create my pattern. This is such a fun technique if you are trying to create variegated colour; no two stamped images are the same so it makes for colourful patterns.
Unusual Inspiration - You may be wondering where I got my rather eclectic colour inspiration from this week; all is revealed in the photo below:
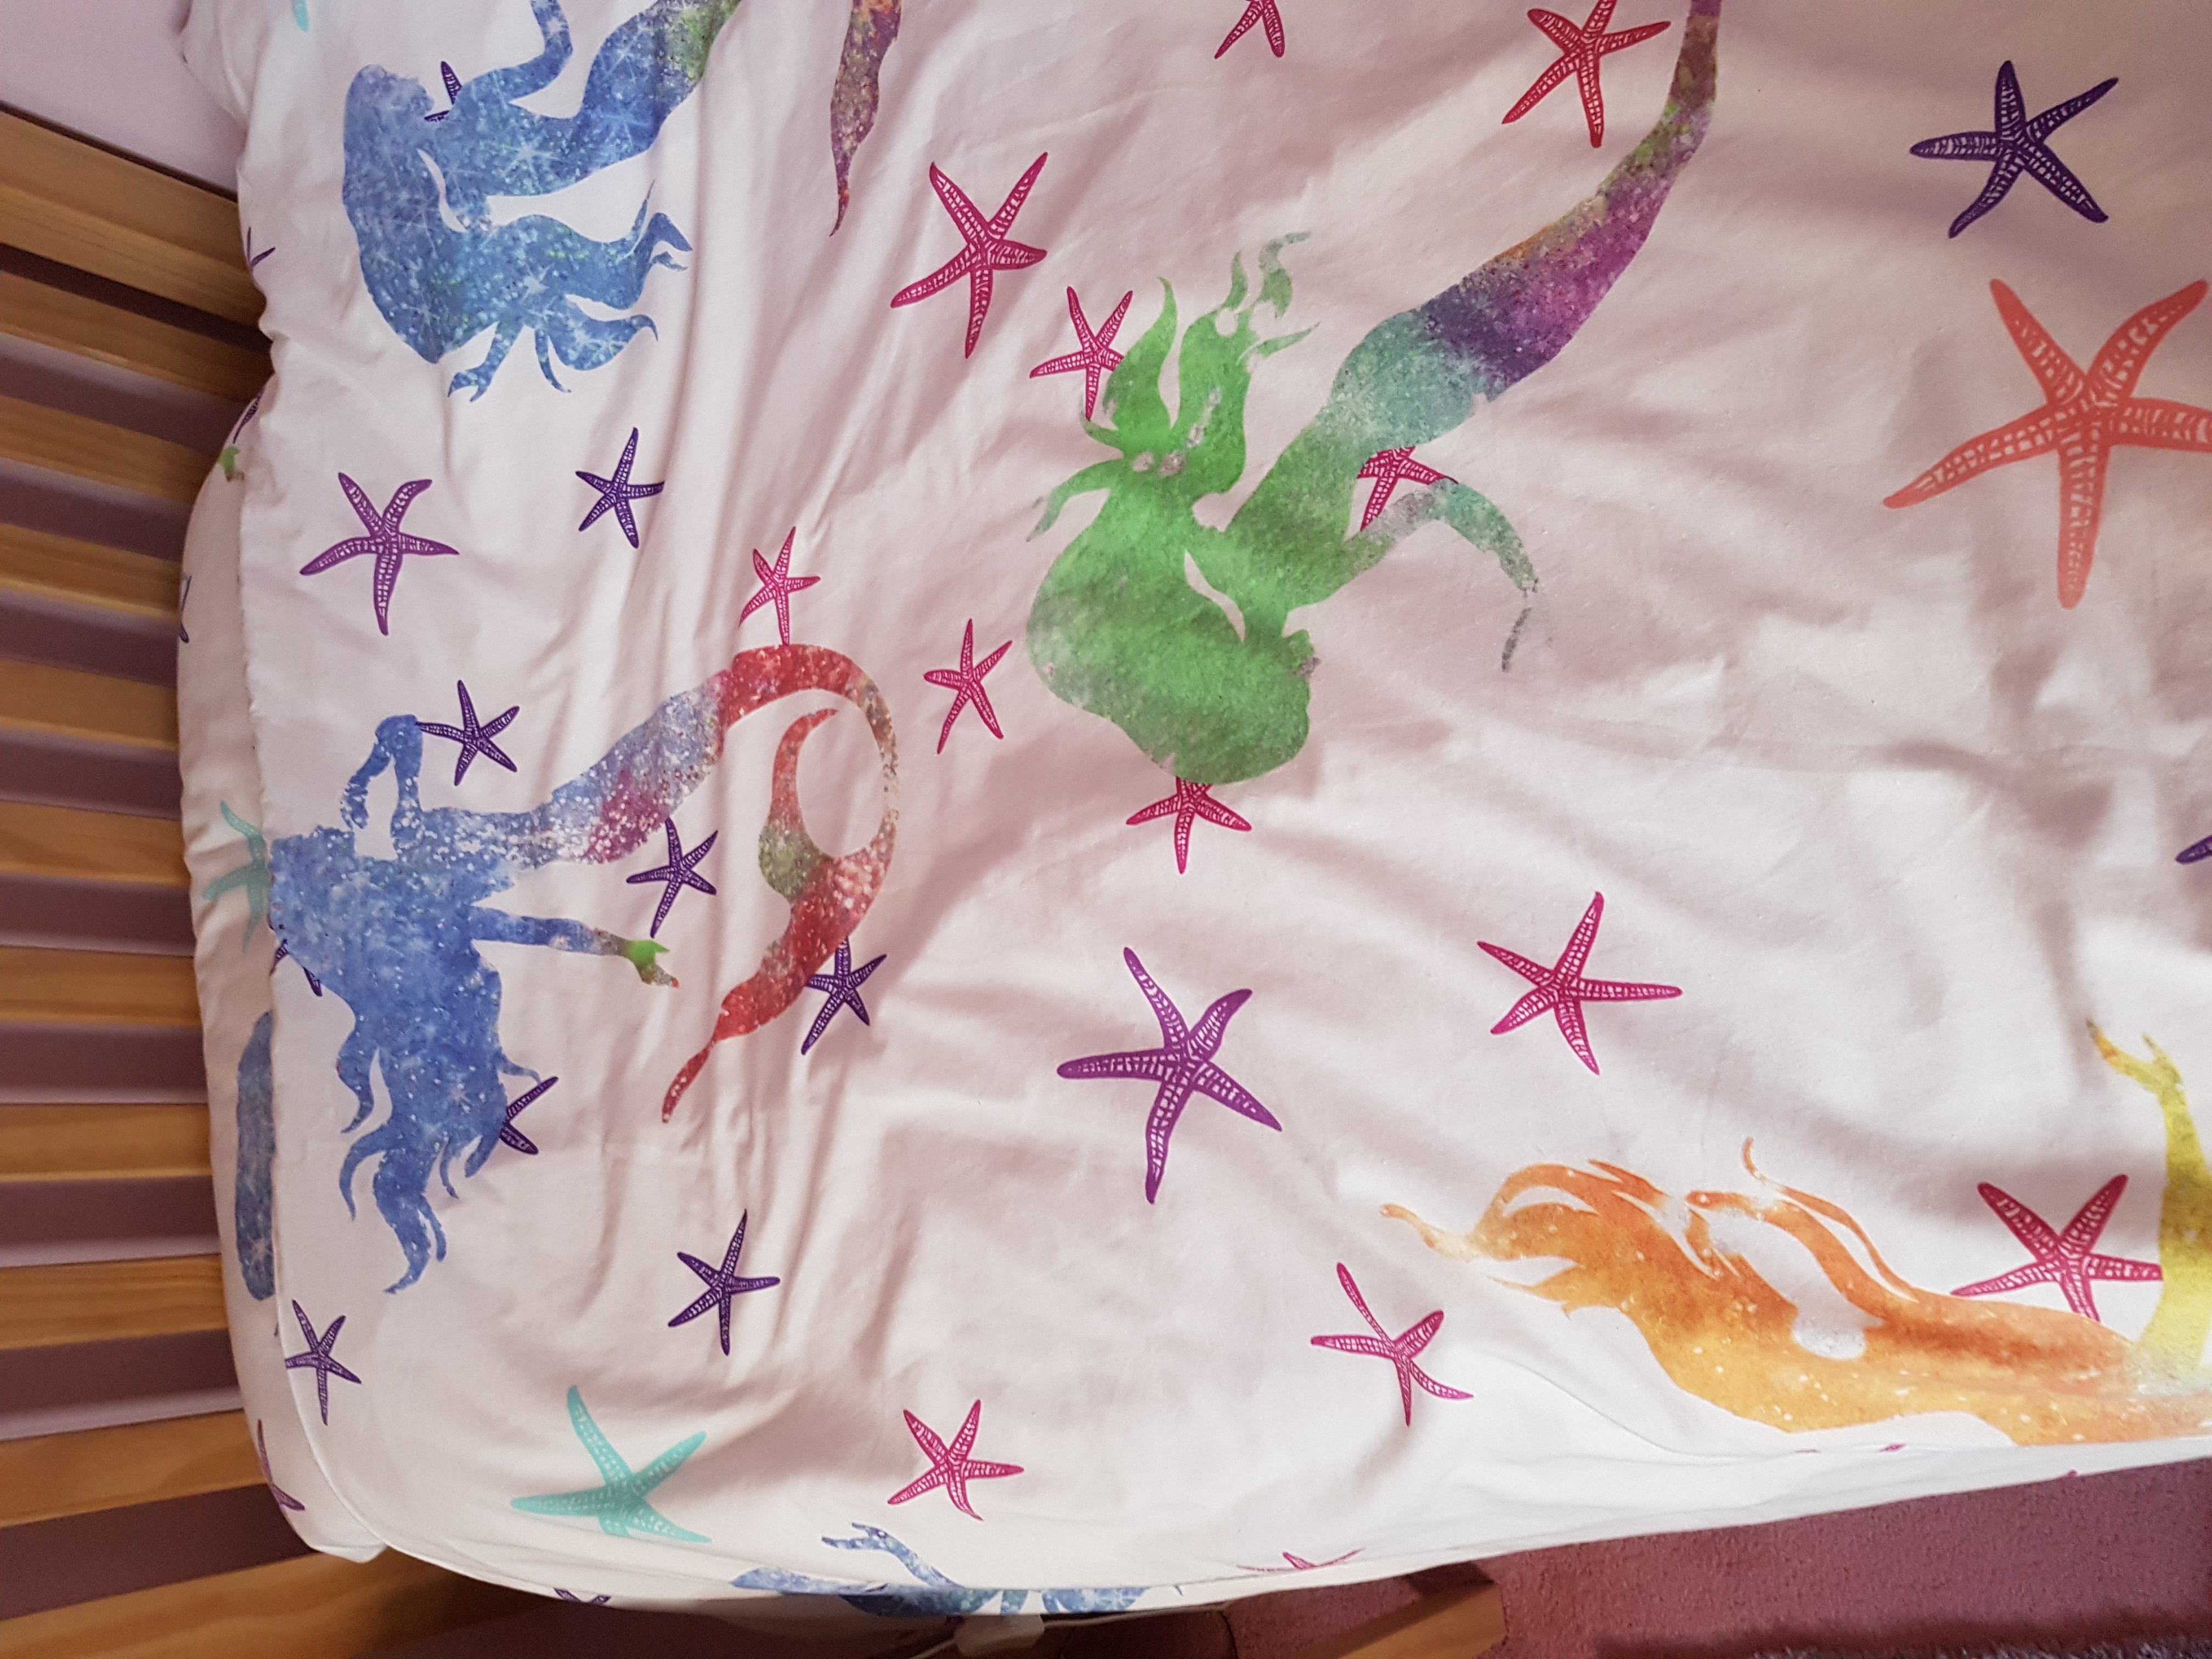
Yes, one of Rebecca's bedsets! She loves these brightly coloured mermaids and since my card is a little notecard that I slipped into her school bag as a surprise note as I sometimes do, I knew she would instantly recognise the inspiration. The thing I love most about the finished card is the watery effect of the blended colours, which seems fitting for my nautical mermaid.
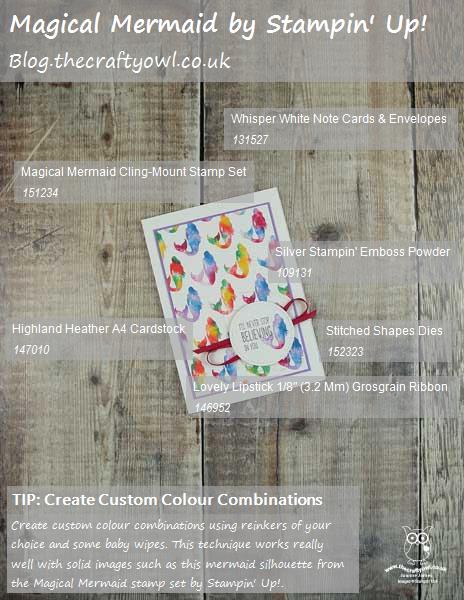
Here is the visual summary of the key products used on today's project for you to pin for easy reference:
You can see all of my 'How To' summaries on my 'How To - Tips and Techniques' Pinterest board in case you've missed any.
So as you can see, inspiration really can be found in the most unusual of places. What is your most unusual source of inspiration in your crafting? Do leave me a comment below - I would love to know.
Enjoy your evening and I'll be back tomorrow with another project. Until then, happy stampin'!
Stampin' Up! Supplies Used:
by Joanne James3. August 2019 20:00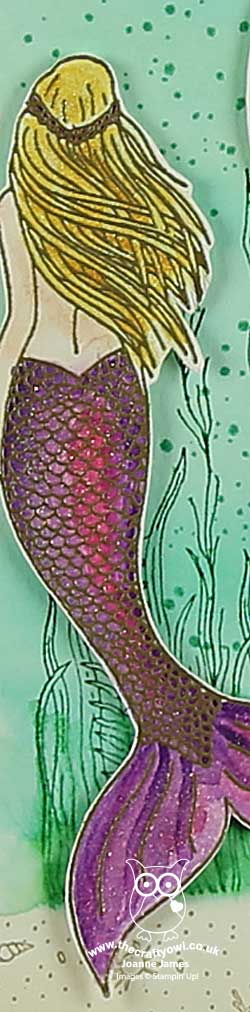
Today I'm sharing a card for the current challenge over at TGIF Challenges where they have a gorgeous bright colour palette this week:

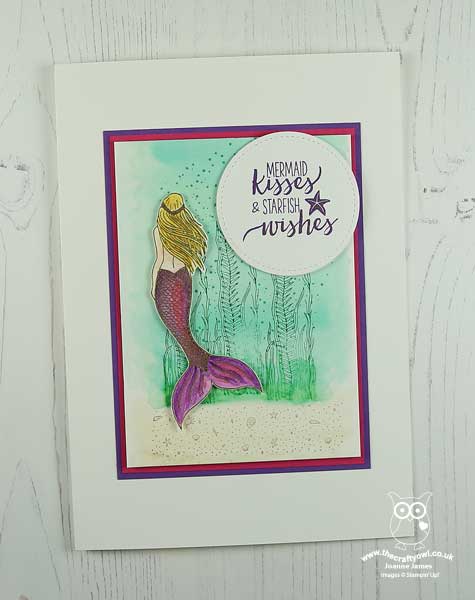
I used these colours for Rebecca's birthday card from Ben as they were perfect for what I had in mind - take a look:
Here's the low-down on today's card:
Magical Mermaid - I bought this set to make a set of pictures for my very own water baby - with her long, blond hair and swimming skills Rebecca could definitely pass for a mermaid! I heat embossed this one in gold onto shimmery white cardstock and fussy cut it, then coloured the tail with a combination of Gorgeous Grape and Melon Mambo, then added another coat of shimmer with my clear Wink of Stella pen - it is so sparkly in real life!
A Watery Scene - My watercolour skills generally leave a lot to be desired, so I stayed simple and watercoloured using Sahara Sand as my neutral for sand and overstamped with some shells for added detail, and used a wash of Coastal Cabana for the sea, with some bubbles stamped in full strength over the top. I also added some strands of seaweed in green for added detail, blending them in at the base.
A Touch of Sparkle - I stamped my sentiment on a stitched circle in Gorgeous Grape and before it was dry, sprinkled it with gold embossing powder and heat set it so that I managed to create gold highlights where the powder stuck. In addition to the sparkly mermaid tail this adds a lovely shimmer - essential for any card destined for Rebecca, that's for sure!
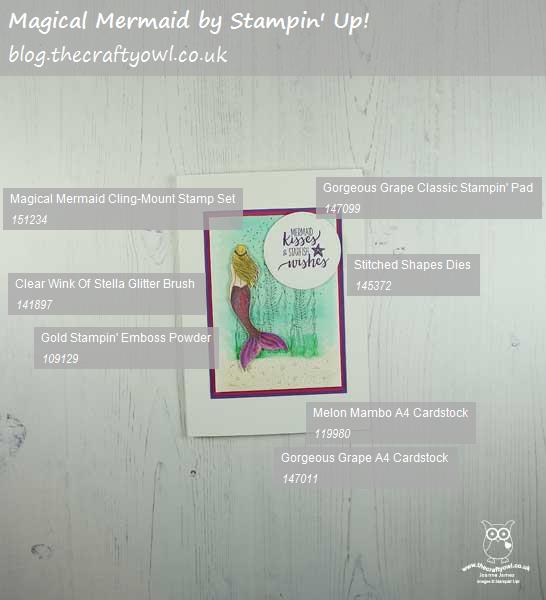
Here is the visual summary of the key products used on today's project for you to pin for easy reference:
You can see all of my 'How To' summaries on my 'How To - Tips and Techniques' Pinterest board in case you've missed any.
Enjoy your evening and I'll be back tomorrow with another project. Until then, happy stampin'!
Stampin' Up! Supplies Used:
by Joanne James25. April 2018 20:30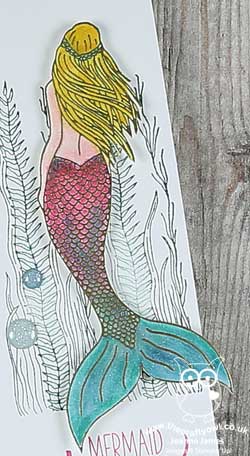
Another busy day today catching up on household admin today, but just time to share a card for this week's challenge over at CAS(E) This Sketch:

For some reason I had lots of ideas for this sketch, which is a pretty good job since the first card I made featured a couple of pens from the Crafting Forever set and a 'Just a Note' sentiment and my lovely Paper Players teamie and friend LeAnne posted one that was almost identical! You can see her card here; I decided that instead of posting my card that was so similar, I would work up one of my other ideas and got out my Magical Mermaid stamp set for some aquatic fun - take a look:
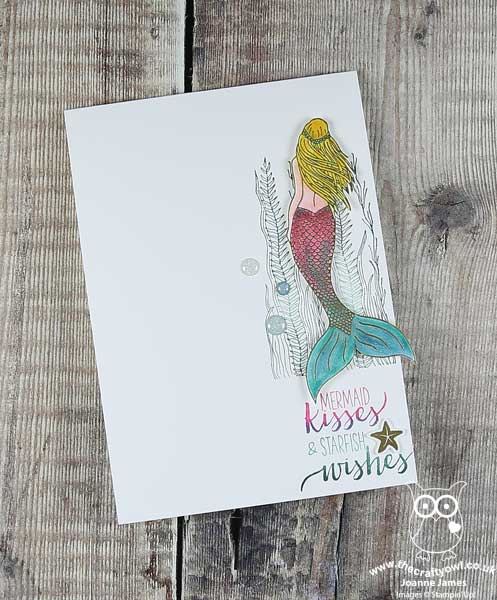
I stamped the seaweed twice and added my sentiment below as per the sketch, creating an ombre effect by sponging the sentiment stamp with Melon Mambo, Bermuda Bay and Tranquil Tide before stamping and fussy cutting a gold embossed starfish. The real star of this card though is the mermaid: I stamped her in Versamark and heat embossed in gold, then coloured her by sponging ink and blending lots of pinks and aquas to create her tail, before covering with a liberal does of clear Wink of Stella, fussy cutting and popping her on some dimensionals for extra lift. I also allowed her to sit slightly off the edge of the card for added interest.
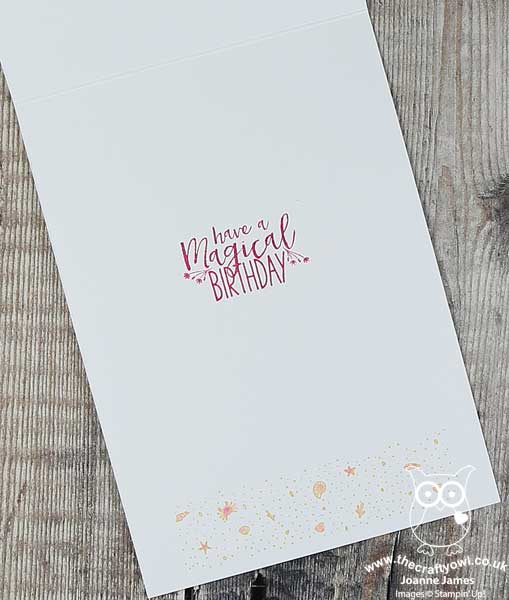
This really is one of those cards where the photo doesn't do my card justice - it is so shimmery and sparkly in real life and the blended tail colour so pretty. Try as I might though I could capture the effect on film, so you'll just have to take my word for it! I did take a quick picture of the inside too, with its seaside border:
I think this is the first time I've blogged a card using this set, but it is actually getting lots of use as I've recently decorated Rebecca's room and one of her bed sets has mermaids on it, so we are in the process of using this set to create some fun wall art and home decor pieces.
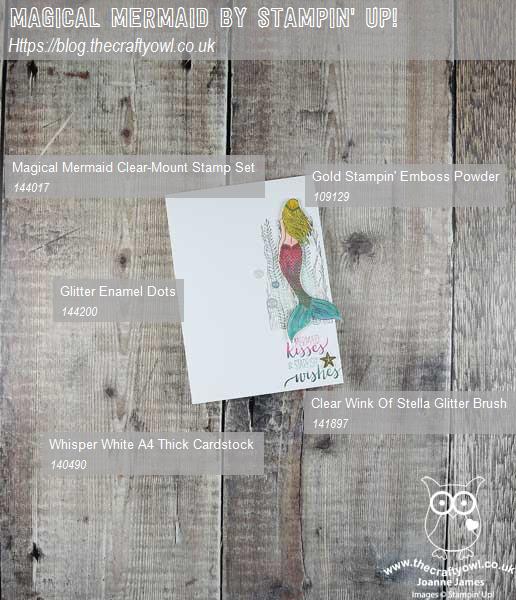
Here is the visual summary of the key products used on today's project for you to pin for easy reference:
You can see all of my 'How To' summaries on my 'How To - Tips and Techniques' Pinterest board in case you've missed any.
I'll be back tomorrow with another project. Until then, happy stampin'!
Stampin' Up! Supplies Used: