Happy Monday everyone! Apologies if you struggled to see my blog yesterday; my web hosting company was undertaking some account migration activity that was supposed to be 'behind the scenes', but resulted in some outages along the way. My website still isn't fully functioning but my blog is at least now back online - let's hope it stays that way!
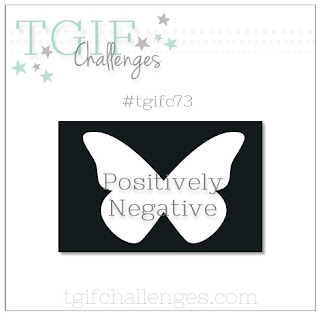
I am starting the week off bright and early with a card for this week's challenge over at TGIF Challenges where the theme is to use the negative space left after making a die cut in a positive way:
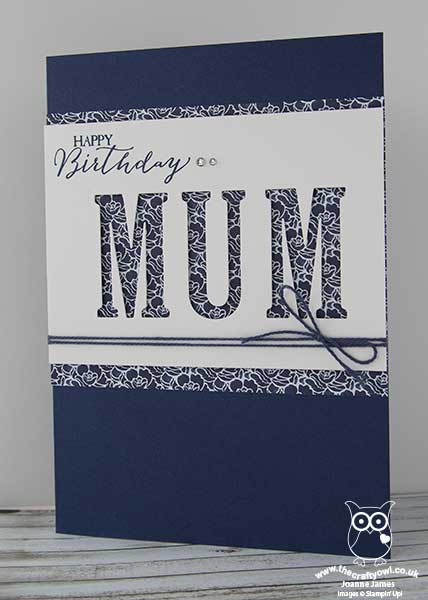
This is a technique I love to use and can be very effective. Here's the card I made for my lovely Mother-In-Law's birthday last week that demonstrates it beautifully:
Here's the low-down on today's card:
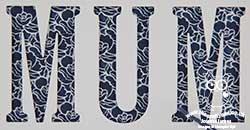
Large Letters Framelits - I used my Large Letter Framelits to create the negative die cut space on my card. I've said it before, but in case you were sleeping/skipped a bit/not paying attention or all of the above, these framelits, whilst pricey, are an investment item - they will see you through so many projects they are well worth the spend.
Floral Boutique - My negative space not only makes light work of some important personalisation here, but it also serves to showcase this gorgeous navy and white Floral Boutique Designer Series Paper. The hand-painted blooms are gorgeous and the negative space does a great job of focusing in on the paper, which would not stand out as much if the positive die cut letters had been used.
Finishing Touches - The 'happy birthday' from Birthday Basics completes my sentiment, along with a couple of rhinestones and some Night of Navy solid baker's twine tied in a bow. I used the Floral Phrases stamp set to decorate the envelope and inside of my card too.
This type of card is quite straightforward to make; the most important consideration is to ensure your letter dies are perfectly aligned. I am happy to report that my Mother-in-Law loved her birthday card, which co-ordinated with some Floral Boutique goodies as a birthday gift. Me - I loved this card so much, I created a masculine version for my Dad, who celebrates his birthday tomorrow; hopefully I'll share this one later this week.
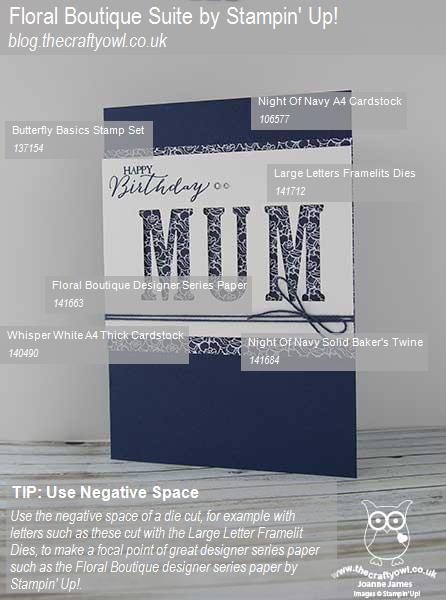
Here is the visual summary of the key products used on today's project for you to pin for easy reference:
You can see all of my 'How To' summaries on my 'How To - Tips and Techniques' Pinterest board in case you've missed any.
Back tomorrow with another project; until then, happy stampin'!
Stampin' Up! Supplies Used: