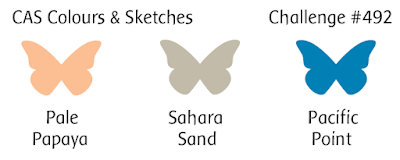
It's Tuesday and time for a new challenge over at CAS Colours & Sketches. Michal is hosting this month and it's time for our second colour challenge:

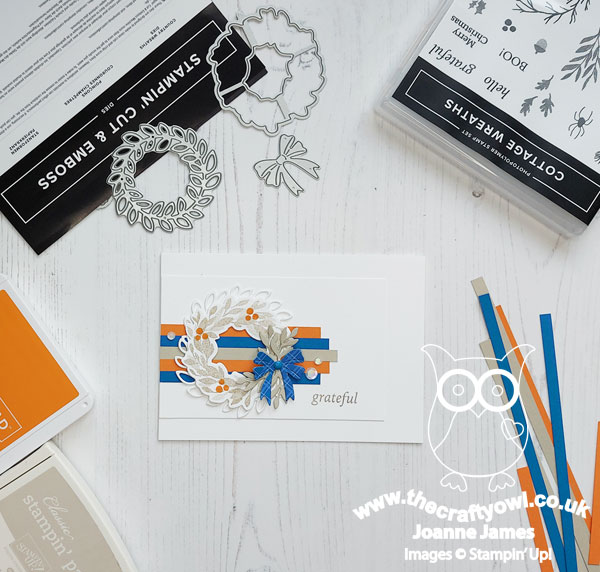
For my card today I used the sketch layout over at Try Stamping on Tuesday and used my Country Wreaths bundle to create a thank you card that is great for using up scraps - take a look:
Here's the low-down on today's card:
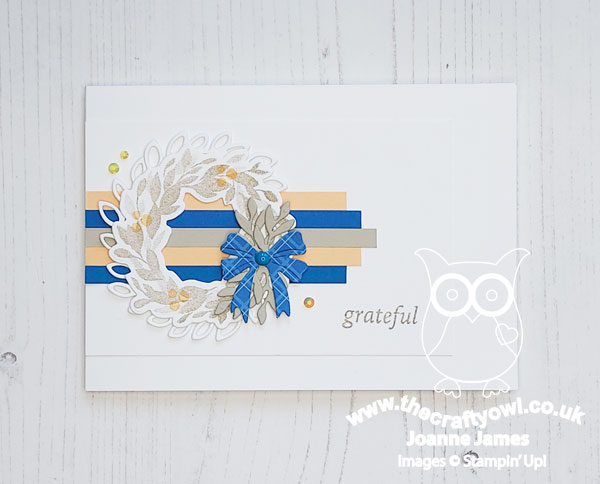
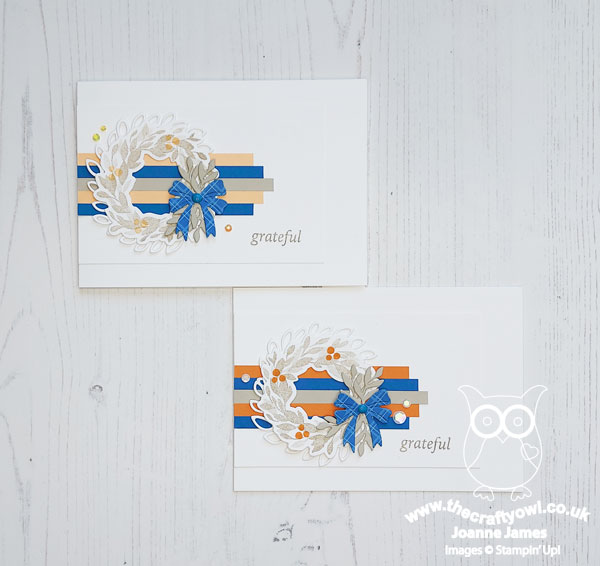
A Colour Confession - First up - a colour confession! I was feeling totally pleased with myself for having made my card for this challenge much earlier than I usually do, until I went to upload it and realised I had used the wrong colours - I made a card using Pumpkin Pie instead of Michal's chosen Pale Papaya!! So I quickly went and made a duplicate in the correct colours. I had already worked up all my photos though, so I am sharing both with you here. On the upside - you get a two for one and we can have a debate on white card you like best!!
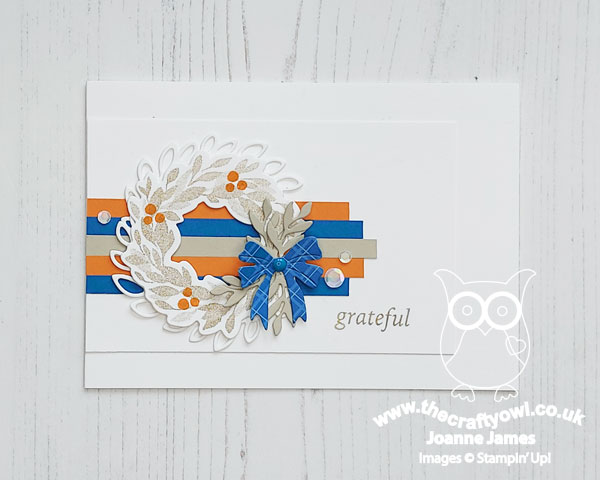
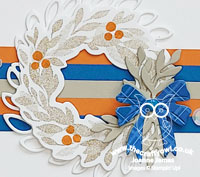
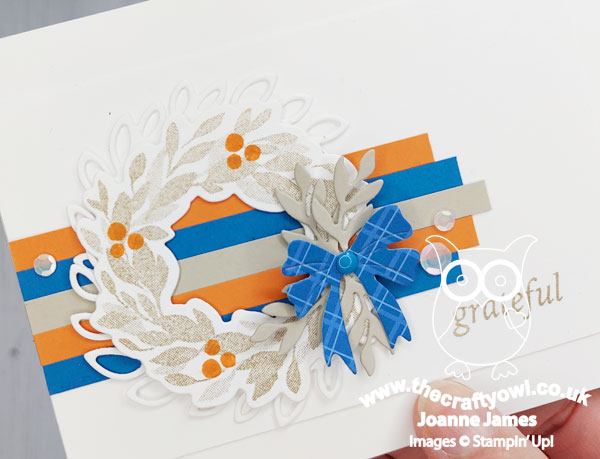
A Liberal Sketch Interpretation - I often get asked how I go about interpreting a sketch when I make a card and today's card is a good example of a less than literal one, so worthy of some explanation! I really liked the offset layers of the TSOT sketch but decided to make both my base and first mat white, so as not to detract from the clean and simple feel of my card. For the third 'layer', I added a selection of strips in the challenge colours and staggered their lengths to add interest; this is a great way to incorporate blocks of colour in a small area and it uses up scraps too, so win-win! I used this as the basis for my neutral-toned wreath, stamped with the 'Cottage Wreaths' set, with white diecut detail behind. I added some additional leaf sprigs and a gingham bow focal point. Finally, those three dots? I added three sequins on my initial card and a trio of gems on my remake but scattered them around my wreath.
This is a stretch from the sketch - but the elements of the sketch are all there. I love sketches - they are a great jumping-off point for a card.
This or That? - Here's a photo of both of my cards - one slightly bolder than the other. Which one is your favourite?
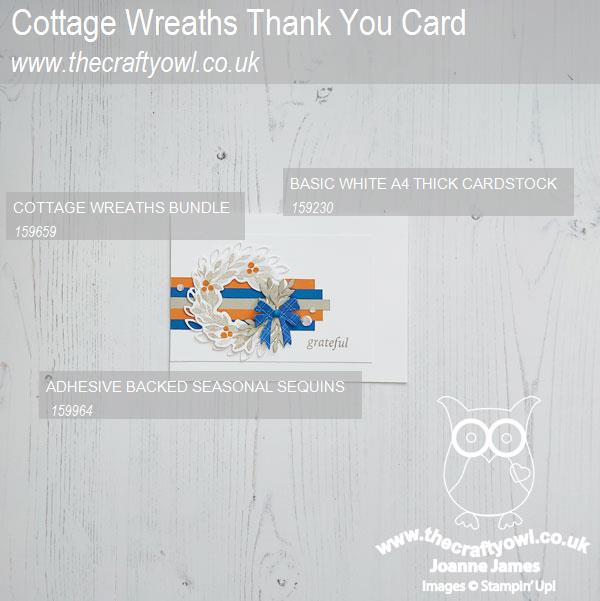
Here is the visual summary of the key products used on today's project for you to pin for easy reference:
You can see all of my 'How To' summaries on my 'How To - Tips and Techniques' Pinterest board in case you've missed any.
As a reminder, for our colour challenges, you must use all of the stated challenge colours. You may also use neutral colours; however, the challenge colours should be the most noticeable ones featured on your card. We use Stampin' Up! color names for reference, but you are welcome to use any other companies' products as long as you match the challenge colours as closely as possible.
Enjoy your day and I'll be back tomorrow with another project. Until then, happy stampin'!
Stampin' Up! Supplies Used: