by Joanne James10. October 2014 08:00It's Friday - the end of the week already! Today's card uses the offcuts from the card I made earlier in the week for my Colour Me...! design card (you can see that card here). Having cut out the leaf with my Sihouette Cameo, I was left with a perfect outline to make a stencil and since that's the theme over at Addicted to CAS this week, I thought I'd have a go.
Here's my clean and simple card with a real Autumn feel:
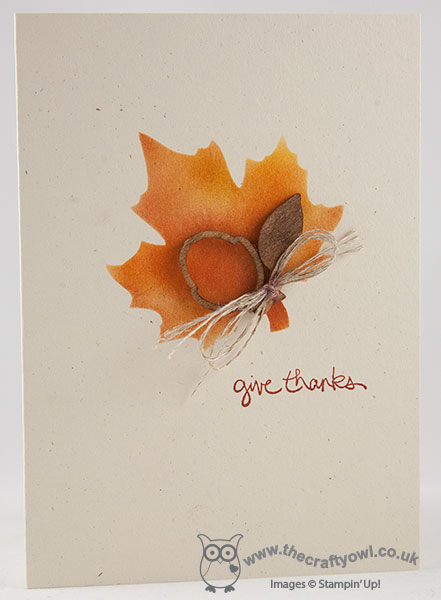
I used a combination of Hello Honey, Crushed Curry, Cherry Cobbler, Cajun Craze, Tangelo Twist and Pumpkin Pie and sponged the colours into the stencil to create my autumn leaf. I stamped on to Naturals Ivory cardstock - this card has some lovely flecks in it and a real natural feel that suited my card. I finished my card simply with a sentiment from Good Greetings stamped in Cajun Craze and some Autumn Wooden Elements that I sponged in Chocolate Chip and tied with some linen thread.
Another clean and simple card - I'm also linking up to this week's challenge over at Less Is More where the theme is the colours of 'Autumn's Bounty'; I think my sponged leaf and acorn embellishment have a definite fall feel.
Back tomorrow with another project; until then, happy stampin'!
Stampin' Up! Supplies Used:
by Joanne James8. October 2014 09:00Here's today's creative post - my Design Team card for this week's challenge over at Colour Me...! where we have the striking colour combination of Cherry Cobbler and Hello Honey to work with this week:
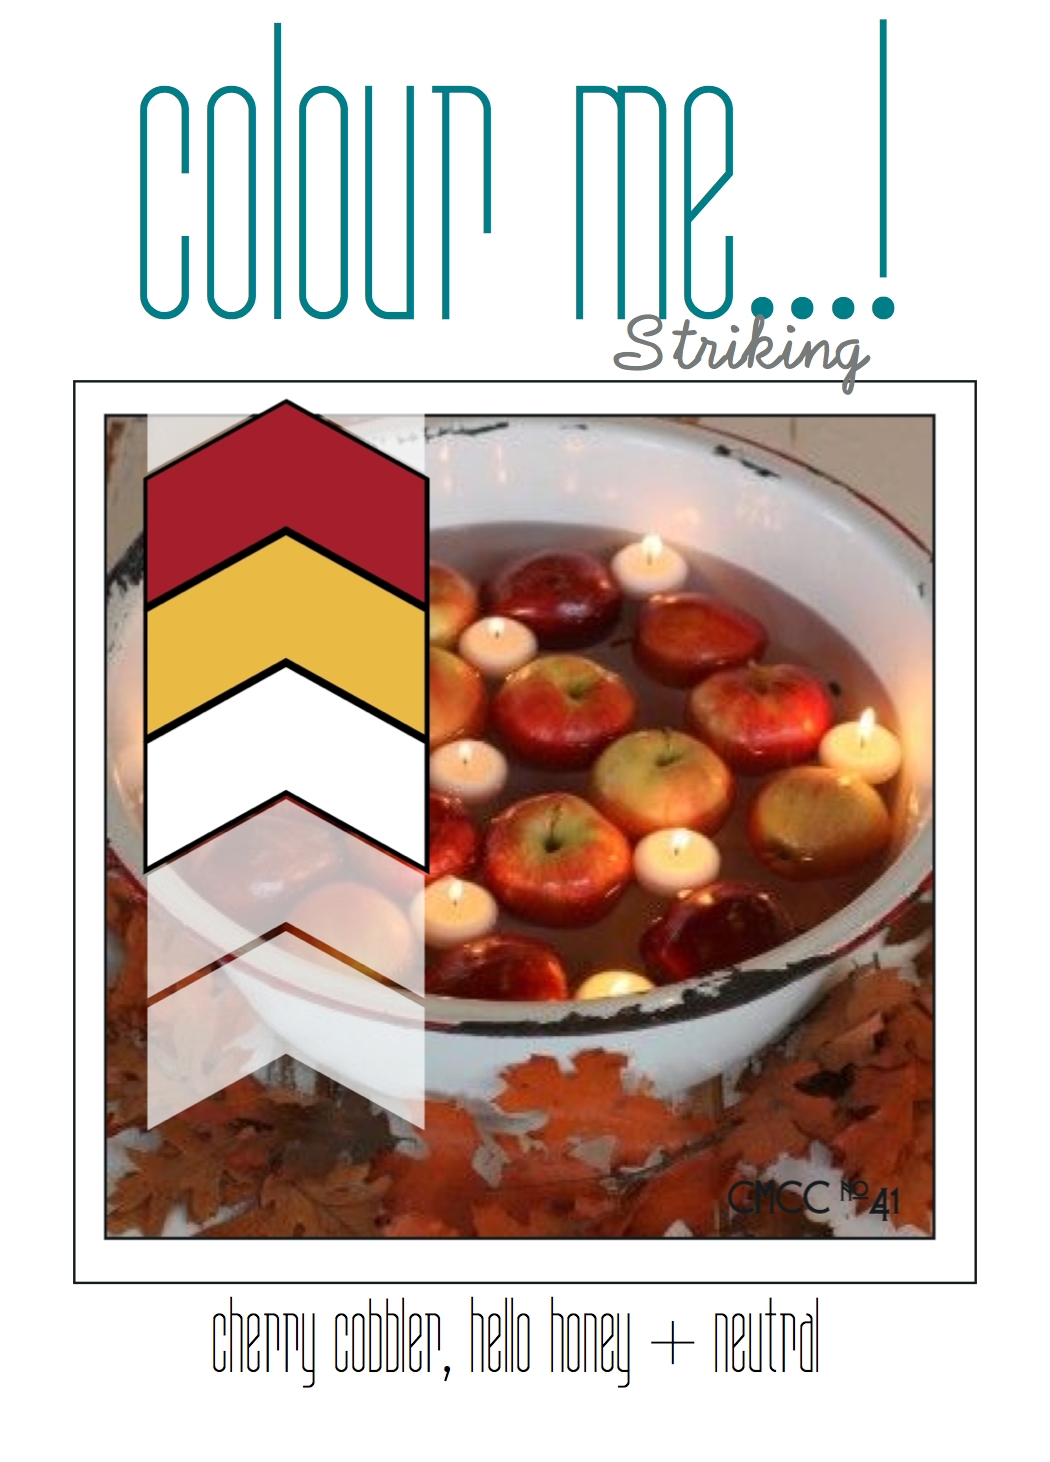
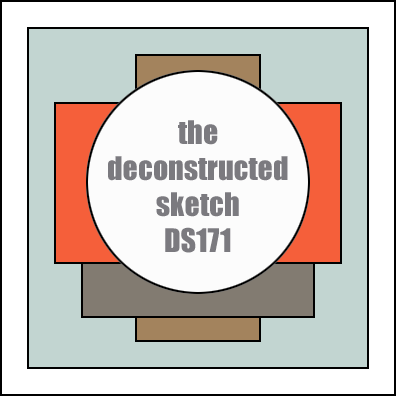
These are great autumnal colours and I like Claire was inspired by this week's photo and those lovely leaves surrounding the bowl. I also used this week's Deconstructed Sketch layout as the basis for my design. So you want to see my card? Here it is:
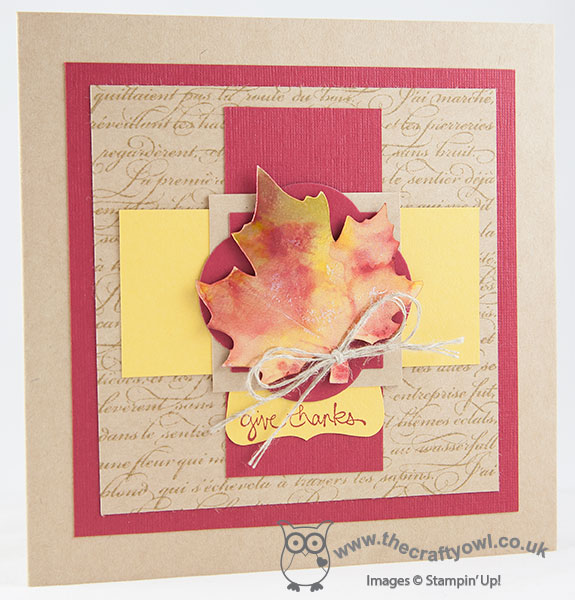
Another 6" square card - my second this week - and lots of layers, so pay attention!
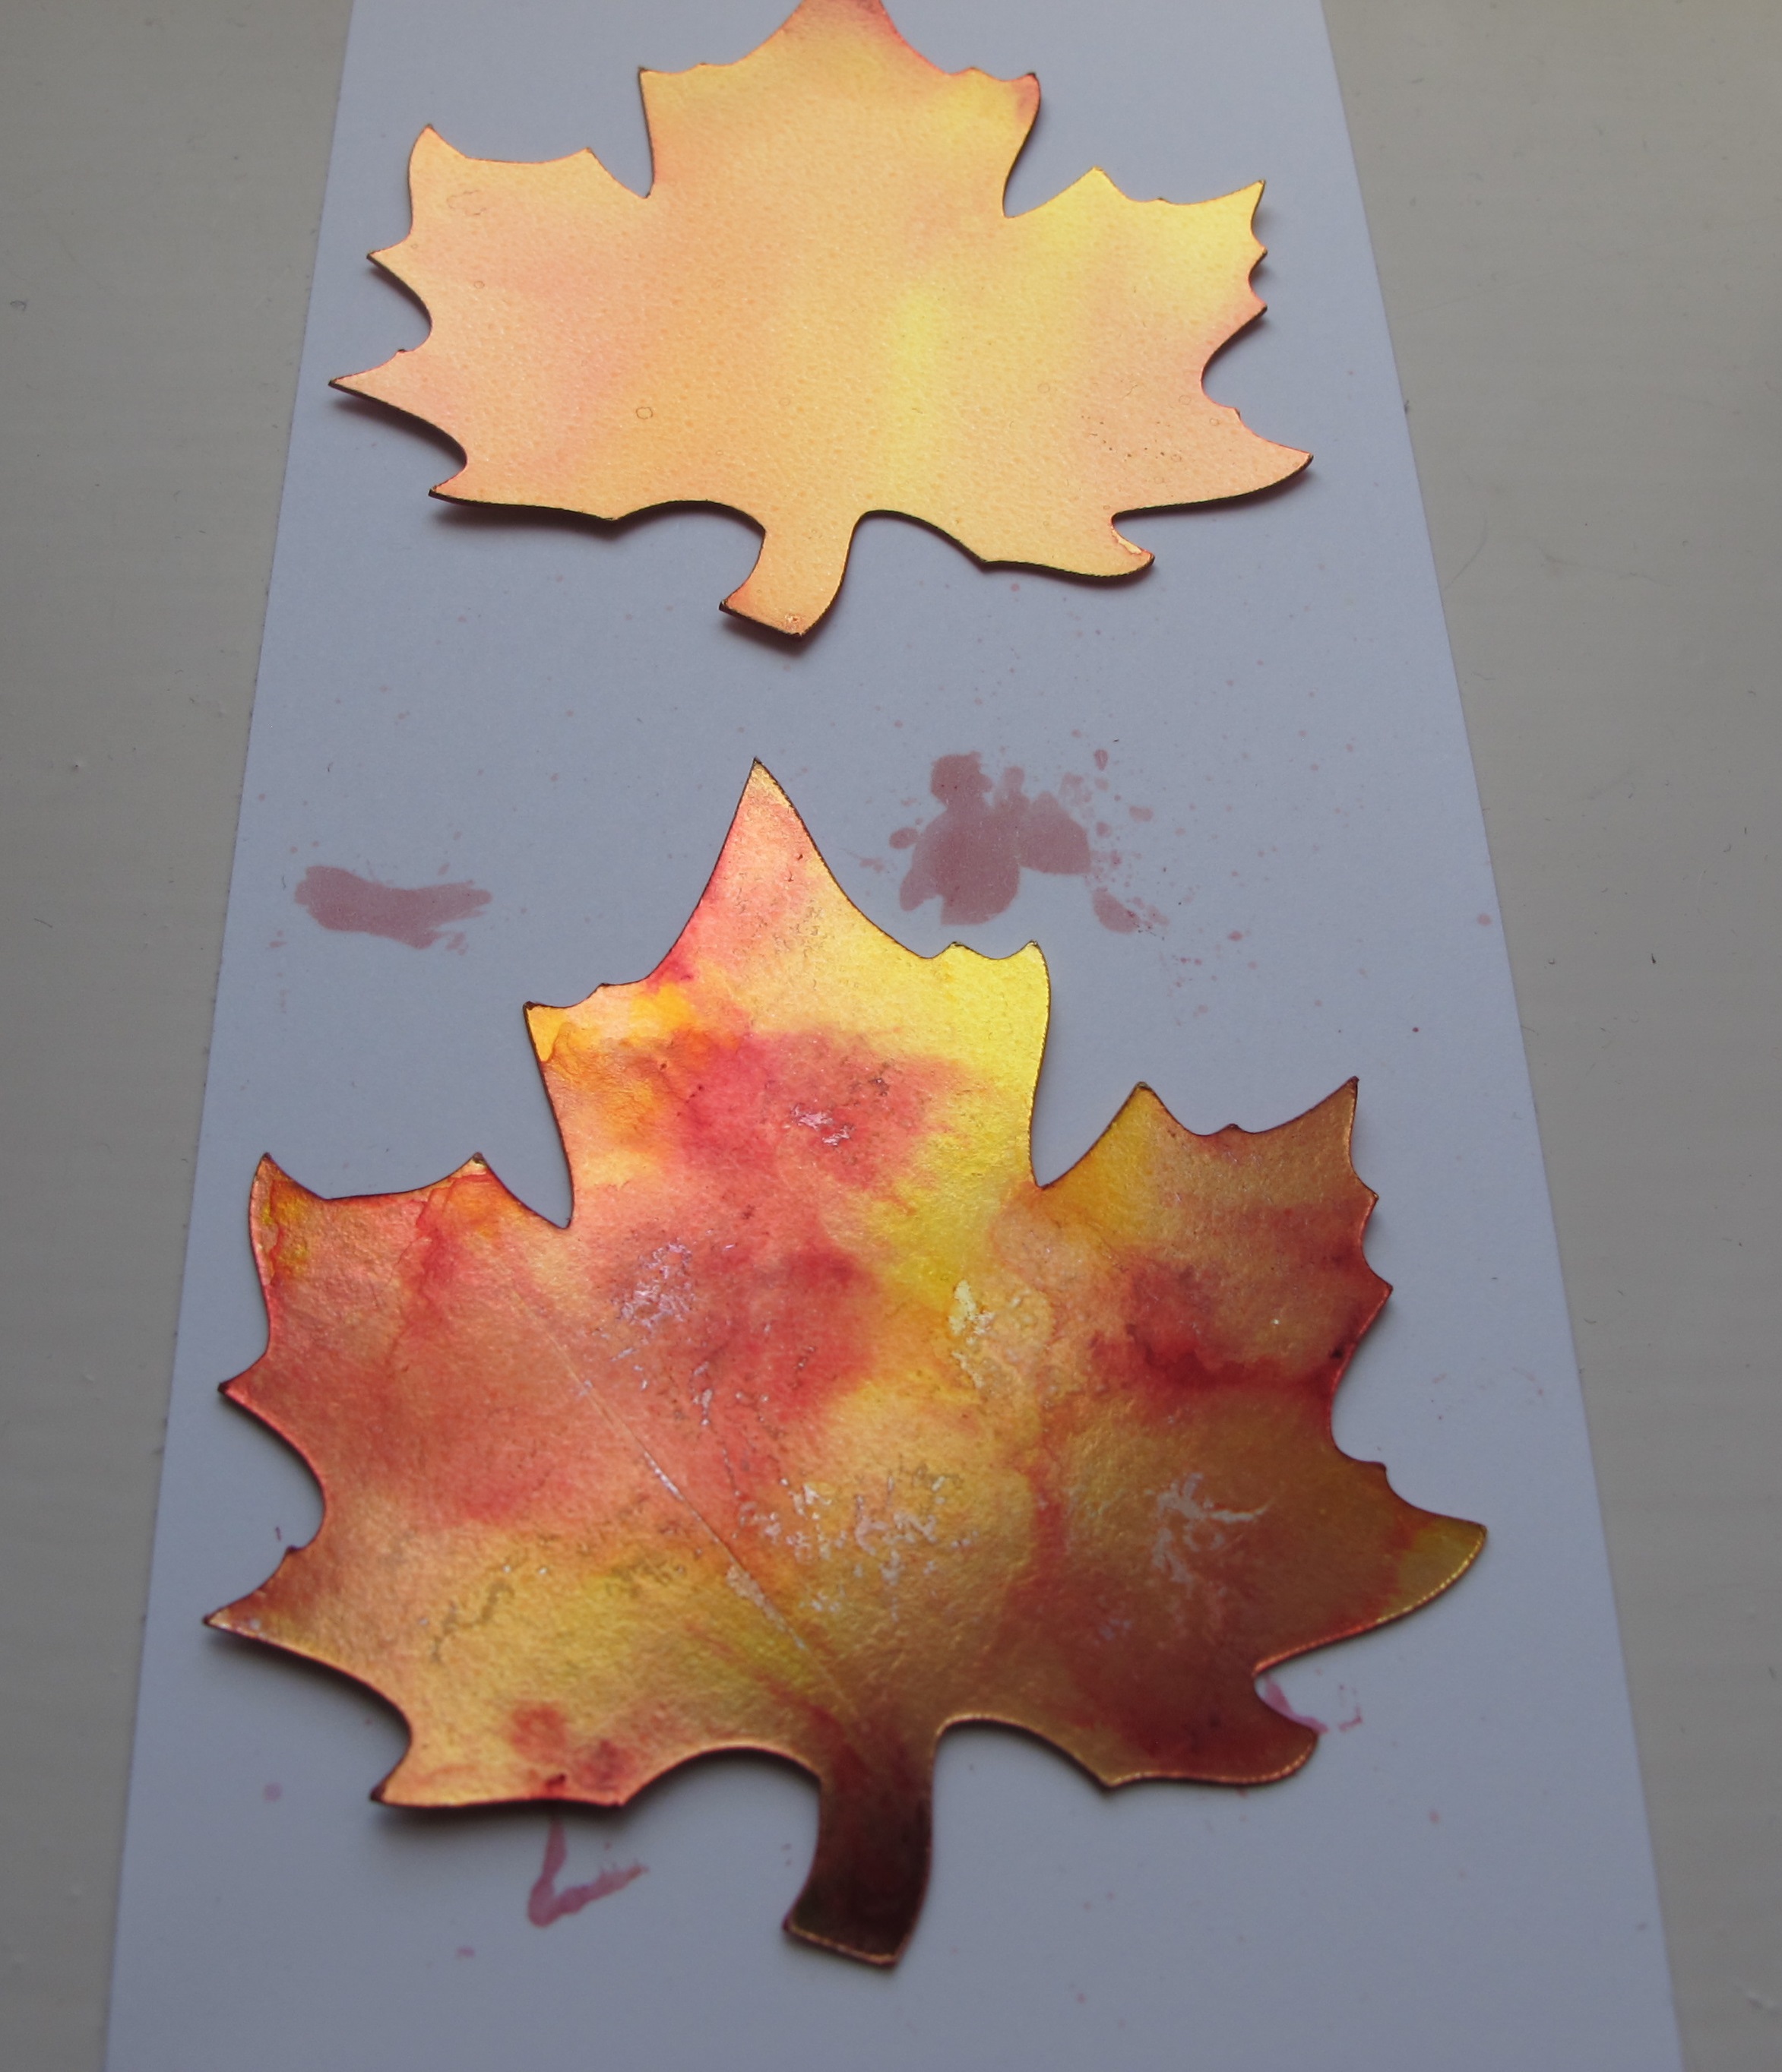
I decided today's card would be a perfect opportunity to try out a technique that I've seen a lot in blogland recently - the alcohol marker marbling technique, where you colour a piece of plastic with your Stampin' Up! Blendabilities, spritz with alcohol and then lay your glossy cardstock on top. I watched this tutorial on Splitcoast Stampers to get an idea of how to get the effect, although I decided to use gold foil in place of glossy white cardstock as I wanted to really emphasise the richness of the autumnal colours. I cut out my leaf using my Silhouette Cameo, but you could use the Autumn Accents Bigz Die if you have it. In keeping with the challenge, I used the darkest of the Cherry Cobbler Blendabilities and the darkest of my Daffodil Delight Blendabilities (much more like Hello Honey) to create my marbled leaf. Depending on how much alcohol you add, depends on the effect you achieve. I used very little for the leaf that I used on my card as I wanted to colours to remain quite vibrant, but I also made some that were much more subtle. When you are using this technique on gold foil cardstock, you need to be careful that you don't rub the card too much or otherwise some silver from the layer beneath will show through. You can see this in places on my leaf, but I like it that way - I think it just adds more to the finish of the leaf. Here's a 'work in progress' picture that shows the difference in the subtle effect you can achieve:
I tied my leaf with some linen thread then mounted it on a piece of Cherry Cobbler cut out with a Window Frame framelit, and backed this with a square of kraft cardstock. I crossed some Hello Honey cardstock and some textured Cherry Cobbler cardsock (retired) beneath this, along with a little label of Hello Honey that is stamped with my 'give thanks' sentiment in Cherry Cobbler, on top of a mat of kraft cardstock, stamped with the En Francais (retired) background stamp in Baked Brown Sugar ink. Another mat of textured Cherry Cobbler cardstock to finish before the kraft cardstock base.
So what do you think? Feel free to leave a comment on today's card, before hopping over to check out the amazing cards by the rest of the Colour Me...! team:
We look forward to seeing your striking creations.
Back tomorrow with another project that actually uses the negative space from the leaf I cut out today - pop back if you'd like to see what I did with it! Until then, happy stampin'!
Stampin' Up! Supplies Used:
by Joanne James29. September 2014 08:00Happy Monday everyone! Today I'm sharing another autumn-inspired card using this week's sketch over at Pals Paper Arts and this week's colours at Colour Q as my inspiration:
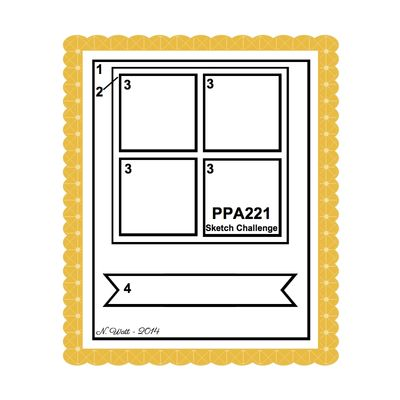
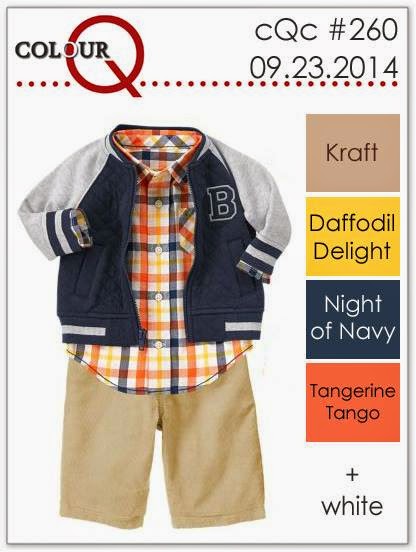
I love this colour palette and resisted the urge to recreate that check shirt, which is adorable! Instead I decided to use my Fall Fest framelits to recereate the layout of the sketch and make a bright Autumnal card - here it is:
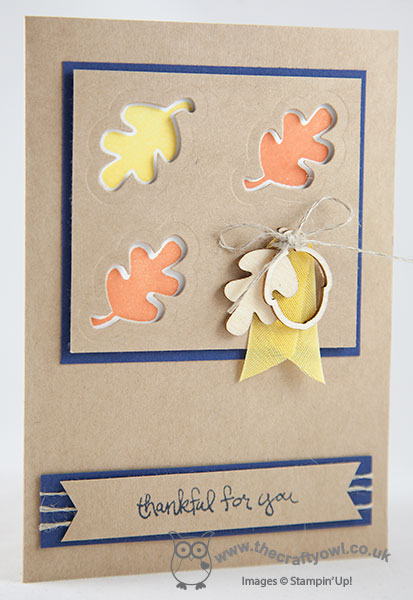
I used Kraft cardstock for the body of my card, which has a lovely texture and thickness to it. I matted a square panel of Night of Navy onto the base, then stamped some leaves in orange and yellow onto Whisper White cardstock and overlaid this with another piece of kraft attached with dimensionals with the same leaf shapes cut out so that you can see the stamped leaves beneath. The leaves are edged in white, which just helps add to their definition. In space of the fourth square, I didn't cut out - instead I tied an acorn and leaf wooden embellishment together with a piece of Daffodil Delight seam binding ribbon and some linen thread and attached them to my card. A little bulky for mailing, but a nice statement for a hand delivered card.
I added the sentiment to a banner on the bottom, using another of the stamps from the Good Greetings set (available as a hostess exclusive until the end of October) and mounted this on a piece of Night of navy wrapped with linen thread.
That's all for today; I have a Christmas card class to look forward to later using Festival of Trees, which should be fun! Back tomorrow with another project; until then, happy stampin'!
Stampin' Up! Supplies Used:
0a3ab614-cd07-42ea-a212-96cd52c4fc44|1|3.0|96d5b379-7e1d-4dac-a6ba-1e50db561b04
Tags: Fall, Fun Fall Framelits, Fall Fest, Autumn, Autumn Wooden Elements, Good Greetings, Shop online, Stampin' Up, Stampin' Up Card, Stampin' Up Card ideas, Stampin' Up Supplies
Cards | Stamping
by Joanne James29. August 2014 19:08It's Friday and I've had the most productive day today - and it's not over yet! Today I'm sharing a lovely piece of autumn (or fall, if you're American) home décor, similar to a piece by Sara Douglas that Shelli Gardner shared on her blog recently. It features a lovely new stamp set from the new seasonal catalogue called 'Gratitude For Days', along with some gorgeous Autumn Wooden Elements embellishments that are also a new item. Here is my finished frame:
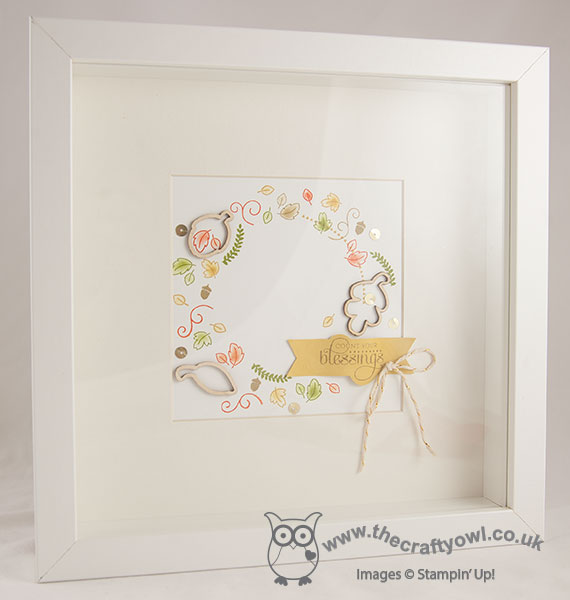
I used the stamps in the set to create a circular wreath-like pattern, using a cotton bud (cue-tip) to add some sponged colour to the centre of the leaves. I added three wooden leaves and some gold sequins, finishing with the sentiment, which I stamped in Baked Brown Sugar onto Hello Honey cardstock, and finished with a bow tied in gold baker's twine. Here's a close up of the detail:
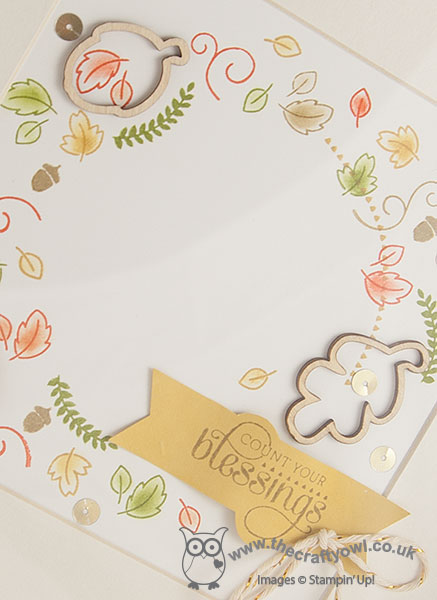
A great reminder that we have lots to be thankful for and quite simple to create. I'm really pleased with the result - I'm already working on a winter-themed one so that I will have a seasonal pair.
Short and sweet from me today; back tomorrow with another project. Until then, happy stampin'!
Stampin' Up! Supplies Used:
b585eefd-8324-40fa-b39c-1a37d6df1cc3|0|.0|96d5b379-7e1d-4dac-a6ba-1e50db561b04
Tags: 3D Projects, Autumn, Fall, Gratitude For Days, Autumn Wooden Elements, Sponging, Shop online, Stampin' Up, Stampin' Up Card, Stampin' Up Card ideas, Stampin' Up Supplies
3D Projects | Stamping