
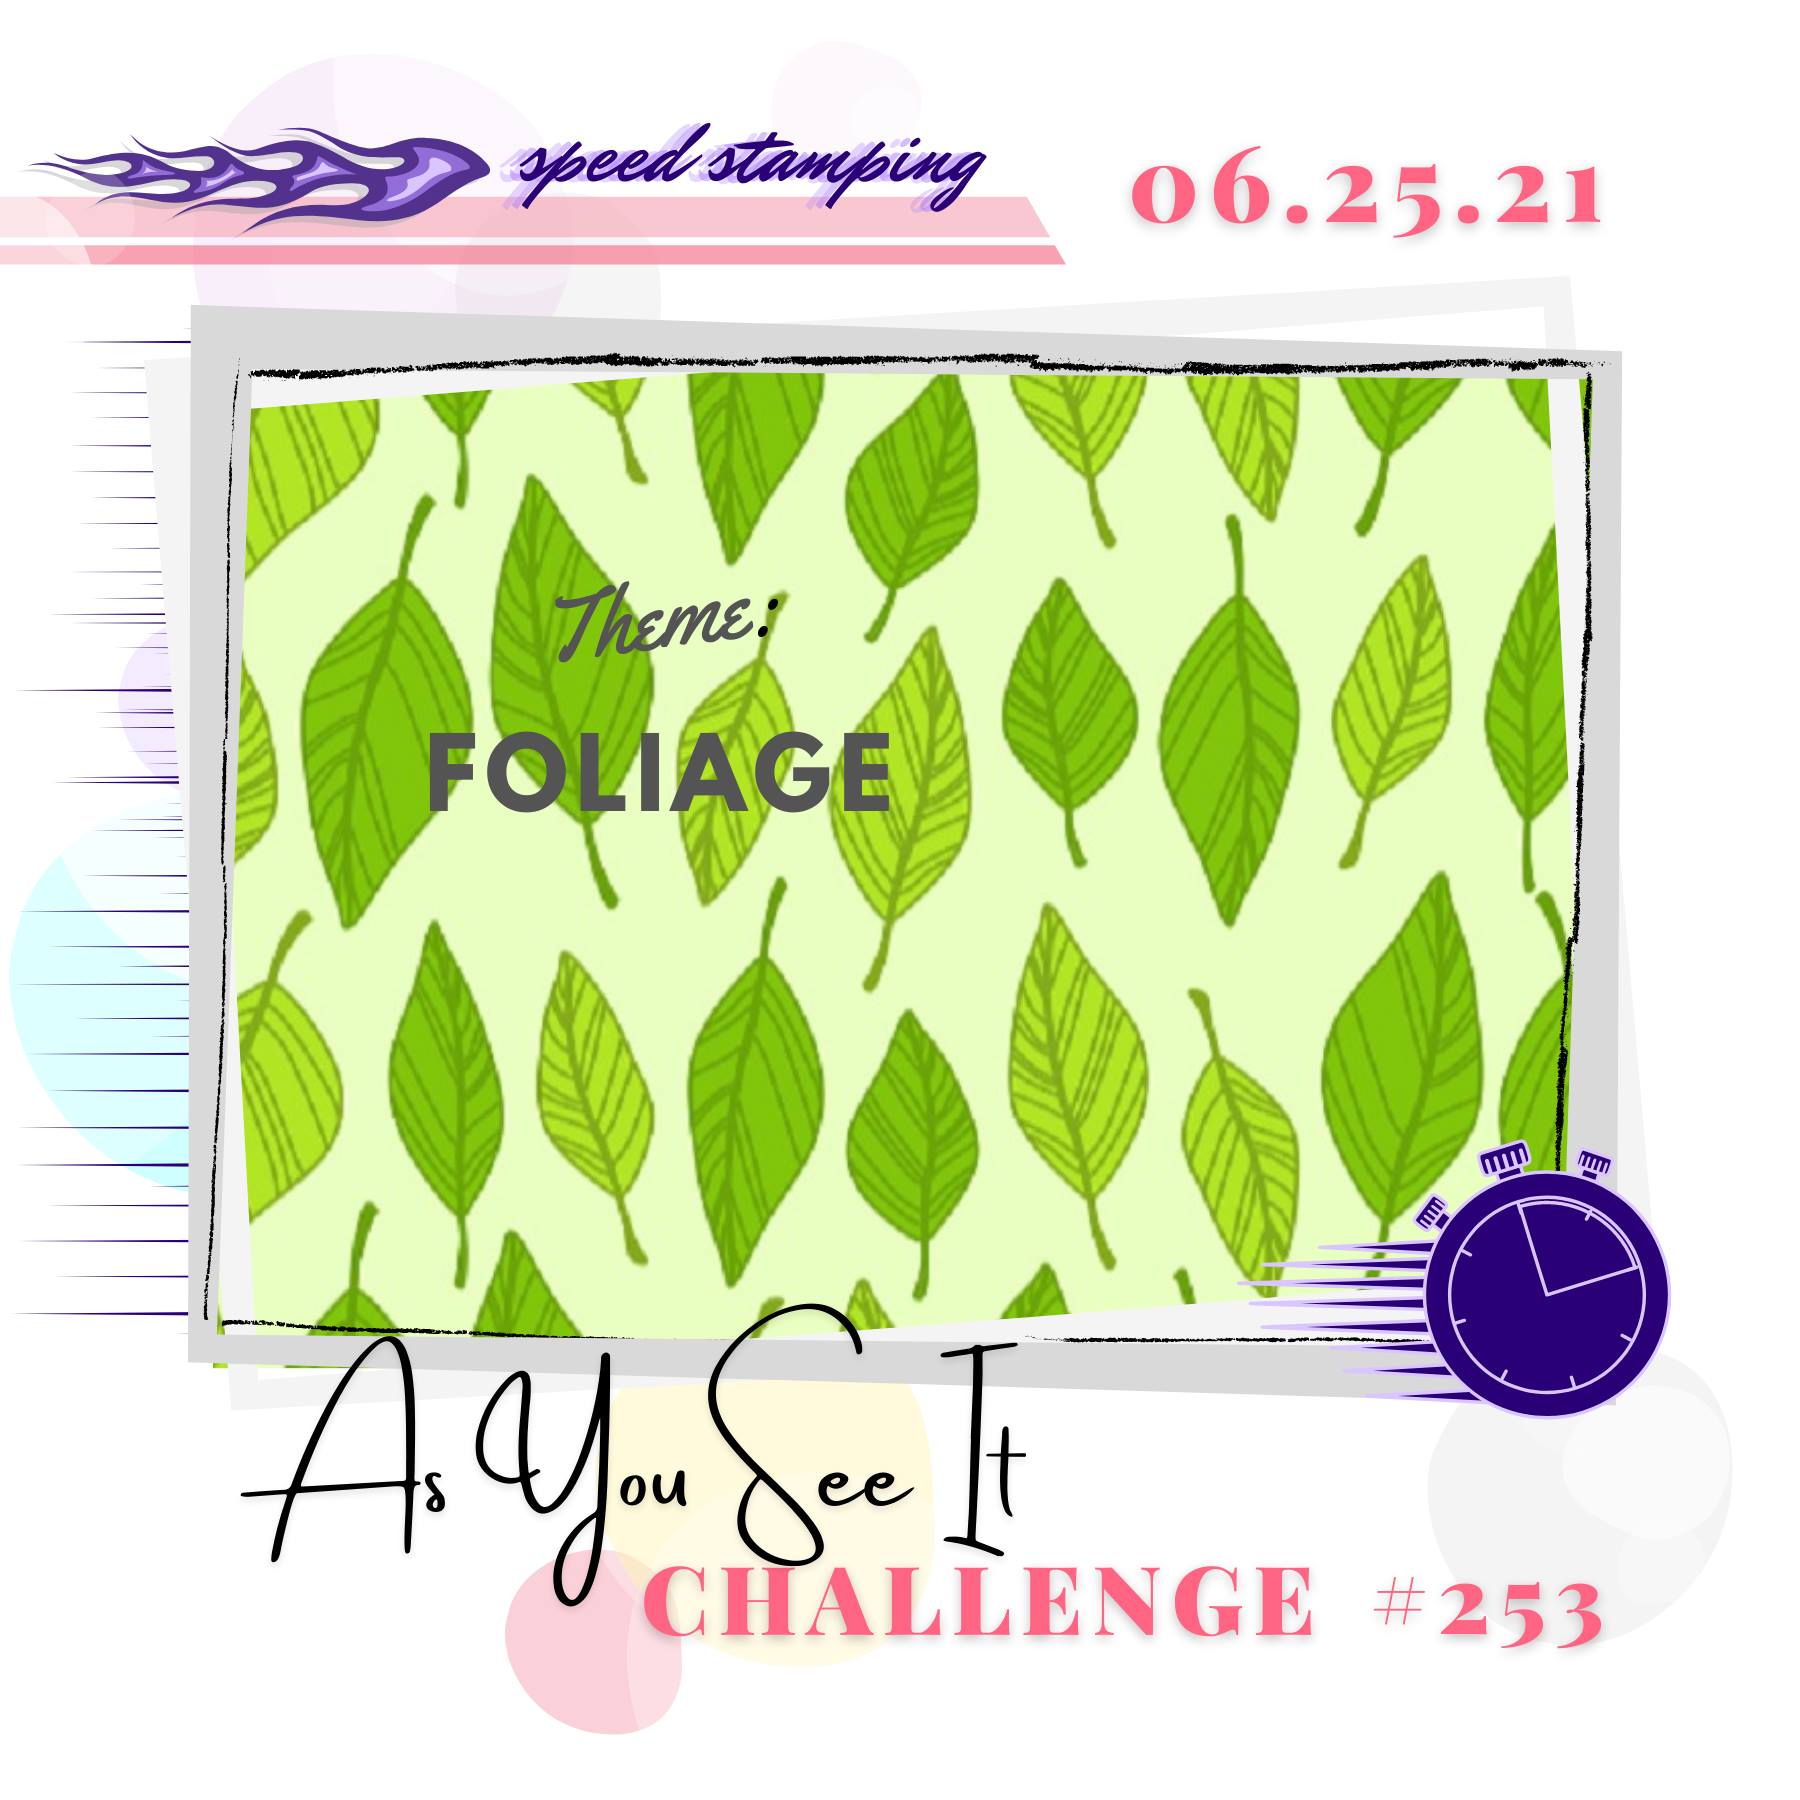
Today I'm sharing my design team card for our new challenge over at As you See It where it's time for our speed-stamping challenge:
I usually have to spend a long time planning for a speed challenge, however my idea this week came together in a jiffy - take a look:
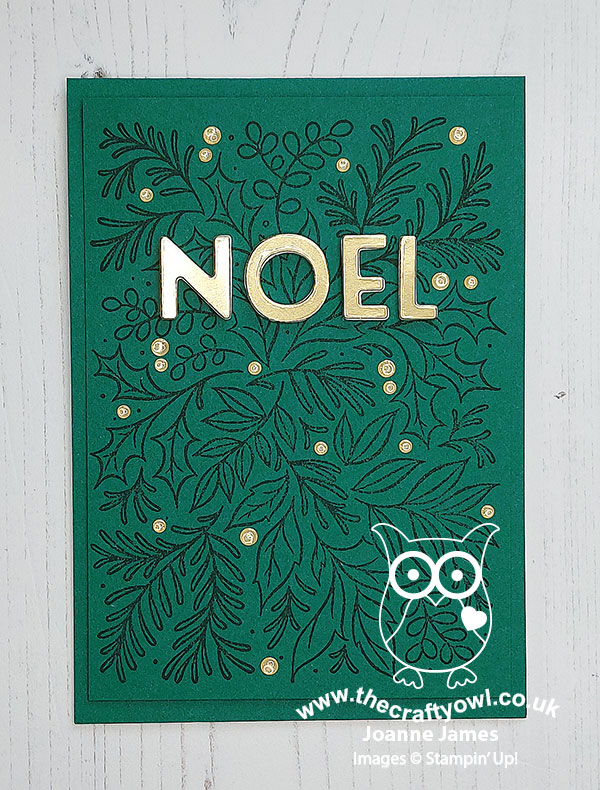
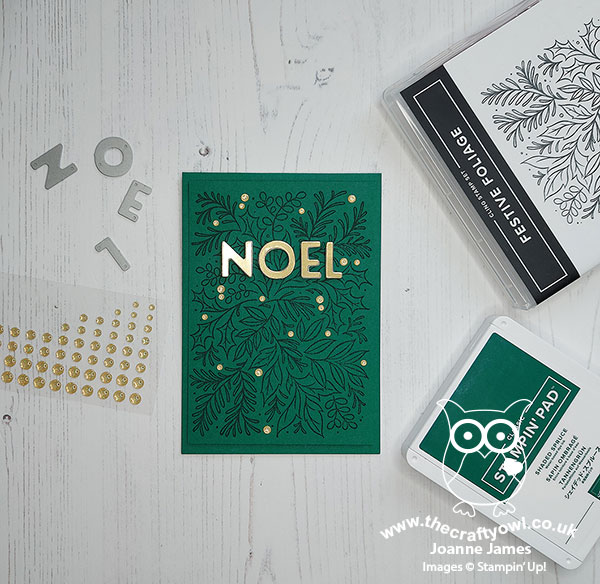
I went all-out for Christmas with my card today! Here's the low-down:
Festive Foliage - My favourite new background stamp in the new annual catalogue is the Festive Foliage stamp I've used on my card today - so perfect for festive Christmas backgrounds and featuring holly, pine, mistletoe and more. Using my Stamparatus, I stamped it tone-on-tone in Shaded Spruce on the same colour cardstock - this is one of my favourite Christmas greens.
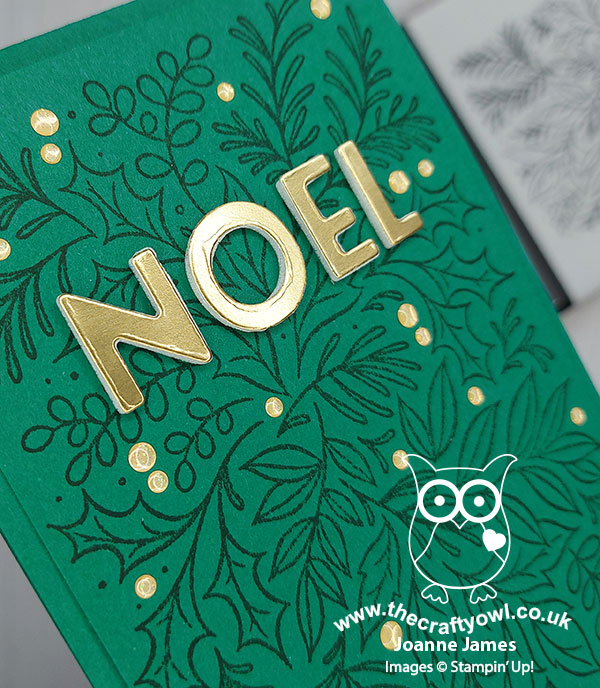
Playful Alphabet - I added the word 'NOEL' in gold foil and cut with my Playful Alphabet dies, raised on foam adhesive sheets, across my card front for a simple sentiment. I added a liberal sprinkling of (retired) gold glitter enamel dots in place of some of the dots in the stamped design.
Keep It Simple - The key to a speed challenge is always to 'keep it simple' and this card definitely does: the stamping took no time at all using my Stamparatus and I stamped it on a panel to make it easy to cut to an even size afterwards, a simple gold foil diecut sentiment and a liberal sprinkling of glittery enamel dots. My card was completed in 9 minutes 8 seconds - and most of that time was taken peeling and placing my enamel dots! They add a nice touch of sparkle amongst the green though, don't you think?
After I'd completed today's card, I went back to my Stamparatus and stamped another bunch of these green panels to make a few more stepped-up cards; I'll share those with you another day.
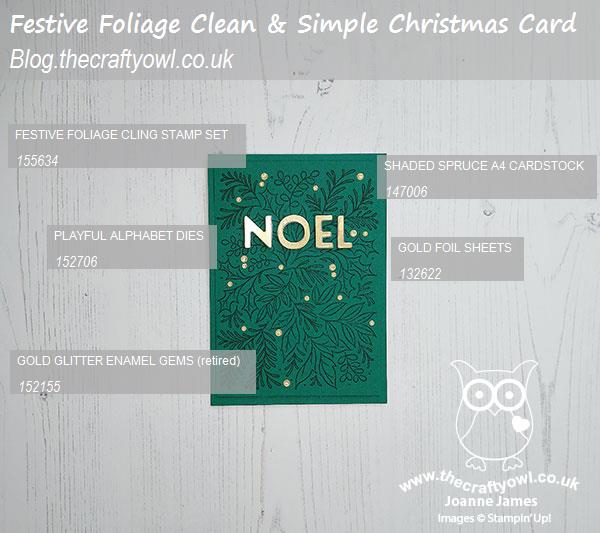
Here is the visual summary of the key products used on today's project for you to pin for easy reference:
You can see all of my 'How To' summaries on my 'How To - Tips and Techniques' Pinterest board in case you've missed any.
Here's a summary of our challenge rules:
- Create any card, scrapbooking page, 3D project or packaging project that fits the challenge.
- Please include the challenge graphic and link back to the challenge in your blog post. Turn off word verification so we can leave you lots of lovely comments. Make sure you link the post not the whole blog to the Linky. Use #AYSIXXX when uploading to a public gallery.
- If you’re unsure about ‘the rules’, check the details under the Challenge Guidelines tab on the As You See It Challenge homepage.
- In a speed stamping challenge, please time yourself and say in your post how long your card took to complete.
We look forward to seeing your creations in the AYSI gallery.
It just so happens that today is the 25th of the month so the perfect time to link up with this month's
Rudolf Days Challenge where their latest Christmas card challenge goes live today. There is something quite satisfying not only about creating a card in under 10 minutes, but a Christmas card for my stash to boot!
Enjoy your day and I'll be back tomorrow with another project. Until then, happy stampin'!
Stampin' Up! Supplies Used: