Today I'm sharing a card for the current CAS on Friday Challenge with the theme of 'New Home' that was inspired by the photo over at Inspired By that you can see below:

I was delighted that this card was chosen as the winner of the last Inspired By challenge and I just had to play along again this week. Aren't those stacking elephants cute?! Now you might be thinking how did the photo inspire today's card to welcome someone to their new home - with not an elephant in sight! Well take a look at my card and I'll explain all - here it is:

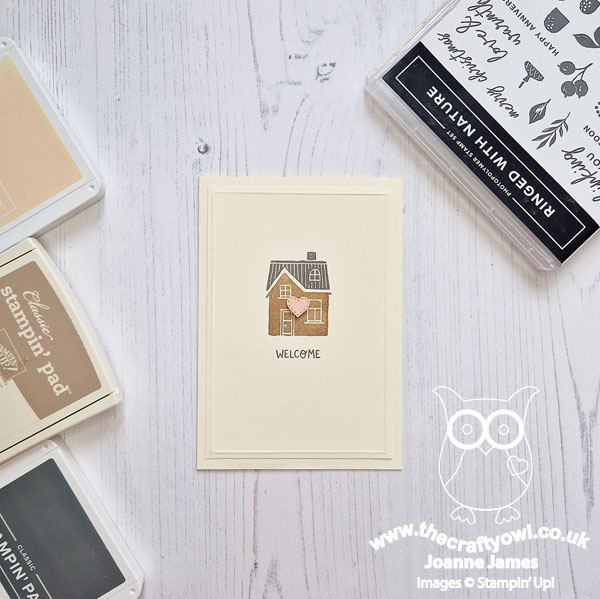
Here's the low-down on today's card:
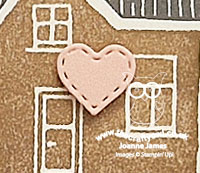
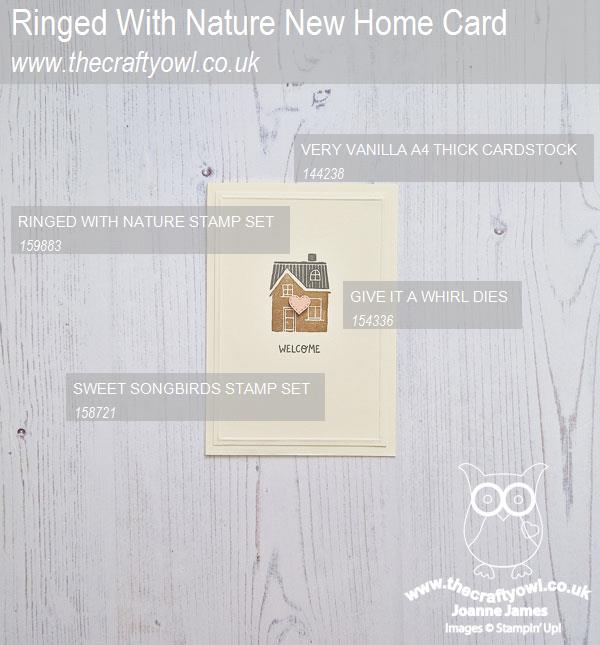
Ringed With Nature - The sweet little house from the 'Ringed With Nature' stamp set is perfect for a new home card, so I knew I wanted to make this my focal point. The neutral colours of the Inspired By photo were perfectly suited to my house and I liked the idea of blocks of colour. Whilst my blocks of colour are represented by the individual elements of my design - Very Vanilla card base, Basic Grey roof, Crumb Cake walls and Petal Pink heart - rather than elephants, the inspiration is there. In addition to a scored frame, I diecut my heart before adding to my house using one of the Give It A Whirl Dies for a little extra detail:
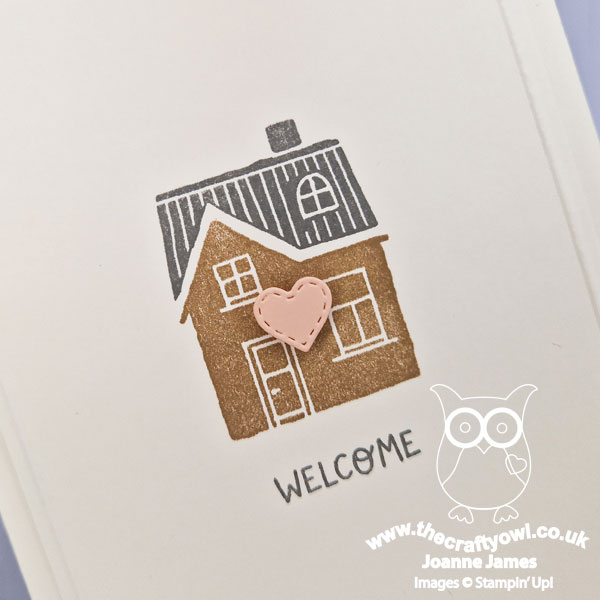
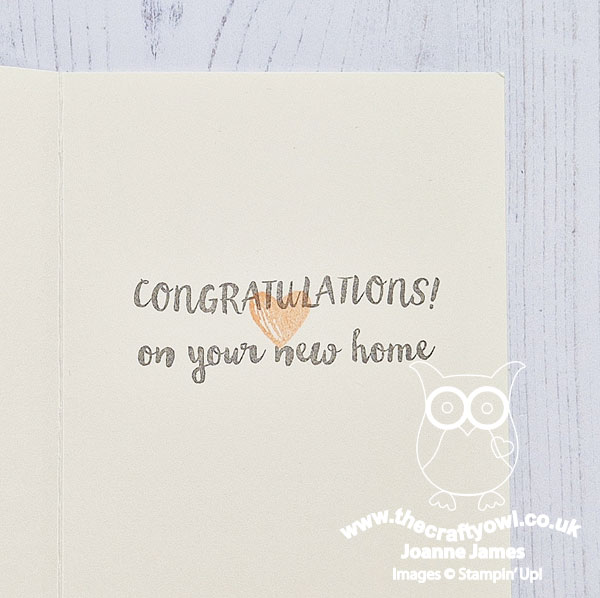
Sweet Songbirds and Home Life - Both of the sentiments on my set come from other sets, as there isn't one in 'Ringed With Nature' that's suitable. My tiny 'Welcome' is from 'Sweet Songbirds' and the greeting on the inside is from a long-retired set called Home Life (with the stamped heart from Ringed With Nature):
Songbirds Of A Different Kind - I have been having a conversation with one of my Paper Player teamies, the lovely LeAnne, this week about feathered friends of a different kind. LeAnne has many beautiful birds visit her garden feeders all year round (check out her blog here if you're interested - I've linked to Sunday's Paper Players post as it has some fab bird photos!) and I was sharing with her the latest developments on the blue tit family that hatched in one of my birdboxes last week. For any of my international readers who would like to know more about this very British bird, you can read about them here. I have two blue tit boxes on the side of my house that are fitted with cameras, so I am able to see everything that is going on inside them without disturbing the occupants. The current nest was home to 10 birds, although I am currently only counting 8 chicks (it's not unusual to lose one or two within the first few days, as the strongest babies win the battle for food). It's now a week since the eggs hatched and whilst the chicks are still tiny and quite ugly, their wings are starting to develop today and they are growing fast. As a treat for LeAnne, I thought I would upload a couple of short video clips of the activity today; in the clips below you can see both the male and female flying back and fore (the entry to the bird house is at the bottom of the screen), feeding and sitting on the nest. The second, shorter clip shows more of the colouring on the adult bird. Please bear in mind I recorded this video of the tv on my phone, so it's basic at best - the nest is right at the very back of the nesting box, so the video camera does lose a little of the detail at the top of the screen. That said - enjoy!
Here is the visual summary of the key products used on today's project for you to pin for easy reference:
You can see all of my 'How To' summaries on my 'How To - Tips and Techniques' Pinterest board in case you've missed any.
Enjoy your day; mine has felt a little short as my afternoon school run was brought forward, on account of the youngest of the James Juniors having had two exams today and as such finishing earlier. We are officially one subject down - just 9 more to go!! I'll be back tomorrow with another project. Until then, happy stampin'!
Stampin' Up! Supplies Used: