Woohoo! Today it's Sunday and it's time for the first challenge of the year over at The Paper Players! We have all enjoyed the Christmas break and are back with a fresh new blog header and some snazzy challenge badges courtesy of Nance and two amazing guest designers: Su Mohr and Wanda Cullen. If you missed my introductory post over at The Paper Players earlier this week you can read all about these lovely ladies here. We are thrilled that they are going to be sharing their creative talents with us and you in 2019 - a big Paper Players welcome to both of you!
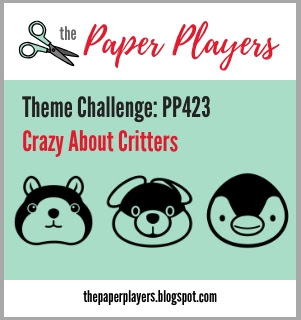
For our first challenge of 2019 it's the turn of the fabulous Ann to host this week and she has a fun theme challenge for you to work with:
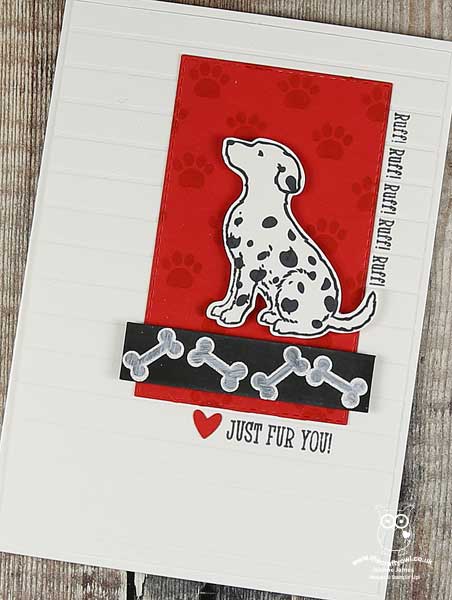
I had so many choices for today's card; in fact, I ended up making not one, not two - but four different cards for this week's theme, and then couldn't decide which one to use! I blogged one of them featuring a sweet little bumble bee yesterday - if you missed it, you can see that card here - and decided today to go with something old and something new with a card and matching treat box that is a tribute to all four-legged friends. First up, here's my card:
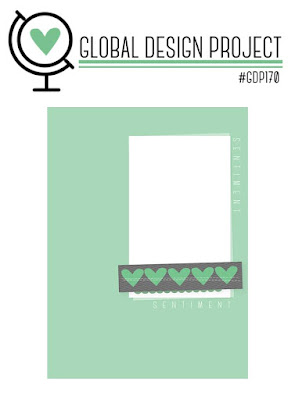
Now I must confess I almost didn't blog this card today, as my fellow teamie LeAnne also used the sketch layout from Global Design Project for her layout this week and used the new 'Nine Lives' stamp set that is the feline equivalent of the 'Happy Tails' set I chose to use and so there is a distinctly similar look and feel to our cards this week as a result. I figured though that whether you are a cat or dog lover, between us we have you covered so I decided to go ahead! You can check out LeAnne's card on the Paper Players blog post and read more about the detail of her card over on her blog WeeInklings which is well worth a follow.
In the meantime, here's the low-down on today's card:
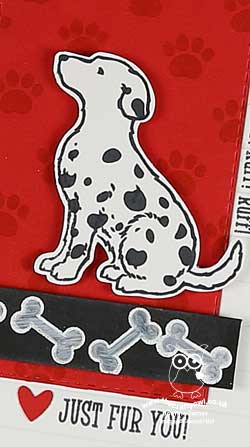
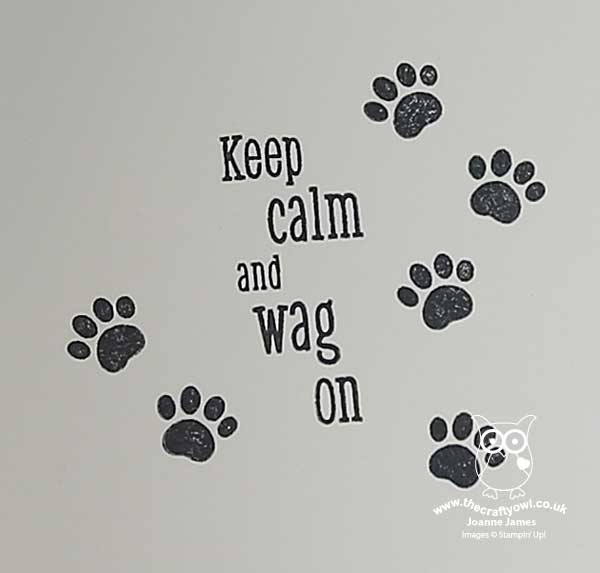
Happy Tails - The 'Happy Tails' bundle is one of my favourite bundles in the new Spring-Summer catalogue. The stamp set has a realistic dog with a collection of fun sentiments and decorative bits and pieces - a kennel, heart, collar and bone and a great selection of sentiments for all kinds of cards for the dog-lovers amongst us. The #GDP170 sketch was perfect to highlight lots of these co-ordinating words and images - and I chose to use this sentiment on the inside of my card too, with a few more pawprints for good measure:
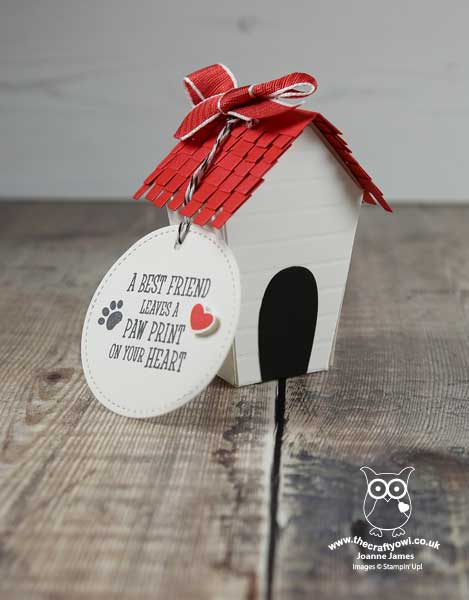
Dalmation Dog - I created a dalmation with my black-on-white spots and added a red background so that he would really stand out. As if the stamp set wasn't great enough, it has a co-ordinating Dog Builder Punch too so that you can punch your puppy dog straight out with ease - no fussy cutting required!
A Kennel Treat Box - The minute I saw the dog builder punch I just knew I would need to create a little dog kennel for him using my retired Home Sweet Home thinlits - the box is the perfect size! I actually made this first and then took the embossed striped panels of my kennel and bright Poppy Parade red roof and incorporated the same texture and colour into my co-ordinating card. The roof of my box opens to hold a few chocolates or maybe even some doggy treats - I added a tag using another sentiment from the Happy Tails set, along with a punched heart, also courtesy of the Dog Builder Punch:
I hope you like my pair of projects today - they were fun to make!
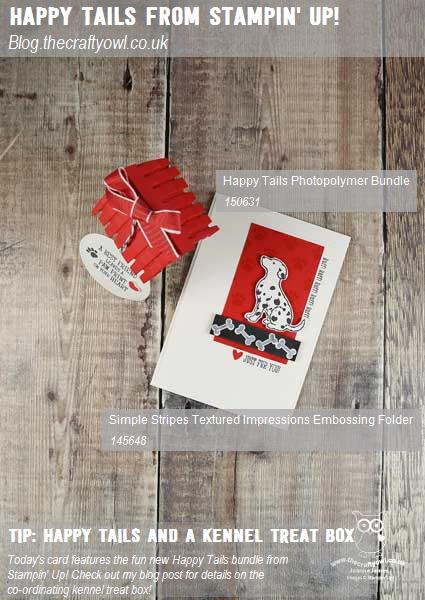
Here is the visual summary of the key products used on today's project for you to pin for easy reference:
You can see all of my Product and 'How To' summaries on my 'How To - Tips and Techniques' Pinterest board in case you've missed any.
Before you reach for your ink and papers, check out what our amazing team has created to inspire you this week:
The Paper Players Design Team
Here's a quick recap of our challenge rules:
1. Create a new paper project
2. Upload your creation to your blog with a link back to us and provide a direct link to the post featuring your challenge submission.
3. Please link your card to no more than four challenges, TOTAL.
4. Have FUN!
You can see all of my 'How To' summaries on my 'How To - Tips and Techniques' Pinterest board in case you've missed any.
Enjoy your day; I'm hoping to get a little more time in my craft room and have some quality family time since our sporting commitments don't ramp up fully until next week. Either way, enjoy your Sunday and I'll be back tomorrow with another project. Until then, happy stampin'!
Stampin' Up! Supplies Used: