Today it's Sunday and time for this week's new challenge over at The Paper Players! It's the turn of the fabulous Anne Marie to host this week and she has a warm colour challenge for us to work with:

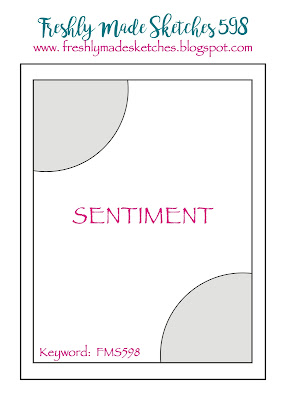
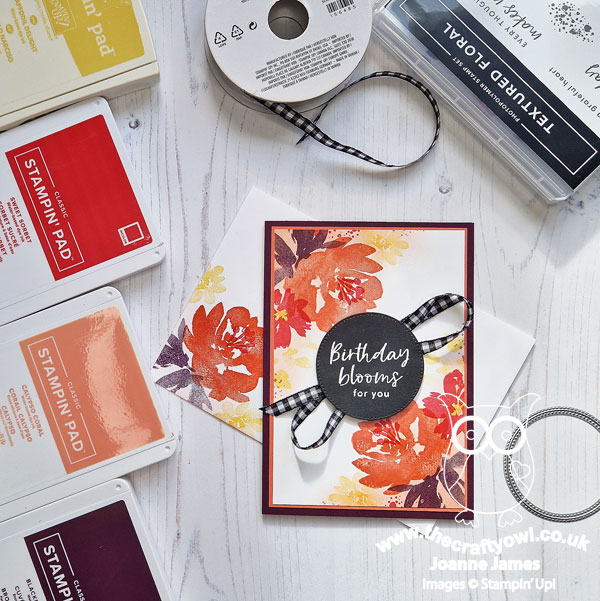
I love these warm colours together! I paired them with Jen T's fabulous sketch over at Freshly Made Sketches this week and grabbed one of my new sets to create a pretty birthday card - take a look:

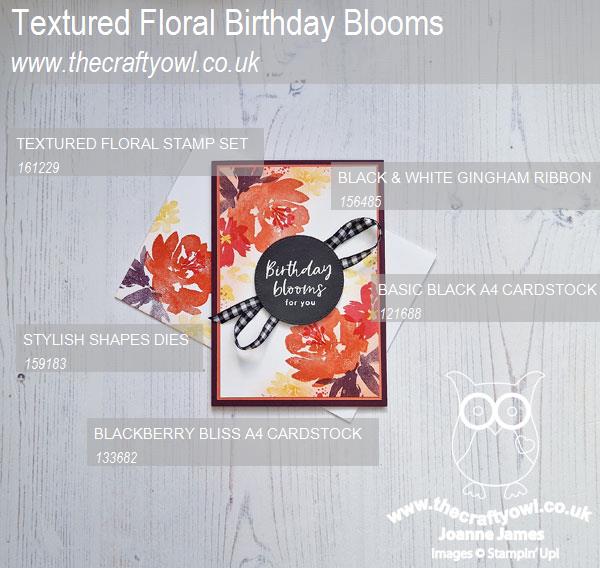
Here's the low-down on today's card:
Textured Floral - You know when you think you have enough floral sets and you couldn't possibly need another one? Yep, that was so not me when we had the recent stamp sale! I picked up the Textured Floral stamp set and couldn't wait to create something with it. The texture on these stamps adds so much detail and whether you use in conjunction with the co-ordinating dies and layer or use the stamps along to create more of a collage feel, this is a stamp set with lots of possibilities. It's a great set for a beginner stamper too - you really can't go wrong with it! I stamped a mirrored collection of florals in opposing corners and added some additional Calypso Coral ink with a blending brush to achieve even greater warmth and colour.
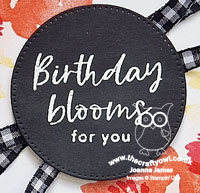
A Straightforward Sketch? - I love Jen's sketch this week and it was perfect for me to experiment with my corner florals. When it came to that sentiment though, I dithered for ages! I did consider a simple horizontal sentiment stamped directly onto my floral panel (a more literal interpretation of the FMS layout), but my sentiment was overpowered by the bold florals. I ended up trying diecut sentiments in various shapes/colours, eventually settling on a white-on-black sentiment cut with one of my circular Stylish Shapes Dies. I added a twist of gingham ribbon behind it for a little extra detail:
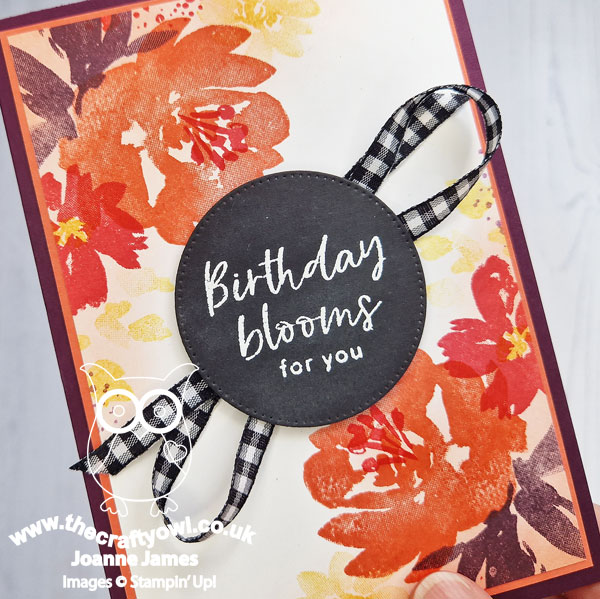
I like this version better and I think with these bold colours the addition of black as a neutral works well.
Finishing Touches - Finally you can see a hint of the decoration I added to the front of the envelope; I carried the design to the inside of the card too. No naked envelopes or insides here! I have lots of September birthdays to prepare for, so this one will be heading into my stash. I am looking forward to having more opportunities to play with this set!
Here is the visual summary of the key products used on today's project for you to pin for easy reference:
You can see all of my Product and 'How To' summaries on my 'How To - Tips and Techniques' Pinterest board in case you've missed any.
Before you reach for your ink and papers, check out what our amazing team has created to inspire you this week:
The Paper Players Design Team
Here's a quick recap of our challenge rules:
1. Create a new paper project
2. Upload your creation to your blog with a link back to us and provide a direct link to the post featuring your challenge submission.
3. Please link your card to no more than four challenges, TOTAL.
4. Have FUN!
Enjoy your day; we have nothing on, so will just be enjoying the peace and quiet! I'll be back soon with another project. Until then, happy stampin'!
Stampin' Up! Supplies Used: