Today it's Sunday and time for this week's new challenge over at The Paper Players! It's the turn of our queen of diecuts, the lovely Laurie to host this week and she has my favourite, a sketch challenge, for you to work with:
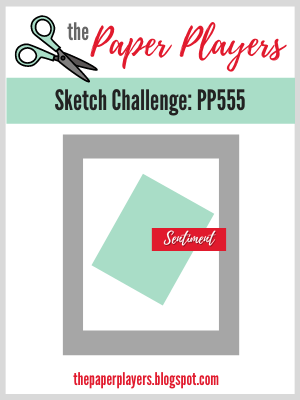

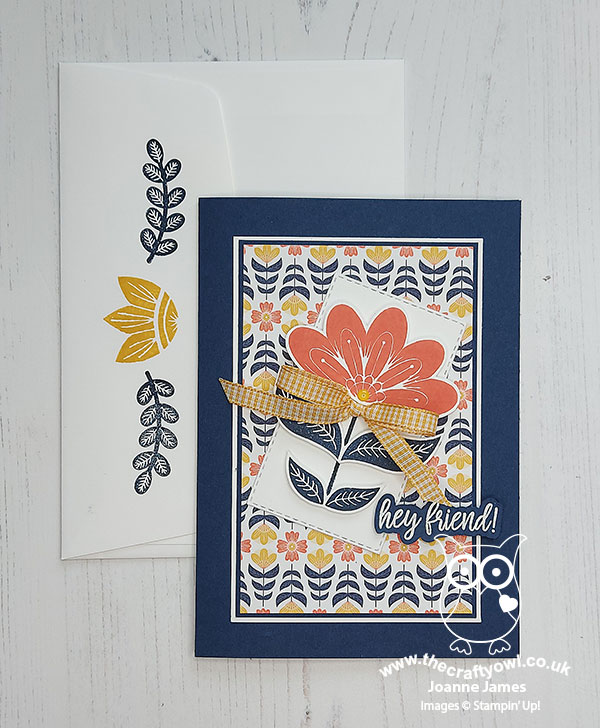
I loved the layering of Laurie's sketch and decided it was a great layout to showcase some pretty designer series paper - and I've always got plenty of that! In addition to my patterned paper, I added layers (6 in total!) and a gingham ribbon bow for my three items from this week's Festive Friday inspo list to create my bright and cheery card - take a look:
Here's the low-down on today's card:
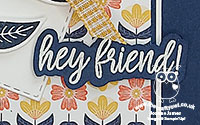
In Symmetry - A big Calypso Coral flower with a double set of Night of Navy leaves make up the flower from the 'In Symmetry' stamp set that features on my angled panel today. I fussy cut the leaves and flower head and popped them up on dimensionals, adding a Bumblebee enamel dot and some Bumblebee gingham ribbon for a pop of yellow too.
Envelope Detail - I added another of the flowers from the stamp set inside my card and added some extra stamped detail to the back of the co-ordinating envelope flap; no naked envelopes here!
Sweet Symmetry Backdrop - The colours of my stamped flower were taken from the Sweet Symmetry designer series paper pattern that featured on the main background panel of my card. This is one of my favourite papers in this pack - I just love these bold, retro papers; they remind me of the patterns synonymous with the Irish fashion designer, Orla Kiely, don't you think?
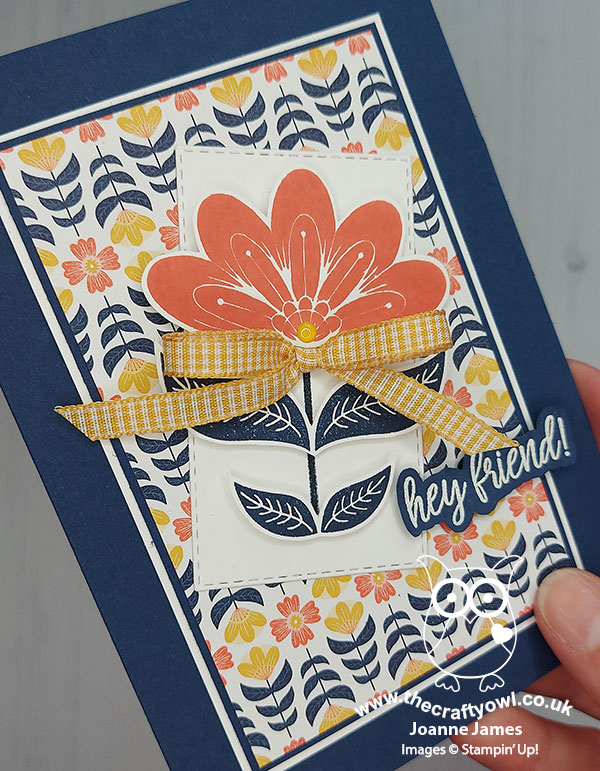
I just love this card, even with the quirky angled panel which I thought I might struggle with, but it turns out not a bit!
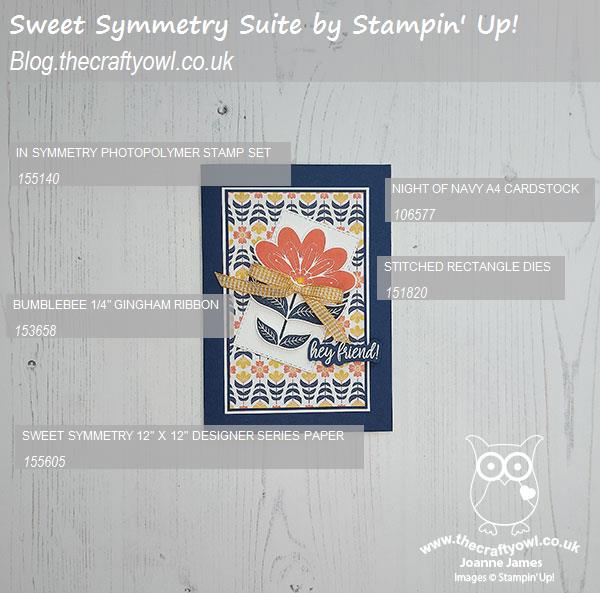
Here is the visual summary of the key products used on today's project for you to pin for easy reference:
You can see all of my Product and 'How To' summaries on my 'How To - Tips and Techniques' Pinterest board in case you've missed any.
Before you reach for your ink and papers, check out what our amazing team has created to inspire you this week:
The Paper Players Design Team
Here's a quick recap of our challenge rules:
1. Create a new paper project
2. Upload your creation to your blog with a link back to us and provide a direct link to the post featuring your challenge submission.
3. Please link your card to no more than four challenges, TOTAL.
4. Have FUN!
You can see all of my 'How To' summaries on my 'How To - Tips and Techniques' Pinterest board in case you've missed any.
Enjoy your day; yesterday the weather was unexpectedly dire here, so if it brightens up today I will be looking forward to spending some time in the garden. I'm hoping to squeeze in a little crafting time too. I'll be back tomorrow with another project. Until then, happy stampin'!
Stampin' Up! Supplies Used: