Today I have my card for the new challenge over at Festive Friday Card Making and Paper Crafting Challenge.
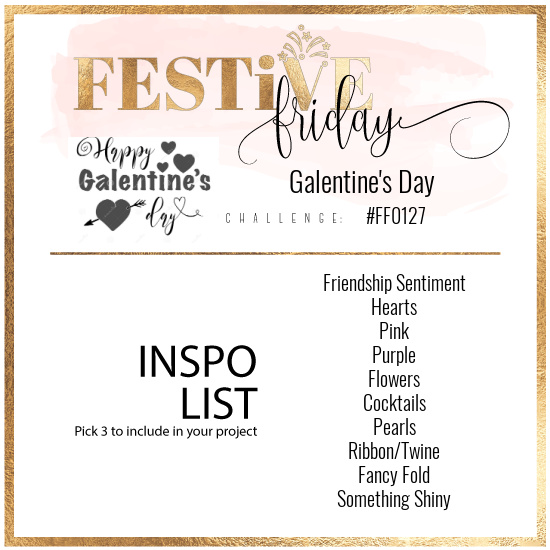

The challenge that we are celebrating this week is 'Galentine's Day' which is on 13th February. This celebration, falling the day before Valentine's Day, is all about celebrating female friendships. Remember the fun thing is that at Festive Friday you do not need to actually celebrate the occasion; your goal is to simply use three or more items from the inspiration list on your project. This week I really went to town and used a friendship sentiment, hearts, pink, purple, twine and something shiny and this is what I came up with:
Here's the low-down on today's card:
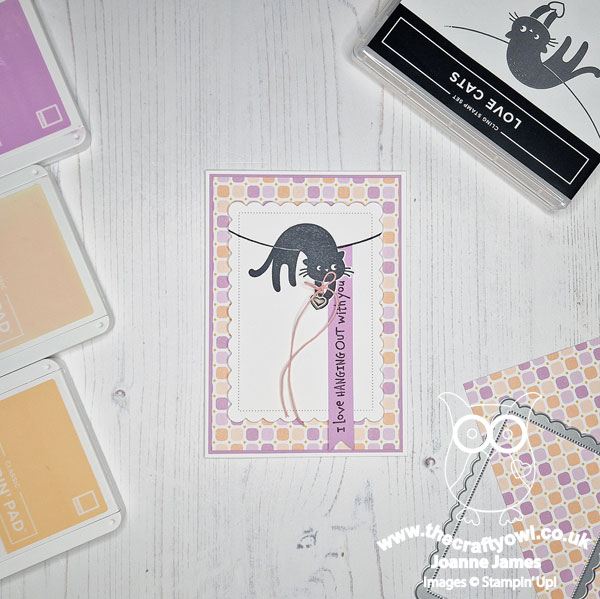
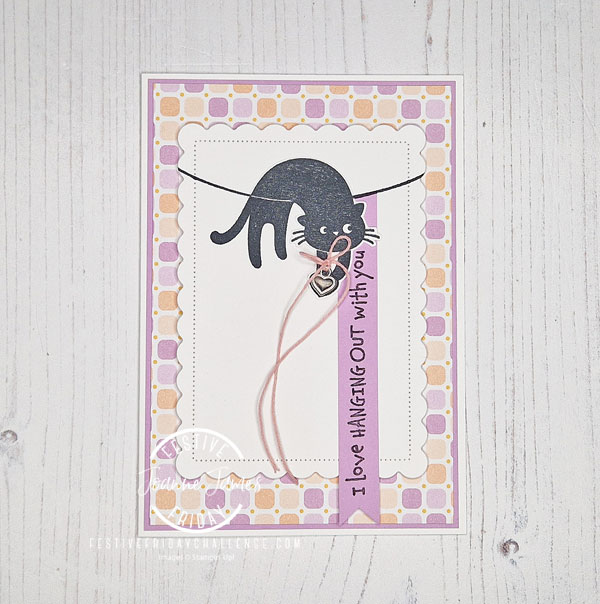
I wanted to use another of the comical felines in the 'Love Cats' stamp set for today's card and chose the one that paired best with the sentiment I wanted to use. I think 'I love hanging out with you' is the perfect sentiment to share some female love and let your bestie know how much you enjoy their company, don't you?
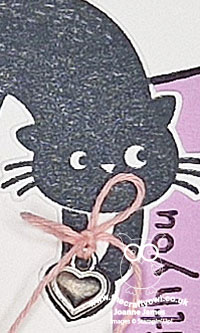
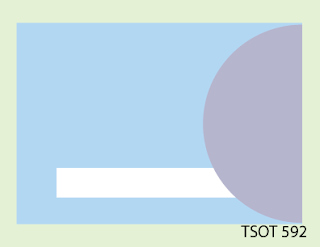
I had a whole other layout originally planned for this card, until I saw the Try Stamping on Tuesday sketch layout - I rotated it through 90 degrees and thought the curve would be perfect for my acrobatic cat. In order to tuck the banner underneath the front of the cat to preserve the sense of perspective, I stamped the cat twice and carefully fussy cut the top half of one, so that I could adhere the banner and then add the upper portion of the cat over the top If you look closely you can see how I did this below:

I aligned the banner with the wire and stamped the sentiment in one straight line rather than as it is laid out on the original stamp as I wanted a long slim banner. It does make for a long banner, but I love the effect - and the long twine bow that ties my heart trinket follows the same contours, so I think it works. I found this little shiny heart in my retired embellishment stash and it was the exact same size as the stamped one, so was a perfect fit - serendipity indeed!
My colour scheme was inspired by the Dandy Designs designer paper I used on my car base - one of my favourite Sale-A-Bration free items this year - have you earned yours yet? You still have one more month to take advantage of the current Sale-A-Bration promotion. so don't miss out.
Finally, I'm also linking today's card up for a second entry over at Global Design Project #GDP379 where their theme this week is 'love'.
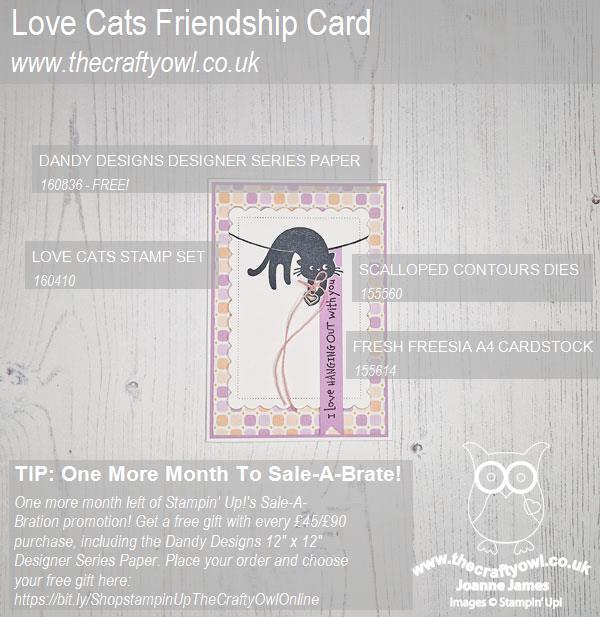
Here is the visual summary of the key products used on today's project for you to pin for easy reference:
You can see all of my 'How To' summaries on my 'How To - Tips and Techniques' Pinterest board in case you've missed any.
How does our board inspire you? I can’t wait to see what YOU create! For more inspiration, be sure to visit the rest of the Festive Friday Card Making and Paper Crafting Challenge Design team:
Enjoy your day and I'll be back tomorrow with another project. Until then, happy stampin'!
Stampin' Up! Supplies Used: