by Joanne James10. August 2023 19:00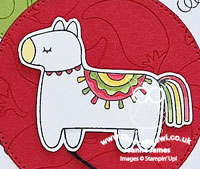
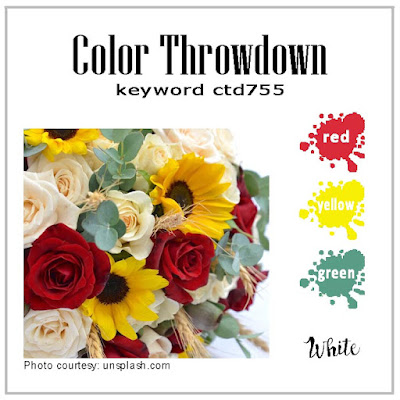
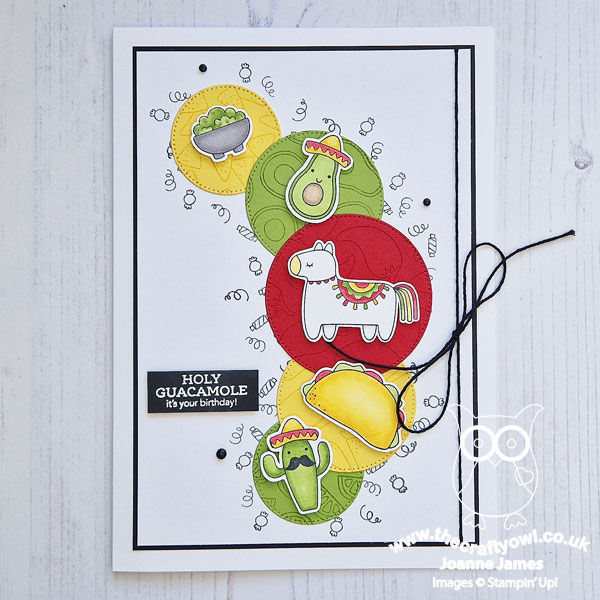
Tomorrow is the 16th birthday for the youngest of the James Juniors, so I thought I'd squeak in a quick post to share one of the cards I made to celebrate his big day! I used the sketch over at Sketch Saturday (but had difficulty linking up so am not playing along) and this week's Color Throwdown colours:

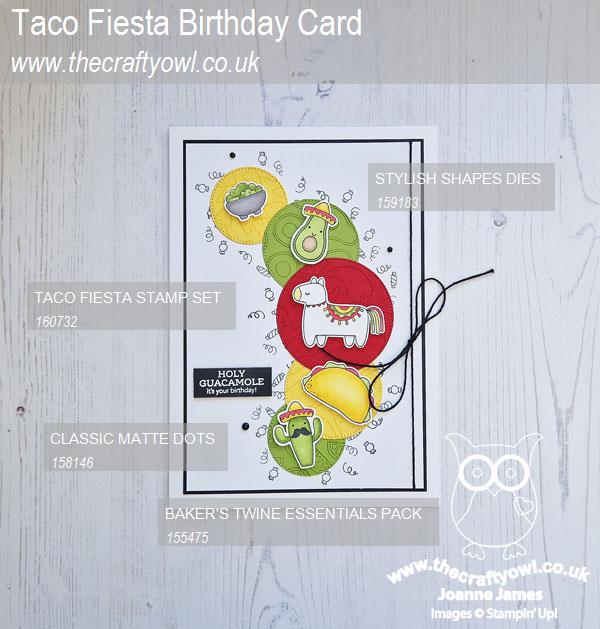
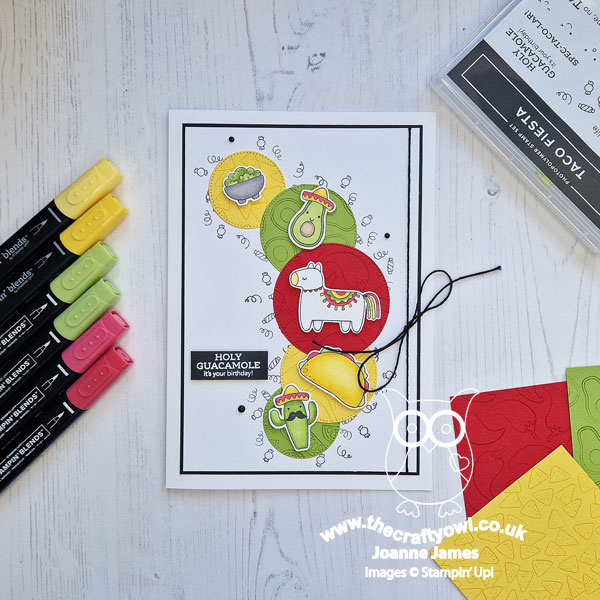
I've had the 'Taco Fiesta' stampset for ages and until now it's sat uninked on the shelf. t was perfect with these colours and the fun circular sketch layout - take a look:
Here's the low-down on today's card:
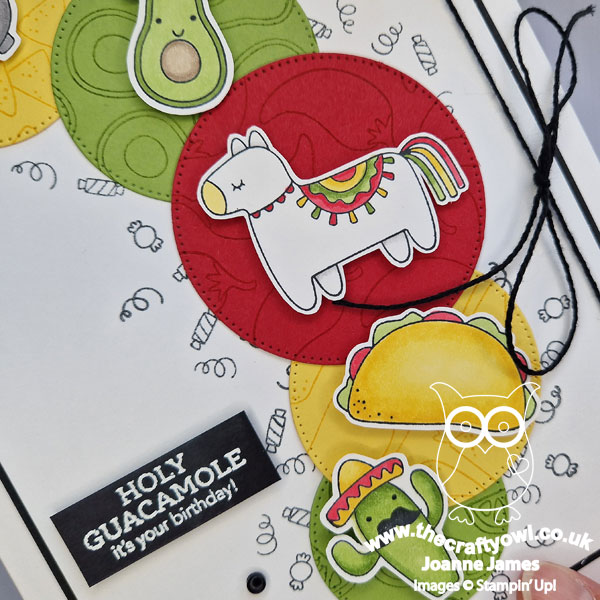
I did some basic stamping on my base mat that followed the outer contours of the circles, then added some tone-on-tone stamping to each of the circles with some of the stamps in the set. I then topped each of the circles with a larger image that I stamped on white and coloured them with my Stampin' Blends. You can see the detail a little more closely below:
A simple twine bow, heat embossed sentiment and trio of mat dots complete my card.
Here is the visual summary of the key products used on today's project for you to pin for easy reference:
You can see all of my 'How To' summaries on my 'How To - Tips and Techniques' Pinterest board in case you've missed any.
Enjoy your day and I'll be back tomorrow with another project. Until then, happy stampin'!
Stampin' Up! Supplies Used:
by Joanne James6. August 2023 08:00
Today it's Sunday and time for this week's new challenge over at The Paper Players! It's the turn of the fabulous Claire to host this week and she has a fun theme challenge for us to work with:
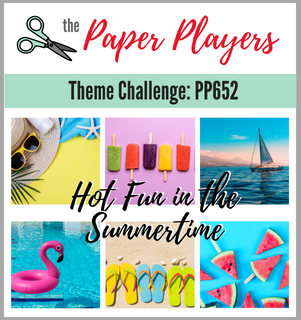

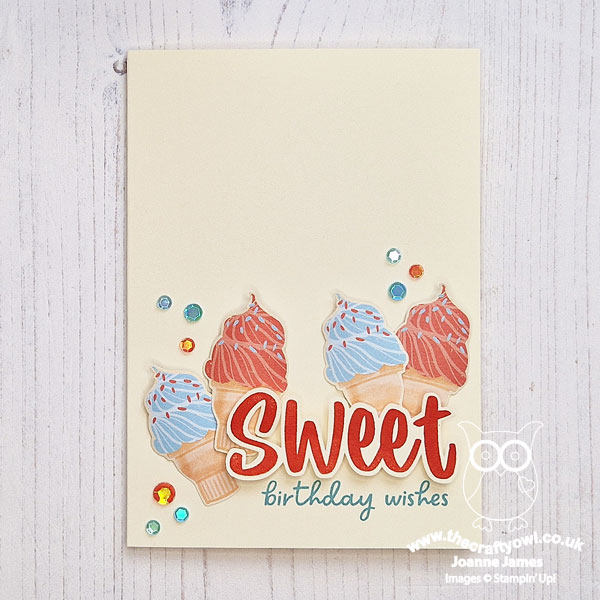
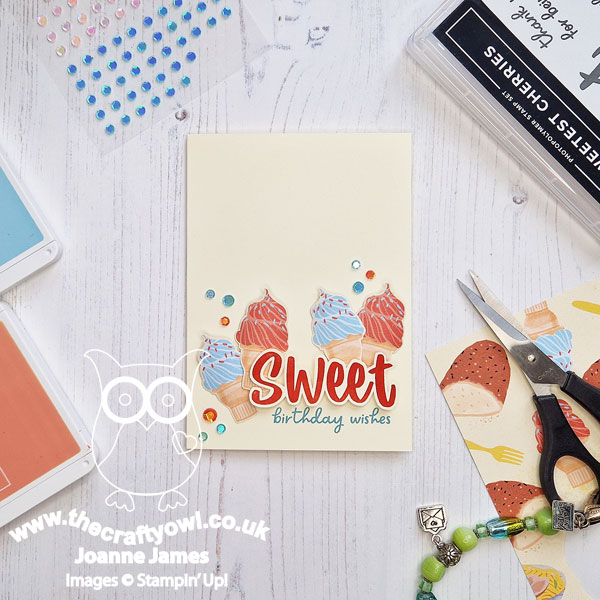
It is more like winter here in the UK at the moment, with rain and chilly winds and generally quite miserable weather-wise, so it was great to see the warm summer colours and images on the badge for Claire's theme this week - so there will be summer vibes inside, even if not outside! My card today features a staple of summer - ice cream, although I can eat it all year round, to be honest! My summer ice-creams were inspired by the cones in the Inspired By photo this week - mine are not in an upturned tower though, instead they are filled with colourful ice cream - take a look:
Here's the low-down on today's card:
With no current stamp sets featuring ice cream, I had to get creative! These fun ice cream cones were fussy cut from the Les Shoppes designer series paper, curved with my bone folder then layered onto my Very Vanilla cardbase. I paired them with a stamped sentiment from the 'Sweetest Cherries' stamp set, stamped in Calypso Coral and Balmy Blue with the 'sweet' fussy cut and positioned across the cones:

I added a sprinkling of sequins for a little extra summer sparkle to complete my card, which I'm also linking up over at the Alphabet Challenge Blog where the current challenge is 'I is for ice cream'.
Here is the visual summary of the key products used on today's project for you to pin for easy reference:

You can see all of my Product and 'How To' summaries on my 'How To - Tips and Techniques' Pinterest board in case you've missed any.
Before you reach for your ink and papers, check out what our amazing team has created to inspire you this week:
The Paper Players Design Team
Here's a quick recap of our challenge rules:
1. Create a new paper project
2. Upload your creation to your blog with a link back to us and provide a direct link to the post featuring your challenge submission.
3. Please link your card to no more than four challenges, TOTAL.
4. Have FUN!
Enjoy your day; I'll be sheltering from the stormy weather so I'll be inside keeping warm - I see a day of crafting, cooking, jigsaws and movies ahead! I'll be back tomorrow with another project. Until then, happy stampin'!
Stampin' Up! Supplies Used:
by Joanne James4. August 2023 09:00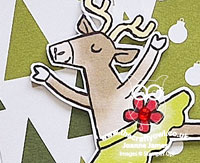
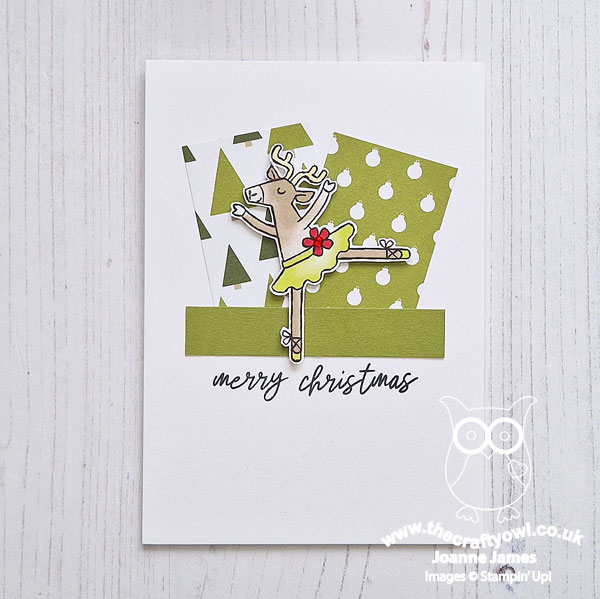
This is my second post of the day as today I'm guesting over at CAS on Friday further to my recent win (here's the link to my winning card if you missed it!) The theme of the new challenge is 'Holiday'. I initially thought about sunny beaches and the sea, but then realised that whilst us Brits tend to use the word 'holiday' as an alternative to 'vacation', in other countries, particularly the USA, the word 'holiday' is often used in connection with the festive season so yes, you've guessed it - I have another Christmas card for you! Take a look:
Here's the low-down on today's card:
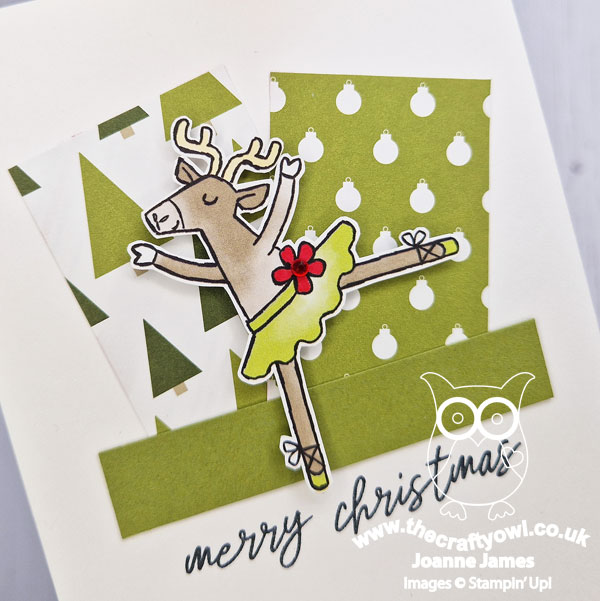
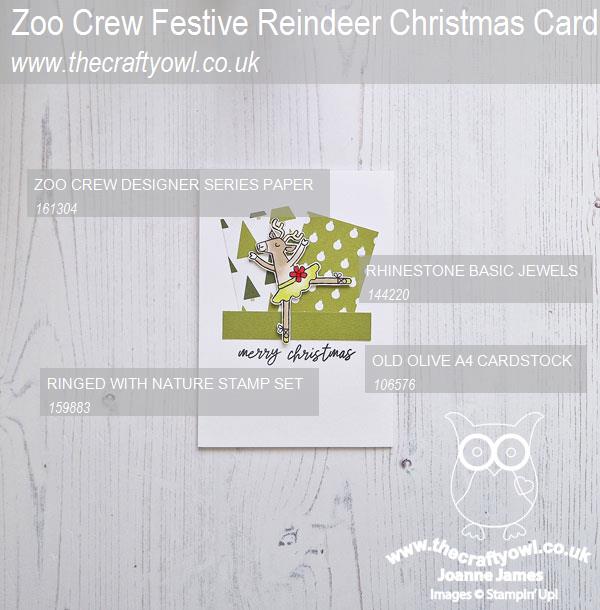
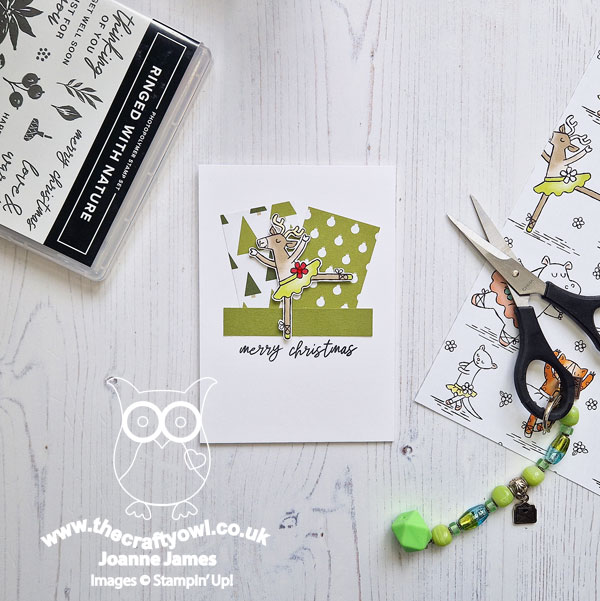
Do you recognise this ballet dancing reindeer? She is actually one of the characters on the Zoo Crew designer paper! I've shared cards made with other animals fussy cut from this paper before; I just added a hint of colour to her antlers and a pop of festive red and a sparkly rhinestones to the flower on her skirt, added a couple of pieces of retired festive paper from my scrap box behind and finished with a stamped Christmas sentiment from the current 'Ringed With Nature' stamp set:
And that's all there is to it! There are a few sets in the annual catalogue that are Christmas-themed or are not designed as such but can be used to make cards for the holiday season. So if you want to get started early on your Christmas crafting, go ahead and take a look. You could also treat yourself to a Christmas card kit as they are discounted with up to 30% this month or even sign up to be a Stampin' Up! demonstrator - you would then benefit from the perk of being able to order items from the mini catalogue right away, a whole month ahead of customers - yay!
Here is the visual summary of the key products used on today's project for you to pin for easy reference:
You can see all of my 'How To' summaries on my 'How To - Tips and Techniques' Pinterest board in case you've missed any.
Be sure to check out the projects made by the CAS On Friday designers - I know they will have some fabulous inspiration to share.
Enjoy your day and I'll be back tomorrow with another project. Until then, happy stampin'!
Stampin' Up! Supplies Used:
9b885455-e2a2-4c8a-a653-89cca6897c6d|0|.0|96d5b379-7e1d-4dac-a6ba-1e50db561b04
Tags: Shop Stampin' Up! Online, Stamping Shop Stampin' Up online, Shop online, Stampin' Up, Stampin' Up Card ideas, Stampin' Up Supplies, Stampin' Up Card, Clean and Simple, Christmas, Ringed With Nature, Zoo Crew
Cards | Shop Online | Shop Stampin' Up! Online | Stamping
by Joanne James4. August 2023 09:00
Today I have my card for the new challenge over at Festive Friday Card Making and Paper Crafting Challenge.
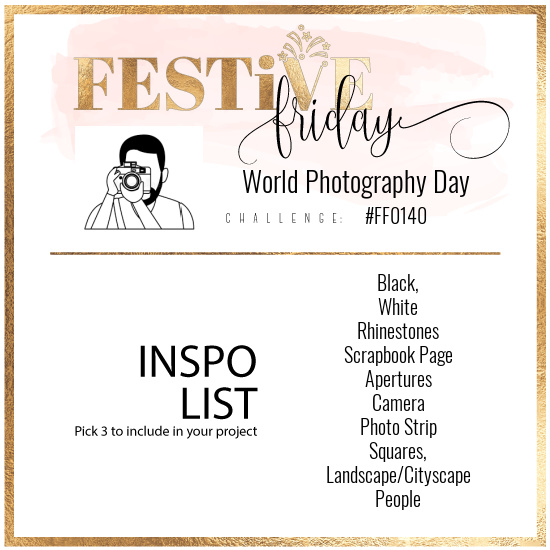

The challenge that we are celebrating this week is 'World Photography Day' which is on 19th August. Remember the fun thing is that at Festive Friday you do not need to actually celebrate the occasion; your goal is to simply use three or more items from the inspiration list on your project. We have a number of keen photographers in our house, but I chose to go in a totally different direction today. I used black, white, rhinestones and landscape/cityscape from the inspo list and this is what I came up with:
Here's the low-down on today's card:
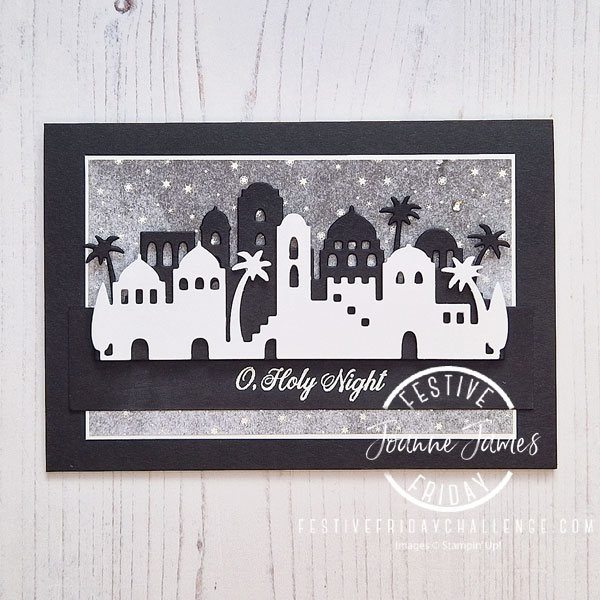
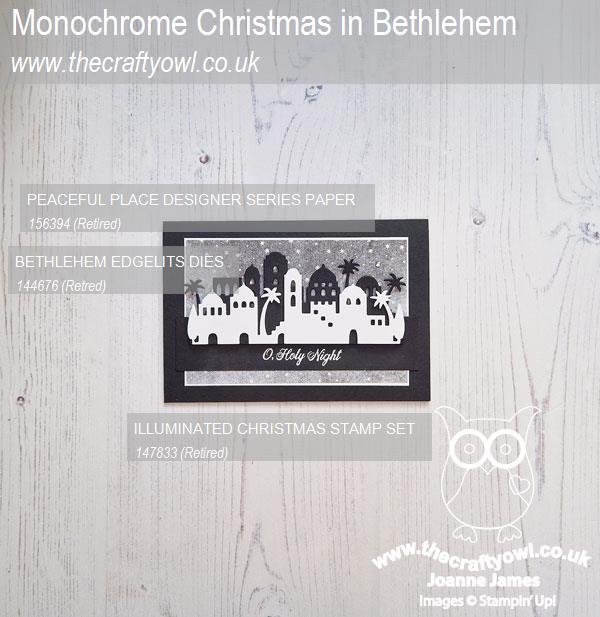
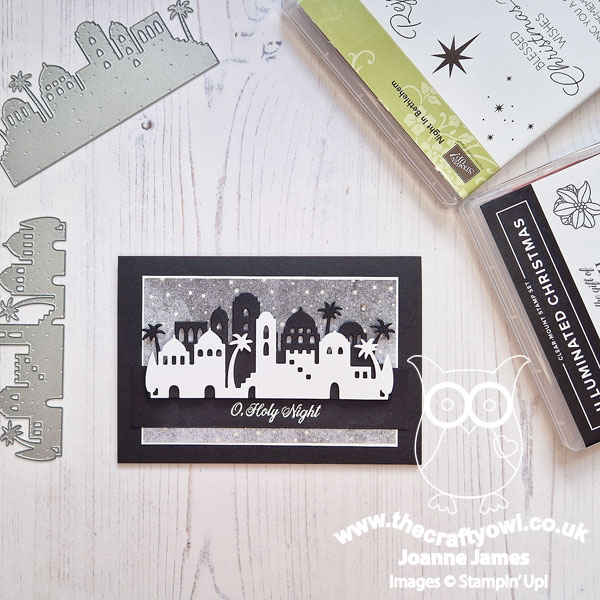
I used some retired Peaceful Place starry night sky paper and my retired Bethlehem Edgelits to create a monochrome Christmas card that is something of a CASE of a previous card I made using this set (you can see that card here), adding my cityscape diecuts with dimensionals for a little extra lift. I heat embossed my 'O Holy Night' sentiment from the retired stamp set 'Illuminated Christmas' in white on black, and highlighted the embossed stars on the designer paper with a single rhinestone - the star of Bethlehem, perhaps?
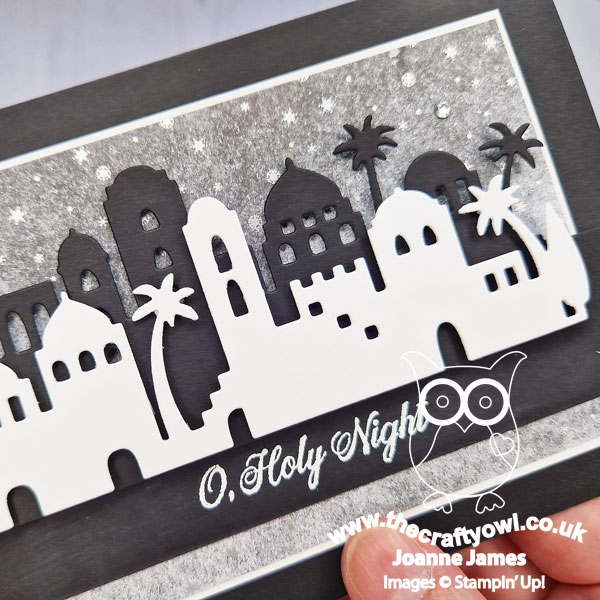
I am linking today's card up with the team over at Time Out who are asking us to create monochrome cards for their current challenge; there is something so elegant about a single colour scheme, for sure.
Here is the visual summary of the key products used on today's project for you to pin for easy reference:
You can see all of my 'How To' summaries on my 'How To - Tips and Techniques' Pinterest board in case you've missed any.
I did place a pre-order for Christmas goodies from the new mini catalogue yesterday, so will have some lovely new things to share with you in the coming weeks, but it has been fun to give some love to favourite sets of old this week and of course it's always good to use up retired designer series paper!
How does our board inspire you? I can’t wait to see what YOU create! For more inspiration, be sure to visit the rest of the Festive Friday Card Making and Paper Crafting Challenge Design team:
Enjoy your day and I'll be back tomorrow with another project. Until then, happy stampin'!
fbc6c328-2b8d-4993-a727-12ede33355bf|0|.0|96d5b379-7e1d-4dac-a6ba-1e50db561b04
Tags: Shop Stampin' Up! Online, Stamping Shop Stampin' Up online, Shop online, Stampin' Up, Stampin' Up Card ideas, Stampin' Up Supplies, Stampin' Up Card, Festive Friday, Christmas, Night In Bethlehem, Bethlehem Edgelits, Peaceful Place
Cards | Shop Online | Shop Stampin' Up! Online | Stamping
by Joanne James2. August 2023 09:00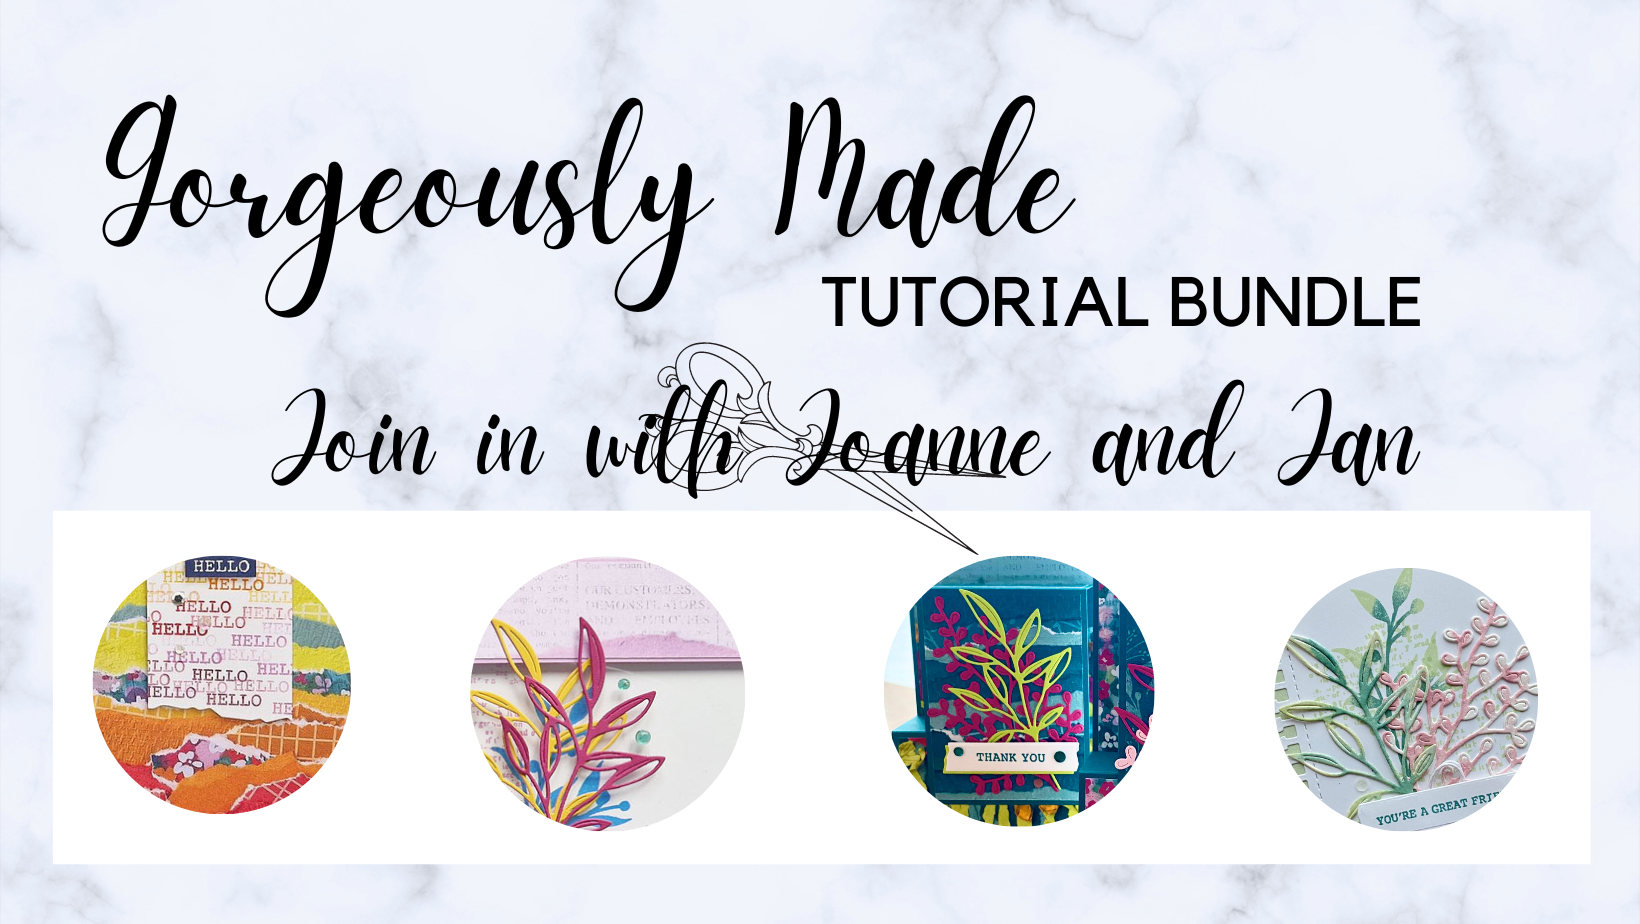
News of the August Stampin' Up! Kits Sale yesterday so I saved this post until today! It's August and time for a new Create with Joanne and Jan tutorial bundle!
My friend and former Stampin' Up! Artisan Designer Jan Clothier, aka Thinking Stamping, and I are working together to reward our customers with some extra special perks. Every two months, Jan and I will be putting together a set of four tutorials featuring a bundle or suite. Simply purchase the suite or bundle from us and we’ll email you the tutorials in PDF format for you to make. If you already have the suite or bundle, simply purchase something else of equivalent value and we’ll email the tutorial package to you.
The four tutorials (two from each of us) will really show you different ways to make the most of your purchase because you’ll get the benefit of both our ways of thinking and both our styles. There will be a range of project levels, from casual to avid and you won’t find these projects in any of our other social media platforms. We’ve designed them just for our customers. In addition to the tutorials, you’ll also be offered access to an exclusive private Facebook Group where you’ll be able to share your projects, and ask us questions. You’ll also find little extras there from us like extra projects, tips or even the occasional video or Facebook Live. You just never know!
So there you have it. Two great reasons to shop with us: a package of four exclusive designs AND access to a private Facebook Group so you can pick our brains and share your work with us.
You can shop with me if you live in the UK and Europe.
You can shop with Jan if you live in New Zealand.
For August-September, we are featuring the Gorgeously Made bundle from the 2023-2024 Annual Catalogue. The Masterfully Made Suite Collection features the Gorgeously Made stamp set and die bundle and includes beautiful designer series papers featuring mixed media designs with handpainted and hand-torn designs. If you would like to receive this tutorial, you can place your online order with me by clicking on the direct product links for the bundle and any other products in the suite below:
Remember to add the current hostess code 2A6EXGJ4 to your order.
Watch out for a new tutorial package for October-November at the end of September.
b9907544-069b-4afe-8565-f92bf9df0f2a|0|.0|96d5b379-7e1d-4dac-a6ba-1e50db561b04
Tags: Shop Stampin' Up! Online, Stamping Shop Stampin' Up online, Shop online, Stampin' Up, Stampin' Up Card ideas, Stampin' Up Supplies, Stampin' Up Card, Tutorial, Craft Tutorial, Create With Joanne and Jan, Gorgeously Made, Masterfully Made
Cards | Classes | Craft Kits | PDF Tutorial | Shop Online | Shop Stampin' Up! Online | Stamping | Tutorials
by Joanne James31. July 2023 14:00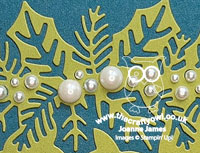
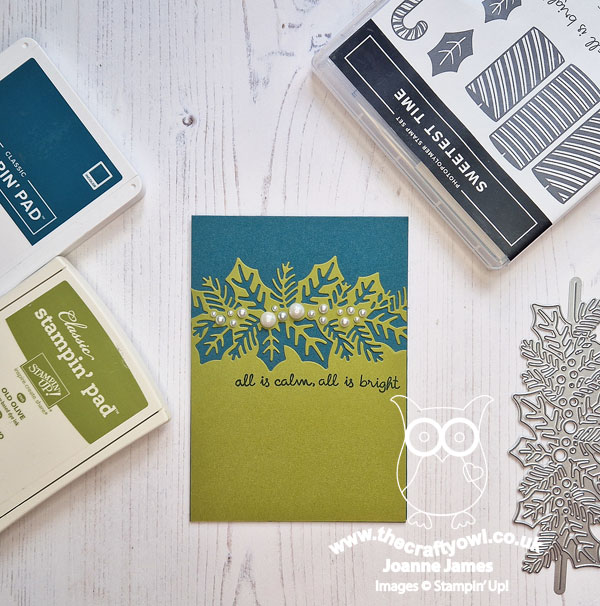
Happy Monday everyone! It's grey and miserable here in the UK today but I'm not complaining - it gave me time to squeeze in an entry to this week's Freshly Made Sketches where I couldn't resist this fab sketch by Judy:

A split panel with nothing below the line - so many possibilities! I've missed playing along with these ladies whilst I've been on vacation and was excited by this week's layout as I knew exactly where I was headed - take a look:
Here's the low-down on today's card:
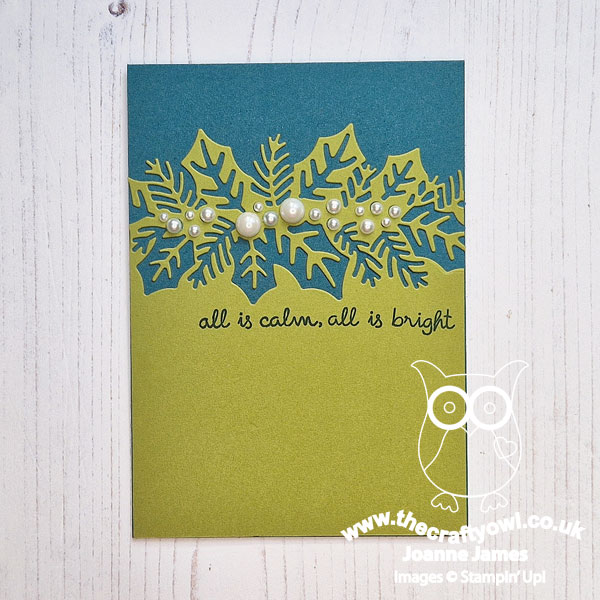
A couple of my Paper Players teamies have been making Christmas cards in earnest and I was beginning to get itchy feet for the festive season, so this sketch was a good opportunity to remedy that. I am currently planning my preorder for the new mini catalogue that features Stampin' Up!'s new Christmas range, so for today's card I delved into my retired box for an old favourite, the Sweetest Borders Dies, and chose the holly one. My colour scheme of Pretty Peacock and Old Olive was inspired by memories of some two-tone ribbon we had in this colour combo ages ago, which I loved. It always struck me that this was an unusual pairing, but one that worked surprisingly well. I cut my holly border just above the half-way line and stamped my sentiment in Pretty Peacock on the Old Oliver panel, before adding a selection of pearl berries:
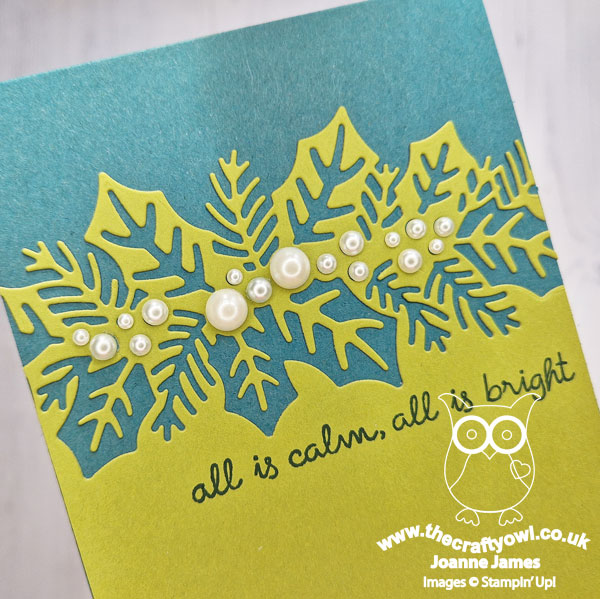
I used standard iridescent pearls, with the exception of the extra large ones that are now sadly retired. Whilst we are perhaps more accustomed to red berries with holly, some varieties do have white berries and I think these ones make an elegant statement on my otherwise clean card. Yay - a card for this year's Christmas card stash - complete!
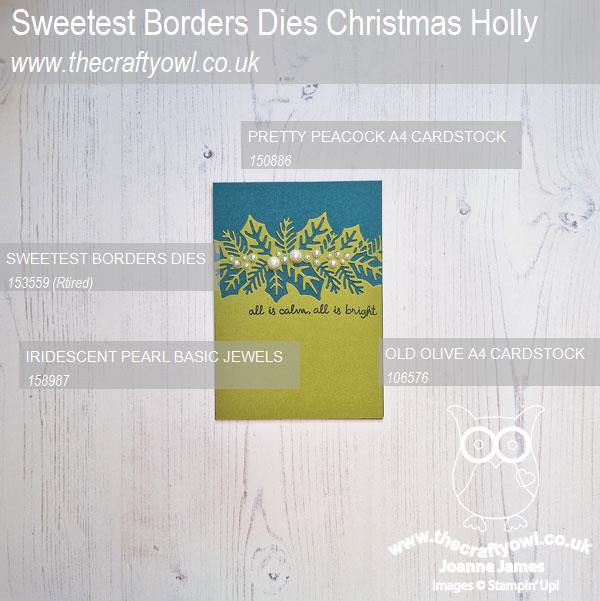
Here is the visual summary of the key products used on today's project for you to pin for easy reference:
You can see all of my 'How To' summaries on my 'How To - Tips and Techniques' Pinterest board in case you've missed any.
Final reminder that as today is the last day in July, it's your final opportunity to take advantage of the current Bonus Days promotion. Enjoy the rest of your day and I'll be back tomorrow with another project. Until then, happy stampin'!
Stampin' Up! Supplies Used:
by Joanne James30. July 2023 08:00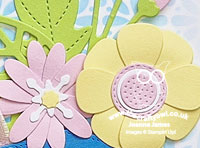
Today it's Sunday and time for this week's new challenge over at The Paper Players! It's the turn of the fabulous Jaydee to host this week and as it's the fifth Sunday of the month she has a fun tic-tac-toe challenge for us to work with:
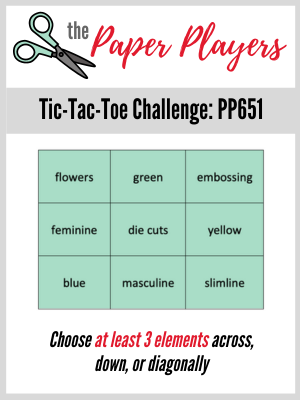

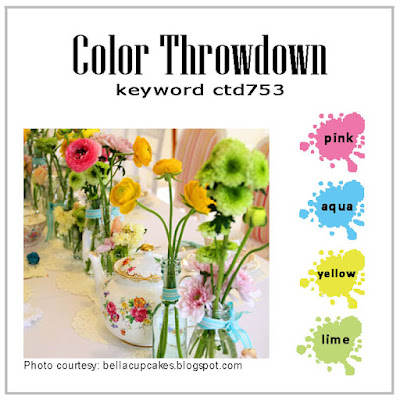
I had chosen a collection of products that would enable me to meet a number of the boxes on Jaydee's grid; by the time I'd finished my card I actually covered the whole of the grid with the exception of 'masculine'! Atlantic Hearts have a great slimline sketch this week so I combined it with this week's Color Throwdown colours and decided to make a special birthday card - take a look:
Here's the low-down on today's card:
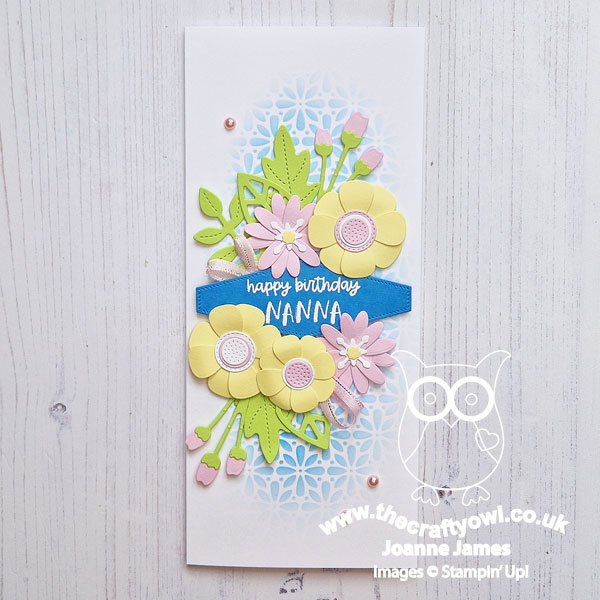
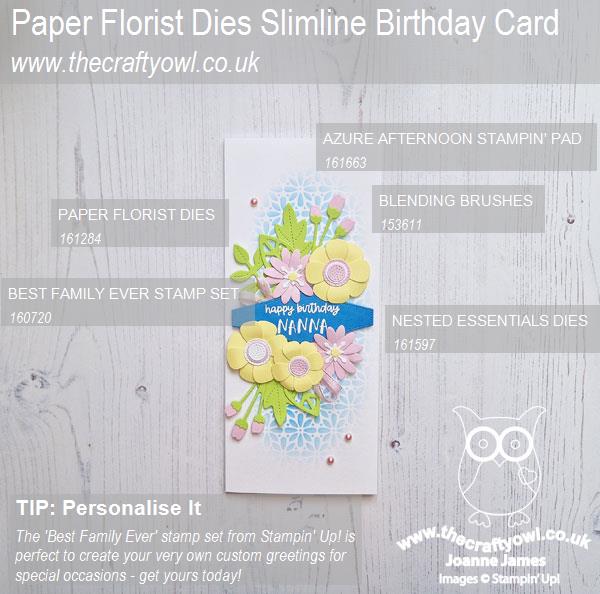
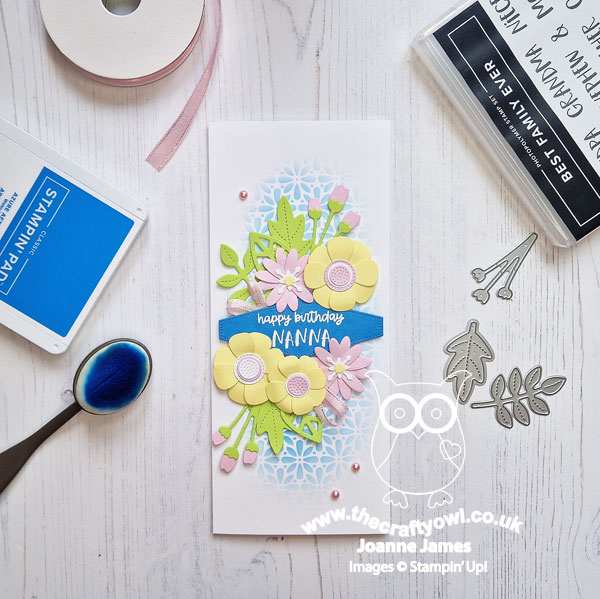
I have been spending time experimenting with the various combinations of pieces in the Paper Florist Dies recently so I decided I would put my time to good use and create a cascade of using the 'Best Family Ever' stamp set. flowers in my favourite new Bubble Bath and Lemon Lolly colours, with bright green leaves, clustered around a central sentiment label, onto which I heat embossed a customised sentiment:
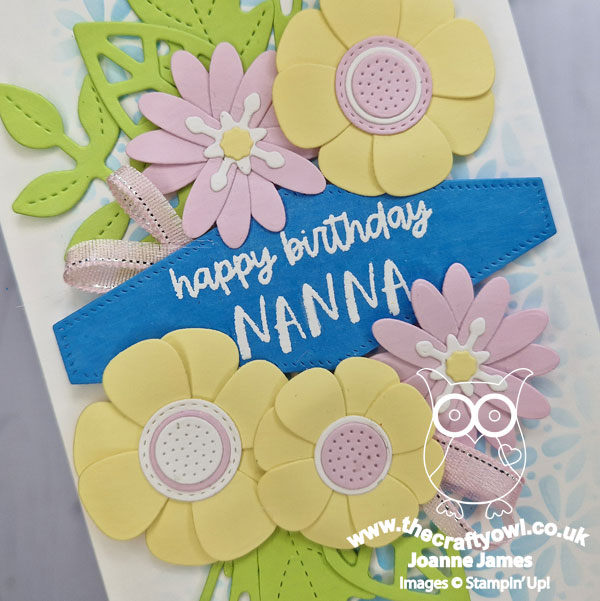
This stamp set is perfect to create all kinds of special sentiments; the set doesn't actually include the word 'NANNA', so I created it by combining letters from other names in the set. I also added some stencilling to the card base using a retired decorative mask and some Azure Afternoon ink, blending out from the centre and fading into the white of the base. Stencilling is a great way to add extra detail to the background, without distracting from the detail of the flowers themselves. I'm also linking today's card up over at Inkspirational where they are asking us to use stencils this week too. A couple of loops of Bubble Bath ribbon and a trio of pink pearls complete my card. This card is for the James Juniors to send to their Nanna for her birthday; it's still a few months away, but hey it can't hurt to be organised!
Here is the visual summary of the key products used on today's project for you to pin for easy reference:
You can see all of my Product and 'How To' summaries on my 'How To - Tips and Techniques' Pinterest board in case you've missed any.
Before you reach for your ink and papers, check out what our amazing team has created to inspire you this week:
The Paper Players Design Team
Here's a quick recap of our challenge rules:
1. Create a new paper project
2. Upload your creation to your blog with a link back to us and provide a direct link to the post featuring your challenge submission.
3. Please link your card to no more than four challenges, TOTAL.
4. Have FUN!
Enjoy your day; I'm off to Nottingham for more hockey today, so cross your fingers for a fine day! I'll be back soon with another project. Until then, happy stampin'!
Stampin' Up! Supplies Used:
97d345c4-b954-4cd9-a00c-b4d5f59561a0|0|.0|96d5b379-7e1d-4dac-a6ba-1e50db561b04
Tags: Shop Stampin' Up! Online, Stamping Shop Stampin' Up online, Shop online, Stampin' Up, Stampin' Up Card ideas, Stampin' Up Supplies, Stampin' Up Card, The Paper Players, Nested Label Dies, Paper Florist Dies, Best Family Ever, Birthday
Cards | Shop Online | Shop Stampin' Up! Online | Stamping
by Joanne James23. July 2023 08:00
Today it's Sunday and time for this week's new challenge over at The Paper Players! It's my turn to host this week and I have my favourite, a sketch challenge for us to work with:
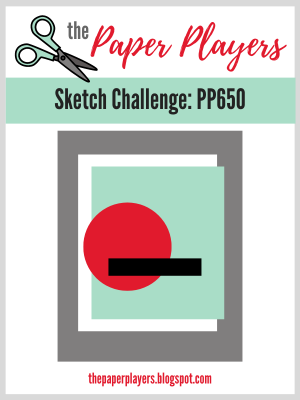
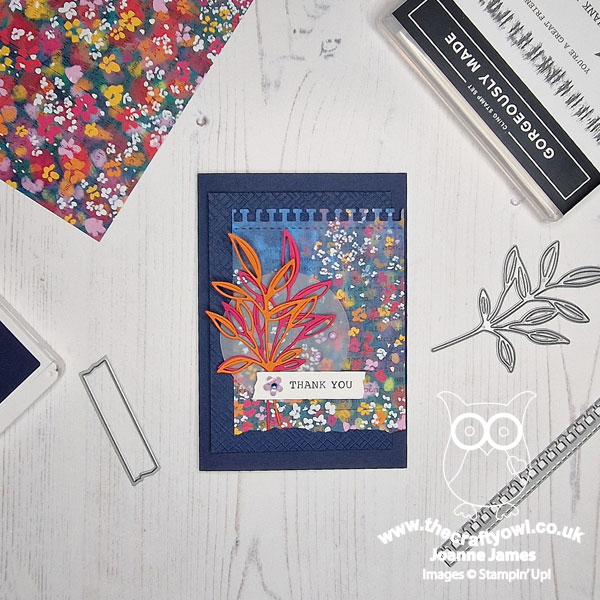
The eagle-eyed amongst you might recognise this layout - I actually based it on the Berry Burst card that features the Cheerful Daisies bundle on the front page of the Stampin' up! catalogue. I love layers, so this card layout was right up my street. No Cheerful Daisies today though - instead I'm featuring the Gorgeously Made bundle. Take a look:
Here's the low-down on today's card:
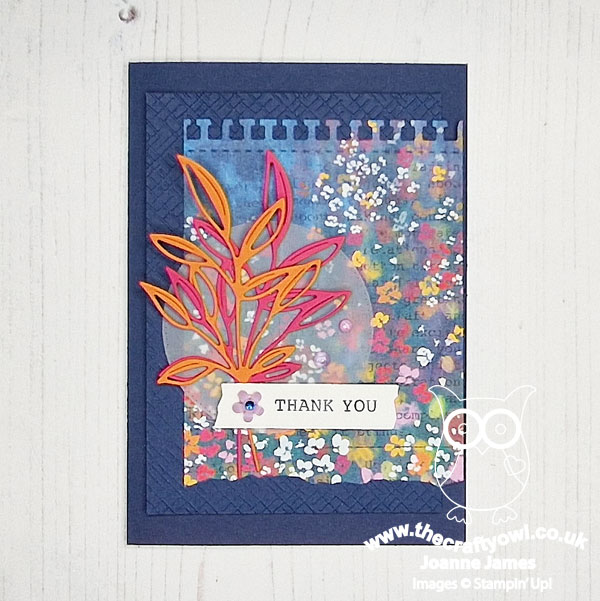
I used a Night of Navy base, with a tone-on-tone embossed layer featuring the hatch design that is one of the online exclusive embossing folders. Then I added a bright, floral piece of Masterfully Made designer series paper, that I had cut top and bottom using the edge dies in the Gorgeously Made bundle - how beautiful is this paper?! I added a vellum circle to allow the paper to show through, before diecutting two pieces of foliage that highlight two of the colours in the designer paper and adding a sentiment from the bundle using the label die:
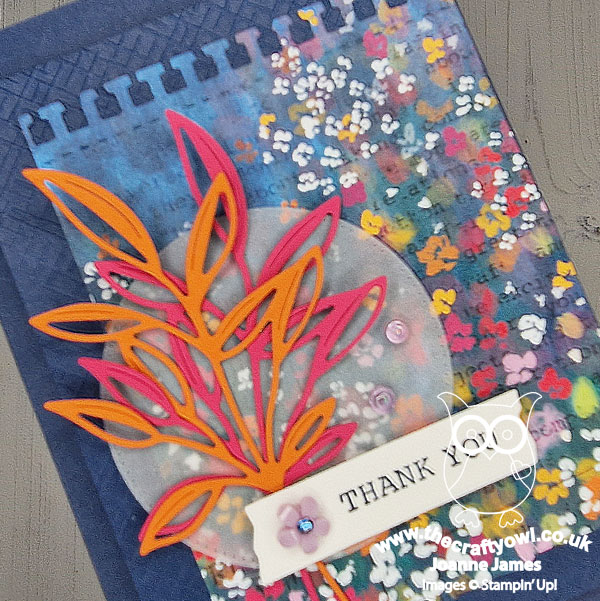
I added a (retired) flower embellishment and a couple of sparkly enamel dots to complete my card. I just love the bright colours on this card; I kind of wish I had cut the label shorter and left off the flower embellishment, but hey ho - next time!
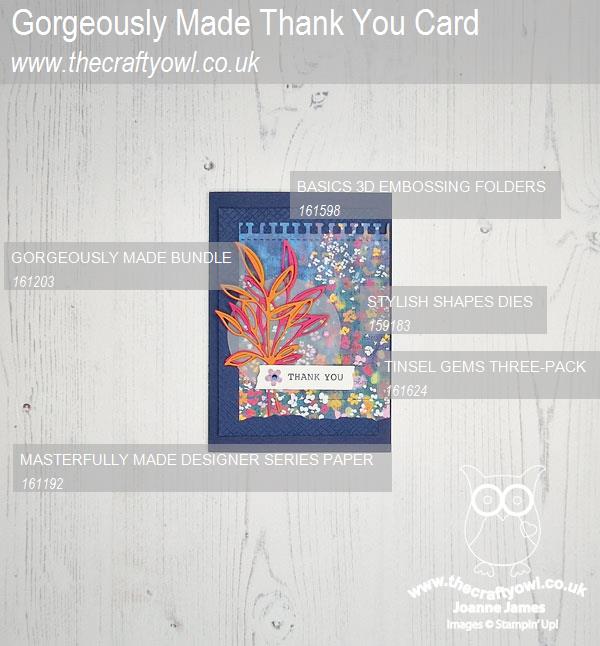
Here is the visual summary of the key products used on today's project for you to pin for easy reference:
You can see all of my Product and 'How To' summaries on my 'How To - Tips and Techniques' Pinterest board in case you've missed any.
Before you reach for your ink and papers, check out what our amazing team has created to inspire you this week:
The Paper Players Design Team
Here's a quick recap of our challenge rules:
1. Create a new paper project
2. Upload your creation to your blog with a link back to us and provide a direct link to the post featuring your challenge submission.
3. Please link your card to no more than four challenges, TOTAL.
4. Have FUN!
Enjoy your day; I returned from a two-week vacation yesterday so I am feeling rested, relaxed - and ready to hit the hockey pitch today! I am driving the eldest of the James Juniors to Nottingham today for an umpiring training day, so am hoping at least that it will be dry, if not as warm and sunny as I've been used to! I'll be back soon with another project. Until then, happy stampin'!
Stampin' Up! Supplies Used:
by Joanne James21. July 2023 08:00
Today I have my card for the new challenge over at Festive Friday Card Making and Paper Crafting Challenge.
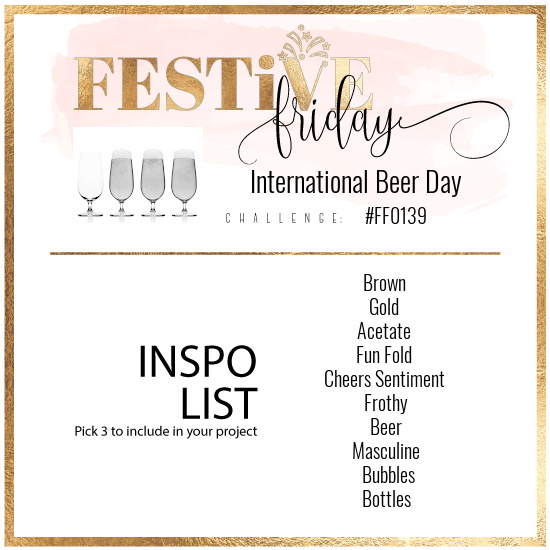
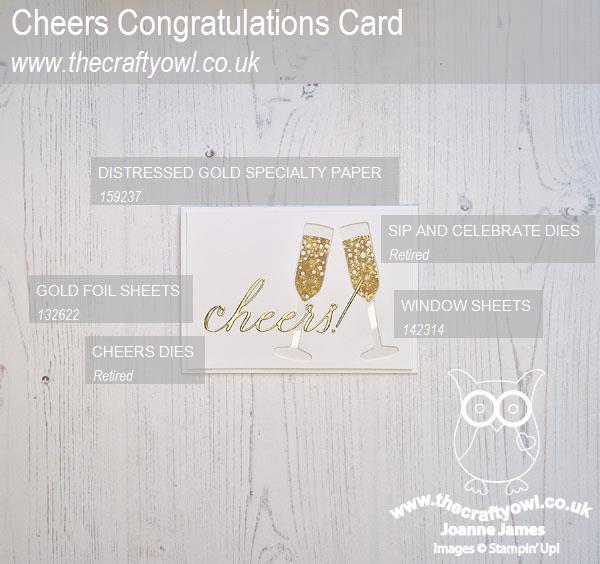
The challenge that we are celebrating this week is 'International Beer Day' which is on August 4th. Remember the fun thing is that at Festive Friday you do not need to actually celebrate the occasion; your goal is to simply use three or more items from the inspiration list on your project. I don't have any current product that fits with this theme, so I delved into my box of retired dies as I knew I had a combination that work perfectly. I used gold, acetate, cheers sentiment and bubbles and this is what I came up with:

Here's the low-down on today's card:
I went with a simple congratulations card that would be perfect for lots of celebrations and using my retired Sip and Celebrate Dies to diecut a couple of champagne glasses from a panel of basic white thick cardstock. I backed them with acetate, then fussy cut two pieces of distressed gold paper to look like champagne and diecut some bubbles out of them before glueing to my acetate glasses. I then added this panel to my white cardbase, before adding my diecut Cheers! sentiment cut form gold foil over the top:

Simple yet elegant, I think you'll agree - I think I'll add this to my engagement card pile!
Here is the visual summary of the key products used on today's project for you to pin for easy reference:
You can see all of my 'How To' summaries on my 'How To - Tips and Techniques' Pinterest board in case you've missed any.
How does our board inspire you? I can’t wait to see what YOU create! For more inspiration, be sure to visit the rest of the Festive Friday Card Making and Paper Crafting Challenge Design team:
Enjoy your day and I'll be back tomorrow with another project. Until then, happy stampin'!
Stampin' Up! Supplies Used:
52a0dd5f-e361-4c2d-802e-d4a1290ed2e9|0|.0|96d5b379-7e1d-4dac-a6ba-1e50db561b04
Tags: Shop Stampin' Up! Online, Stamping Shop Stampin' Up online, Shop online, Stampin' Up, Stampin' Up Card ideas, Stampin' Up Supplies, Stampin' Up Card, Festive Friday, Sip and Celebrate, Cheers Dies, Congratulations
Cards | Shop Online | Shop Stampin' Up! Online | Stamping
by Joanne James16. July 2023 08:00
Today it's Sunday and time for this week's new challenge over at The Paper Players! It's the turn of the fabulous Anne Marie to host this week and she has a fun clean and simple challenge for us to work with:
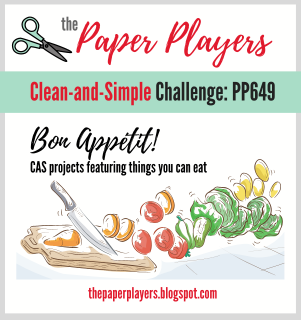

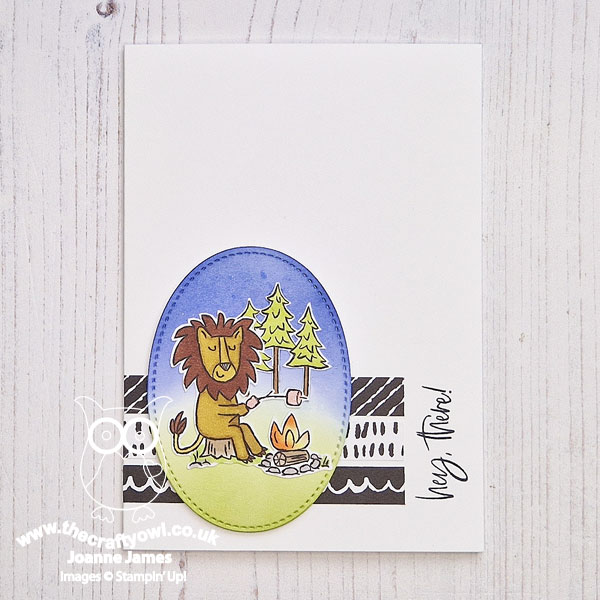
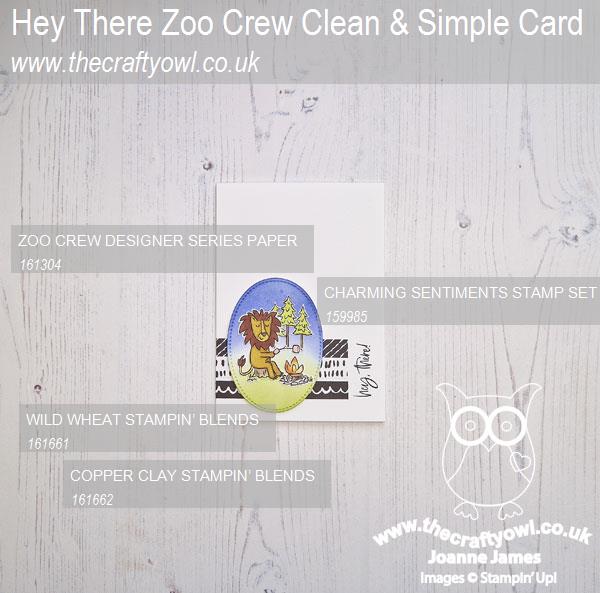
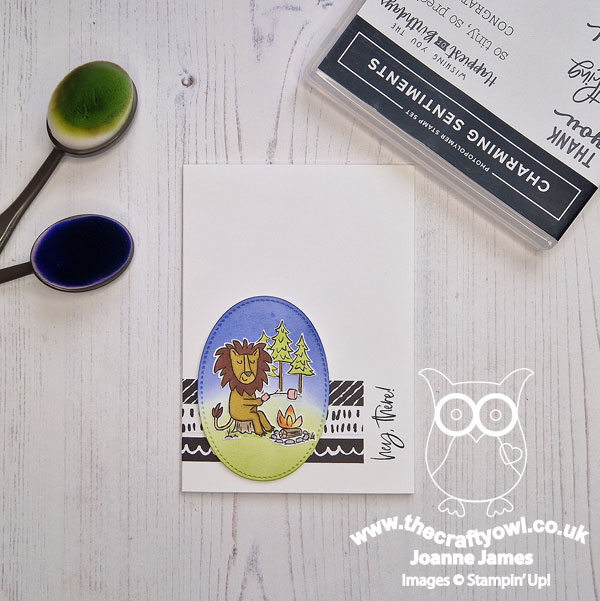
I used the sketch over at Try Stamping on Tuesday and also played along with their optional twist of camping/campfire and got fussy cutting with my paper snips and some Zoo Crew Designer Series Paper to come up with today's fun clean and simple notecard - take a look:
Here's the low-down on today's card:
Today's card is all about the designer paper! I had lots of images fussy cut from the Zoo Crew designer paper so I chose this one of the lion, added some additional colour to him with my Stampin' Blends markers and adhered him and some trees that I also fussy cut from the paper to a stitched oval, to which I'd added some Starry Sky and Parakeet Party inks with some blending brushes to ground my campfire scene (I also added a flick of clear Wink of Stella to give my sky a starry night feel, although it is difficult to see this on the photo). I anchored my oval with a trio of strips featuring some of the black and white patterns from the Zoo Crew papers and stamped a vertical sentiment from the 'charming Sentiments' stamp set:
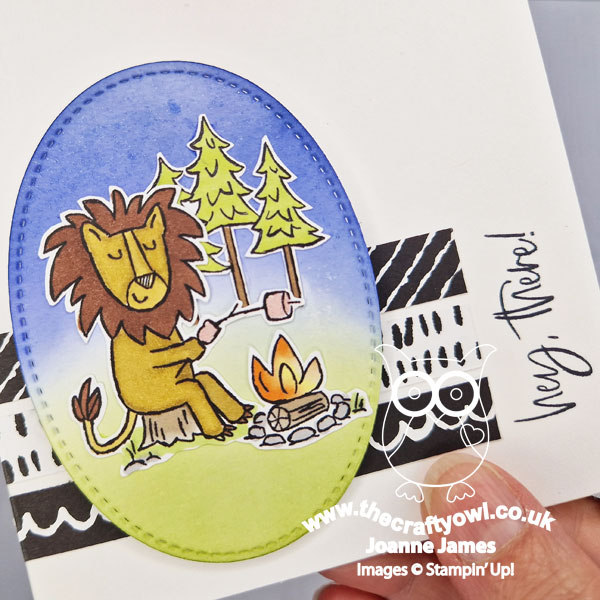
Whilst you might be forgiven at first glance for thinking I missed the point of Anne Marie's challenge this week, you will see my lion is busy roasting his pink marshmallows over his open campfire. yum - s'mores, anyone?! Fussy cutting the individual images is such a fun way to use designer paper! A little goes a long way and this kind of minimalist layout is perfect for clean and simple cards. I'm also linking today's card up over at CAS on Friday where designer paper is the theme of their current challenge too.
Here is the visual summary of the key products used on today's project for you to pin for easy reference:
You can see all of my Product and 'How To' summaries on my 'How To - Tips and Techniques' Pinterest board in case you've missed any.
Before you reach for your ink and papers, check out what our amazing team has created to inspire you this week:
The Paper Players Design Team
Here's a quick recap of our challenge rules:
1. Create a new paper project
2. Upload your creation to your blog with a link back to us and provide a direct link to the post featuring your challenge submission.
3. Please link your card to no more than four challenges, TOTAL.
4. Have FUN!
Enjoy your day; it's sun loungers rather than campfires for me, but I'm not complaining! I'll be back on Tuesday with another project. Until then, happy stampin'!
Stampin' Up! Supplies Used:
c02f7e8a-07dc-43ee-ac9d-e4210dcab1c6|0|.0|96d5b379-7e1d-4dac-a6ba-1e50db561b04
Tags: Shop Stampin' Up! Online, Stamping Shop Stampin' Up online, Shop online, Stampin' Up, Stampin' Up Card ideas, Stampin' Up Supplies, Stampin' Up Card, The Paper Players, Zoo Crew, Charming Sentiments, Clean and Simple, Stitched Shapes Framelits
Cards | Shop Online | Shop Stampin' Up! Online | Stamping