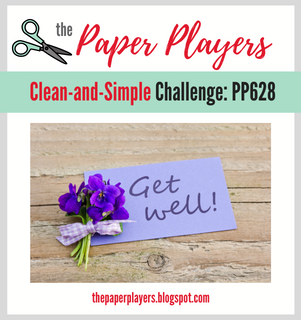
Today it's Sunday and time for this week's new challenge over at The Paper Players! It's the turn of the fabulous Claire to host this week and she has a clean and simple challenge for us to work with:
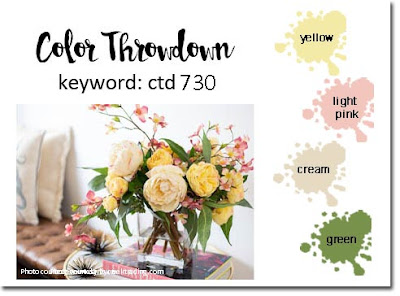

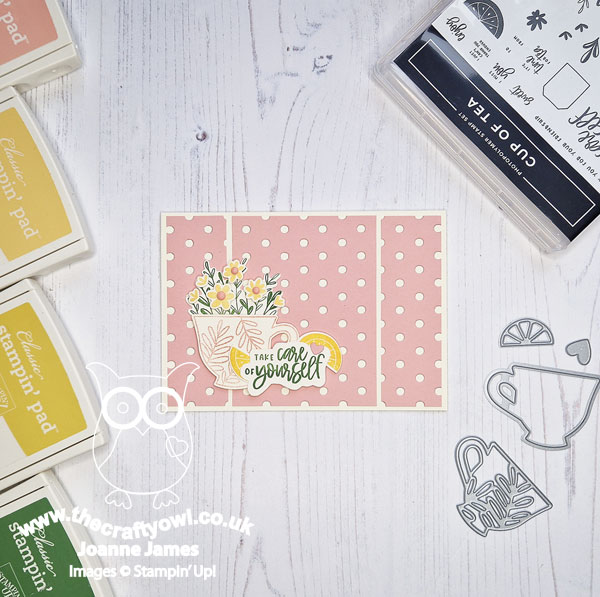
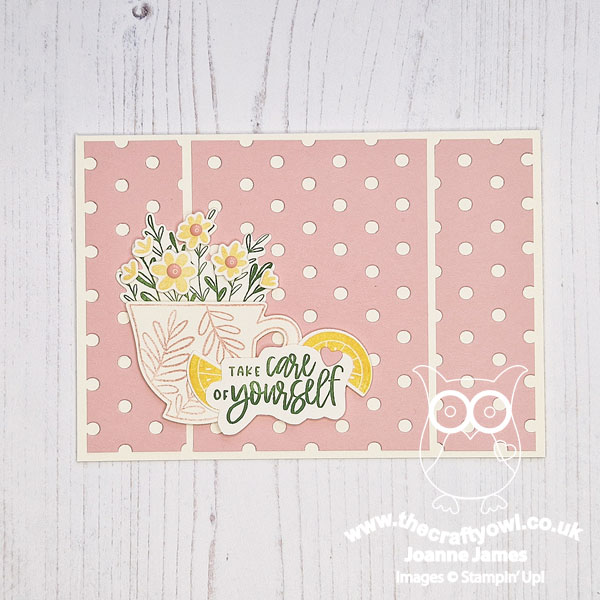
Isn't a cup of tea the cure for all ills? It is in my house, for sure! As such I reached for the 'Cup of Tea' stamp set and set about creating a soothing paper-based version for the perfect pick-me-up, using this week's Color Throwdown colours and the layout over at Hand Stamped Sentiments - take a look:
Here's the low-down on today's card:
Claire has chosen 'get well soon' as our theme however since it is clean and simple week, it's worth a reminder of what we at The Paper Players mean by Clean and Simple:
- Minimal layers and embellishments
- Plenty of open space, aka "white" space
- Simple and uncluttered
I have taken a slight liberty with my card today - ordinarily I would have not included the dots & spots diecut layer, but I liked this additional detail, especially with the three panels, and it seemed a little too 'clean' without, so I decided to go with it! My card is otherwise simple and uncluttered, with minimal layers and embellishments, so that's all good.
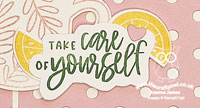
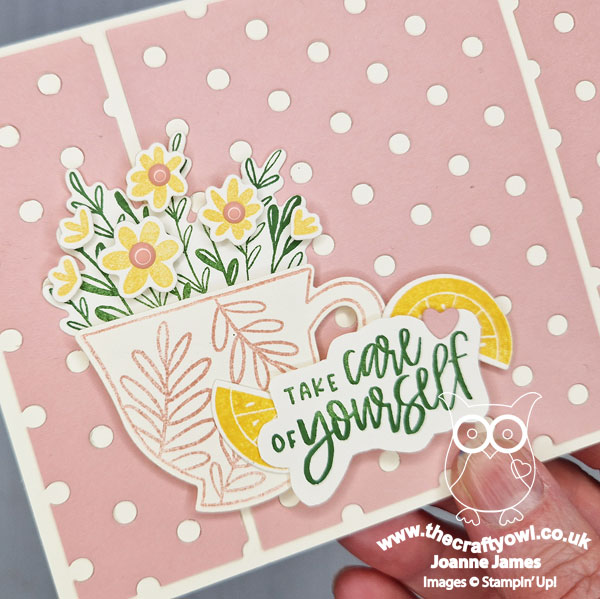
I added a cup of tea, stamped and filled with flowers as the focal point for my card and added a couple of lemon slices and my fussy cut sentiment to finish:
If you are under the weather, I think this card would be the perfect way to send get well wishes.
Here is the visual summary of the key products used on today's project for you to pin for easy reference:
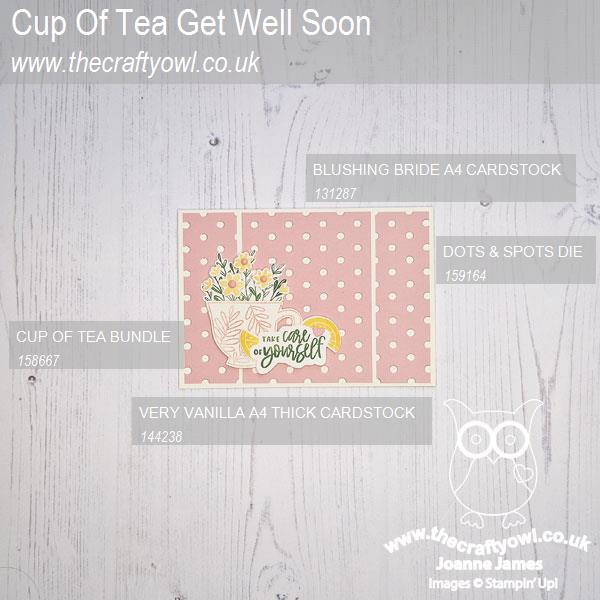
You can see all of my Product and 'How To' summaries on my 'How To - Tips and Techniques' Pinterest board in case you've missed any.
Before you reach for your ink and papers, check out what our amazing team has created to inspire you this week:
The Paper Players Design Team
Here's a quick recap of our challenge rules:
1. Create a new paper project
2. Upload your creation to your blog with a link back to us and provide a direct link to the post featuring your challenge submission.
3. Please link your card to no more than four challenges, TOTAL.
4. Have FUN!
Enjoy your day; I'll be back tomorrow with another project. Until then, happy stampin'!
Stampin' Up! Supplies Used: