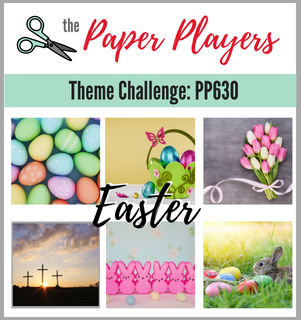
Today it's Sunday and time for this week's new challenge over at The Paper Players! It's my turn to host this week I've a theme challenge for us to work with:
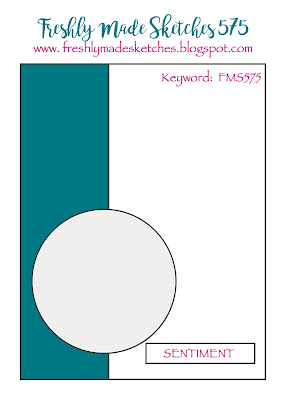
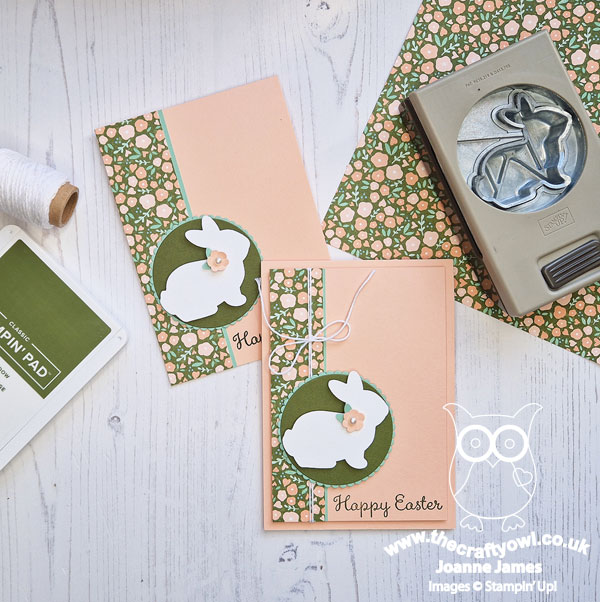
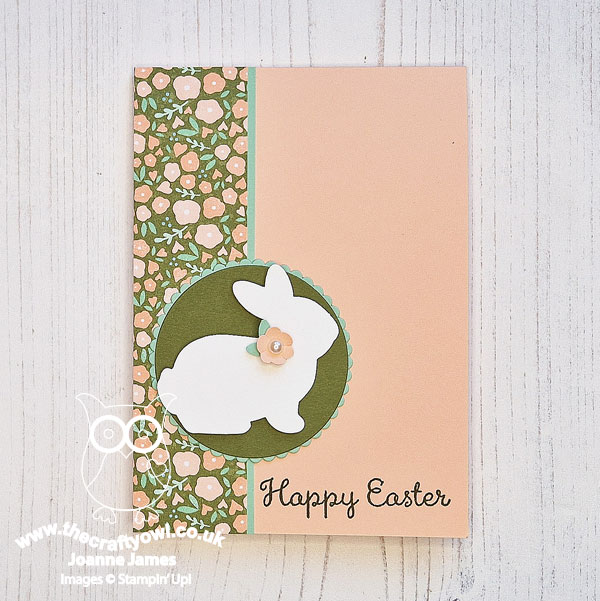
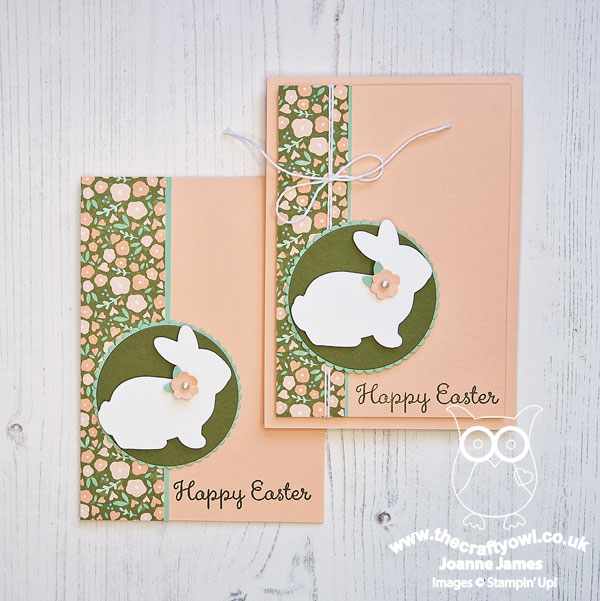
We are still some weeks away, but it's always good to be prepared so I thought we could get a start on our Easter cards. I used Karren's super-versatile layout over at Freshly Made Sketches this week and set to work. I ended up making two cards - take a look at the first one:
Here's the low-down on today's card:
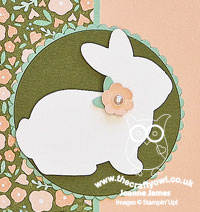
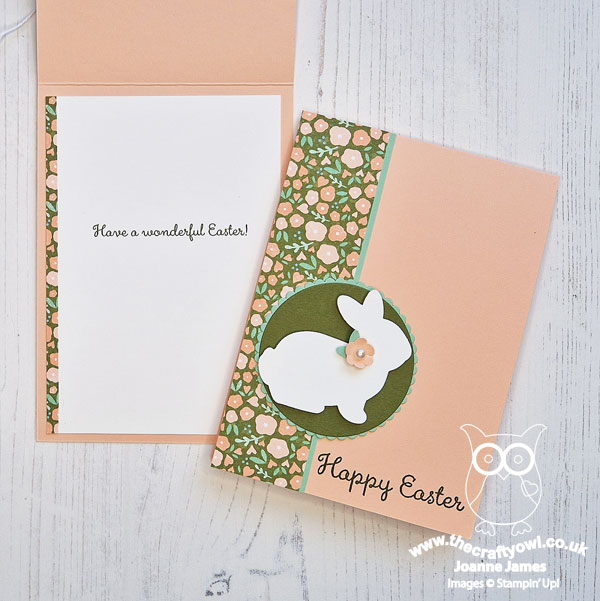
Country Lane and a Punched Easter Bunny - I haven't used these papers for a while, but I knew that this pretty floral from the Country Lane designer series paper pack would be the perfect pattern to form the basis of the colour scheme for today's card. I wanted a clean white bunny as my focal point and the darker background sets it off perfectly:
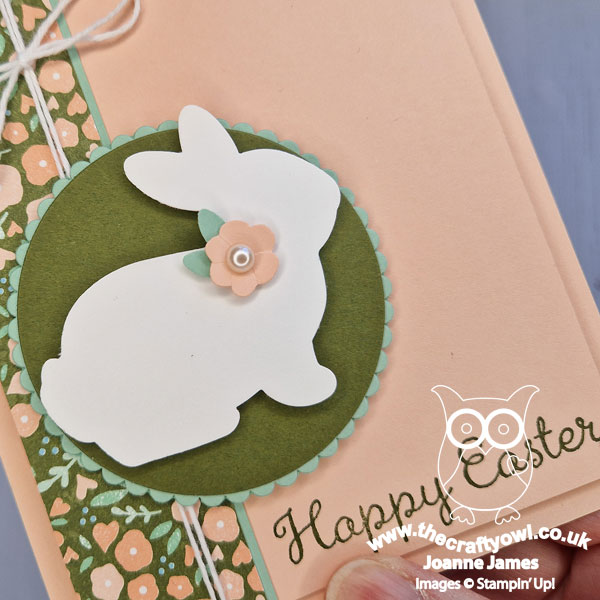
I added a little punched flower to my bunny for a little extra decoration.
A Step Up - Having made my initial card, I decided to create a second one with an extra layer and some tied baker's twine - just a small extra detail but it does add a little something extra:
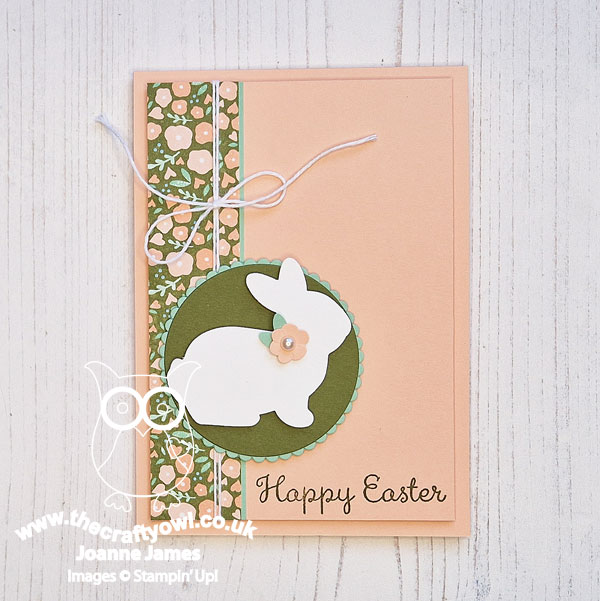
The sentiment is from a retired set called 'Welcome Easter' - obviously, any of the current Easter sets could be substituted. Here's a photo of both cards together so that you can compare:
A Little Interior Decoration - Another sentiment and a border of leftover paper decorates the inside of my card:
That's all there is to it - nice and straightforward! I love the Easter Bunny Punch but wasn't so keen on the drawings in the coordinating stamp set but I think this card shows that it works without too.
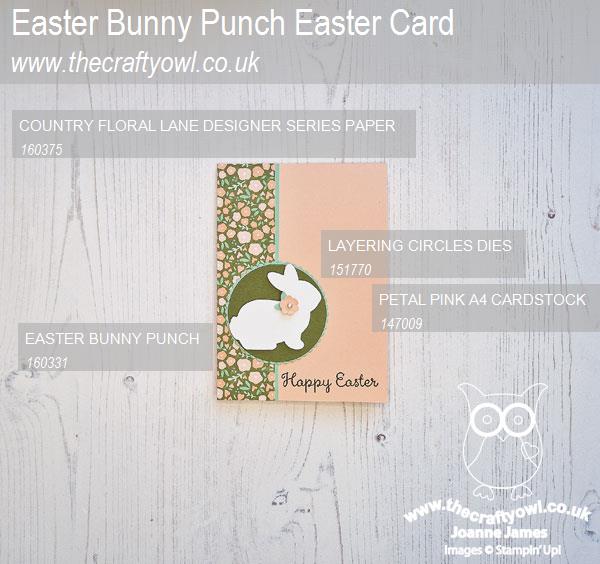
Here is the visual summary of the key products used on today's project for you to pin for easy reference:
You can see all of my Product and 'How To' summaries on my 'How To - Tips and Techniques' Pinterest board in case you've missed any.
Before you reach for your ink and papers, check out what our amazing team has created to inspire you this week:
The Paper Players Design Team
Here's a quick recap of our challenge rules:
1. Create a new paper project
2. Upload your creation to your blog with a link back to us and provide a direct link to the post featuring your challenge submission.
3. Please link your card to no more than four challenges, TOTAL.
4. Have FUN!
Enjoy your day; I'll be back tomorrow with another project. Until then, happy stampin'!
Stampin' Up! Supplies Used: