Today it's Sunday and time for this week's new challenge over at The Paper Players! It's the turn of the fabulous Ann to host this week and she has my favourite, a sketch challenge for us to work with:
I had a few ideas for Ann's layout, but having finally received my new annual catalogue preorder I decided to have a play with just some of the new goodies in my box - take a look at what I came up with:
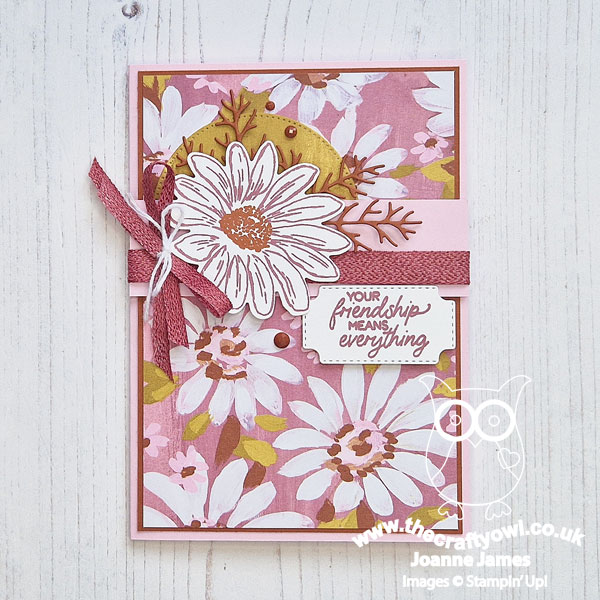
Here's the low-down on today's card:
Every single thing that I used on my card today is brand new!!
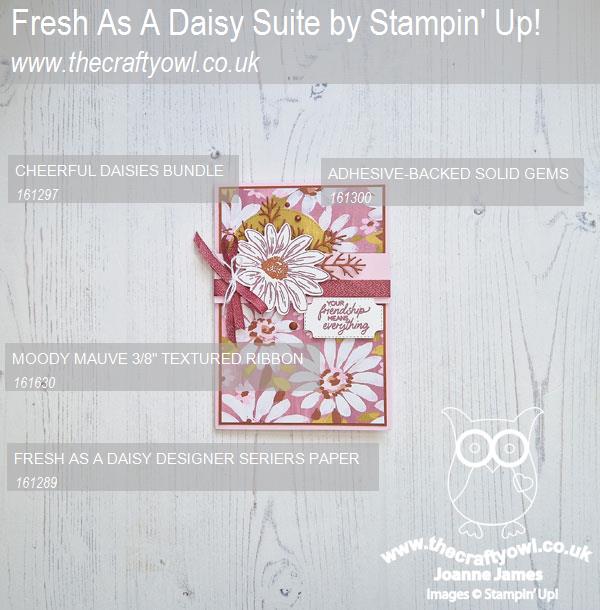
New Papers: I used the new Fresh As A Daisy designer paper as my starting point and used a bold, pink daisy pattern for my main panel and the reverse for the semi-circle.
New Colours: I used a base of the new pale pink, Bubble Bath, a mat of Copper Clay and ink in Copper Clay and one of the new in-colours, Moody Mauve.
New Stamps and Dies: The bundle that is included in the Fresh as a Daisy Suite is called 'Cheerful Daisies'; the stamp set contains both solid and outline daisy images and a range of sentiments and there are dies that cut out the stamped images and those that create standalone layered flowers along with a great label die.
New Accessories: I used both the Adhesive-backed Solid Gems in Copper Clay and the new 3/8" Textured Ribbon in Moody Mauve on my card too (I split the ribbon in half lengthways for my bow, tied with twine).
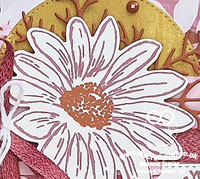
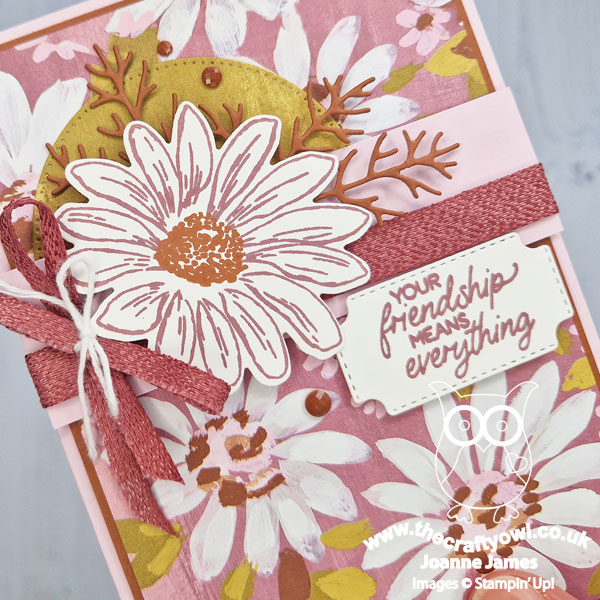
You can see the layering more closely here - so much to love, right?!
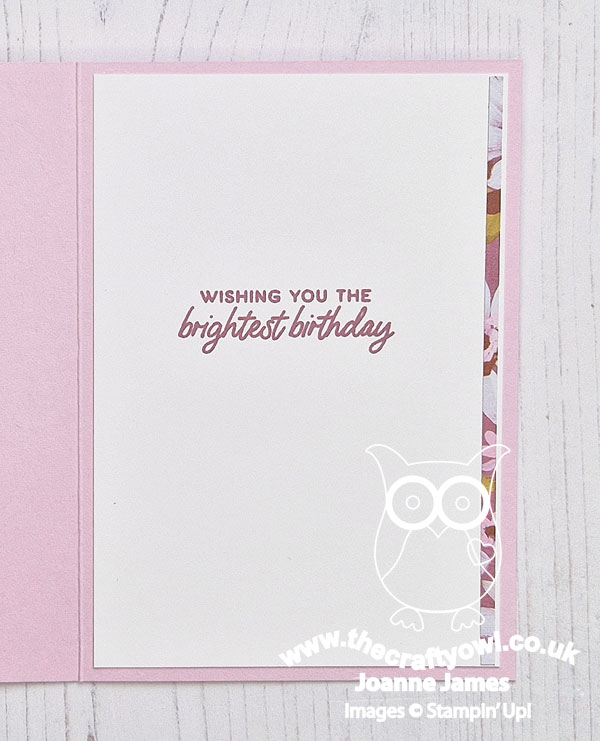
I added an offcut of paper and another sentiment from the set to the inside of my card to finish:
So what do you think? Are you excited to see more of the Cheerful Daisies and lots of other items from the annual catalogue? It launches May 2nd so not long to wait! I have catalogues ready to send to everyone who has shopped with me in the past 6 months. If you don't have a demonstrator and would like to receive a catalogue, do get in touch.
Here is the visual summary of the key products used on today's project for you to pin for easy reference:
You can see all of my Product and 'How To' summaries on my 'How To - Tips and Techniques' Pinterest board in case you've missed any.
Before you reach for your ink and papers, check out what our amazing team has created to inspire you this week:
The Paper Players Design Team
Here's a quick recap of our challenge rules:
1. Create a new paper project
2. Upload your creation to your blog with a link back to us and provide a direct link to the post featuring your challenge submission.
3. Please link your card to no more than four challenges, TOTAL.
4. Have FUN!
Enjoy your day; I'll be back tomorrow with another project. Until then, happy stampin'!