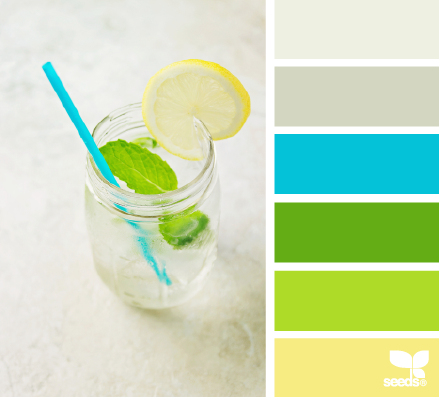
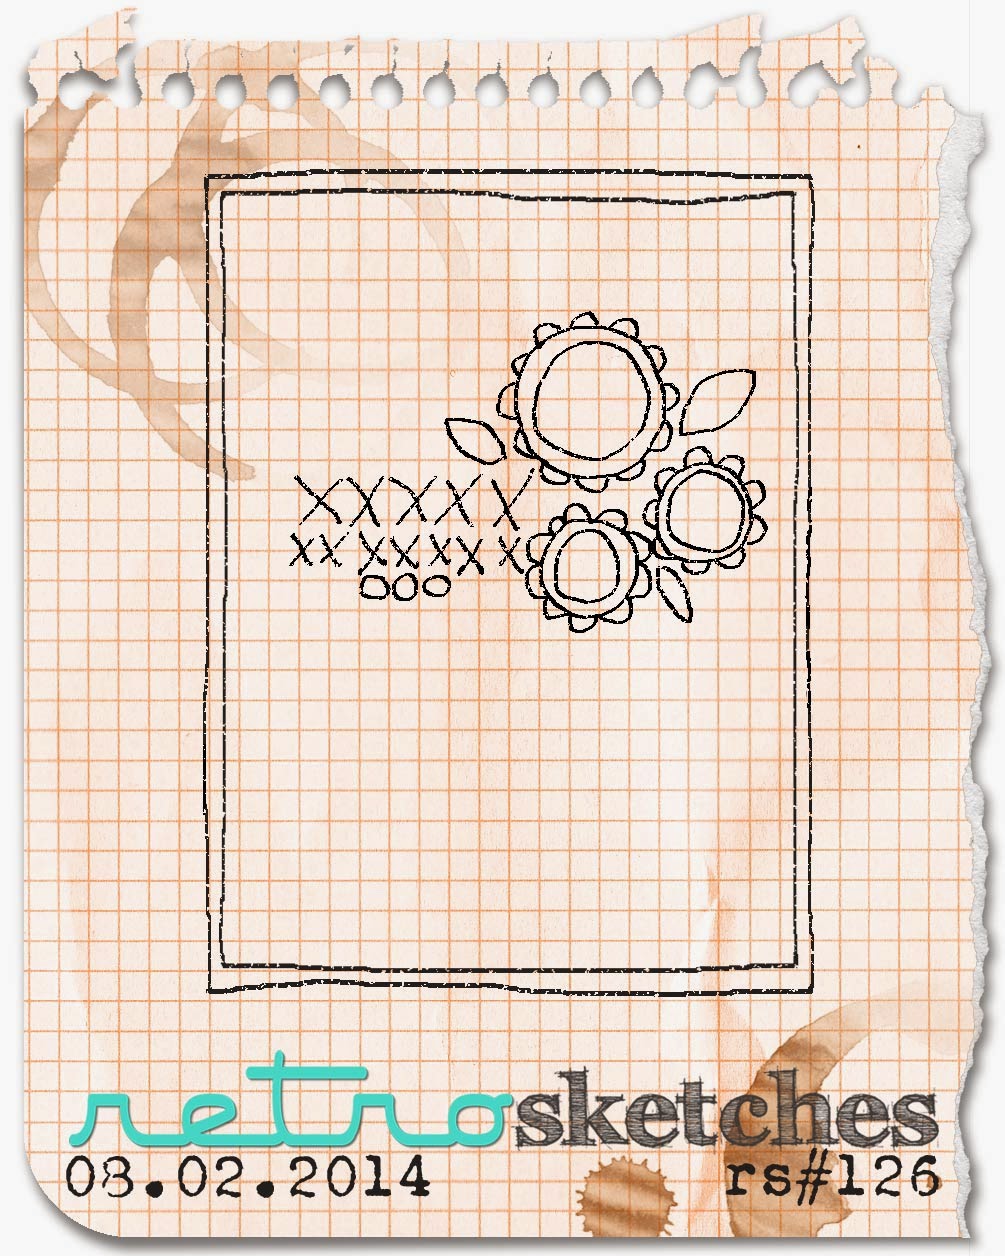
by Joanne James7. August 2014 20:56Today I'm excited to share with you my first Flower Patch card! Now, this may not seem like a big event, but for someone who has had the stamp set for over a month whilst having to wait (not so) patiently for the matching framelit set, it is a big deal! I decided to make a card for the challenges over at 'Less is More' and Retrosketches, where the colour palette and sketch were perfect for what I had in mind:
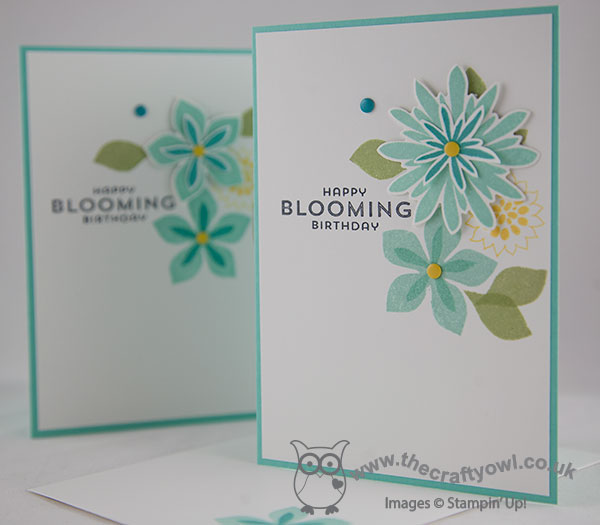
Since the lovely Sarah over at 'Less Is More' is celebrating her birthday this week, I decided a birthday card should be the order of the day. Here's what I came up with:
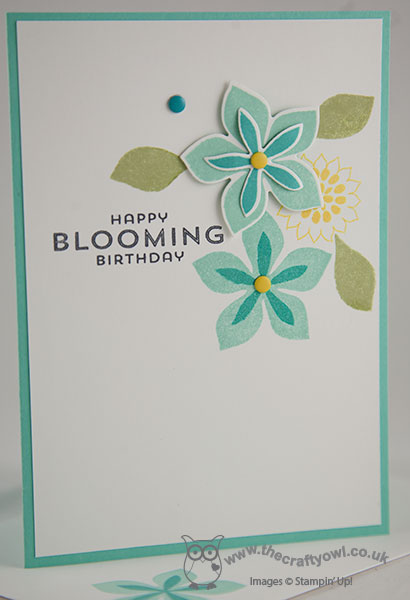
My card base is Coastal Cabana, which I matted with Whisper White and stamped my sentiment in Momento Black, then surrounded it with a trio of flowers in Coastal Cabana, Daffodil Delight and Bermuda Bay, cutting out one of these with my framelits and layering it to add depth and dimension. I finished with a few candy dots for the flower centres and a random one (just because!). The stamp set is photopolymer, which makes aligning everything so easy no need even for a stamp-a-ma-jig!
I liked my card so much, I decided to create another one with one of the other framelits in the set - I need a few extra birthday cards in my 'emergency' box - here is my slight variation on the card above:
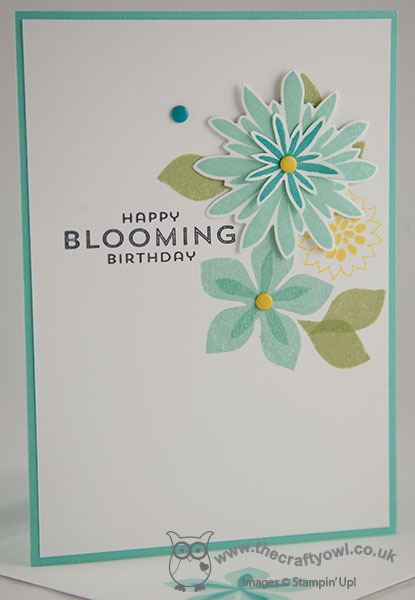
These cards use surprisingly few supplies, yet I think they have real interest. This set has so much potential I am so glad that I can finally get creating with it - it my well replace Simple Stems from the Spring-Summer seasonal catalogue in my 'bold flower' affections! I'm also linking my card up over at SUO Challenges, where the theme this week is 'new toys' - well, I've certainly had fun playing with mine!
Back tomorrow with another project; until then, happy stampin'!
Stampin' Up! Supplies Used:
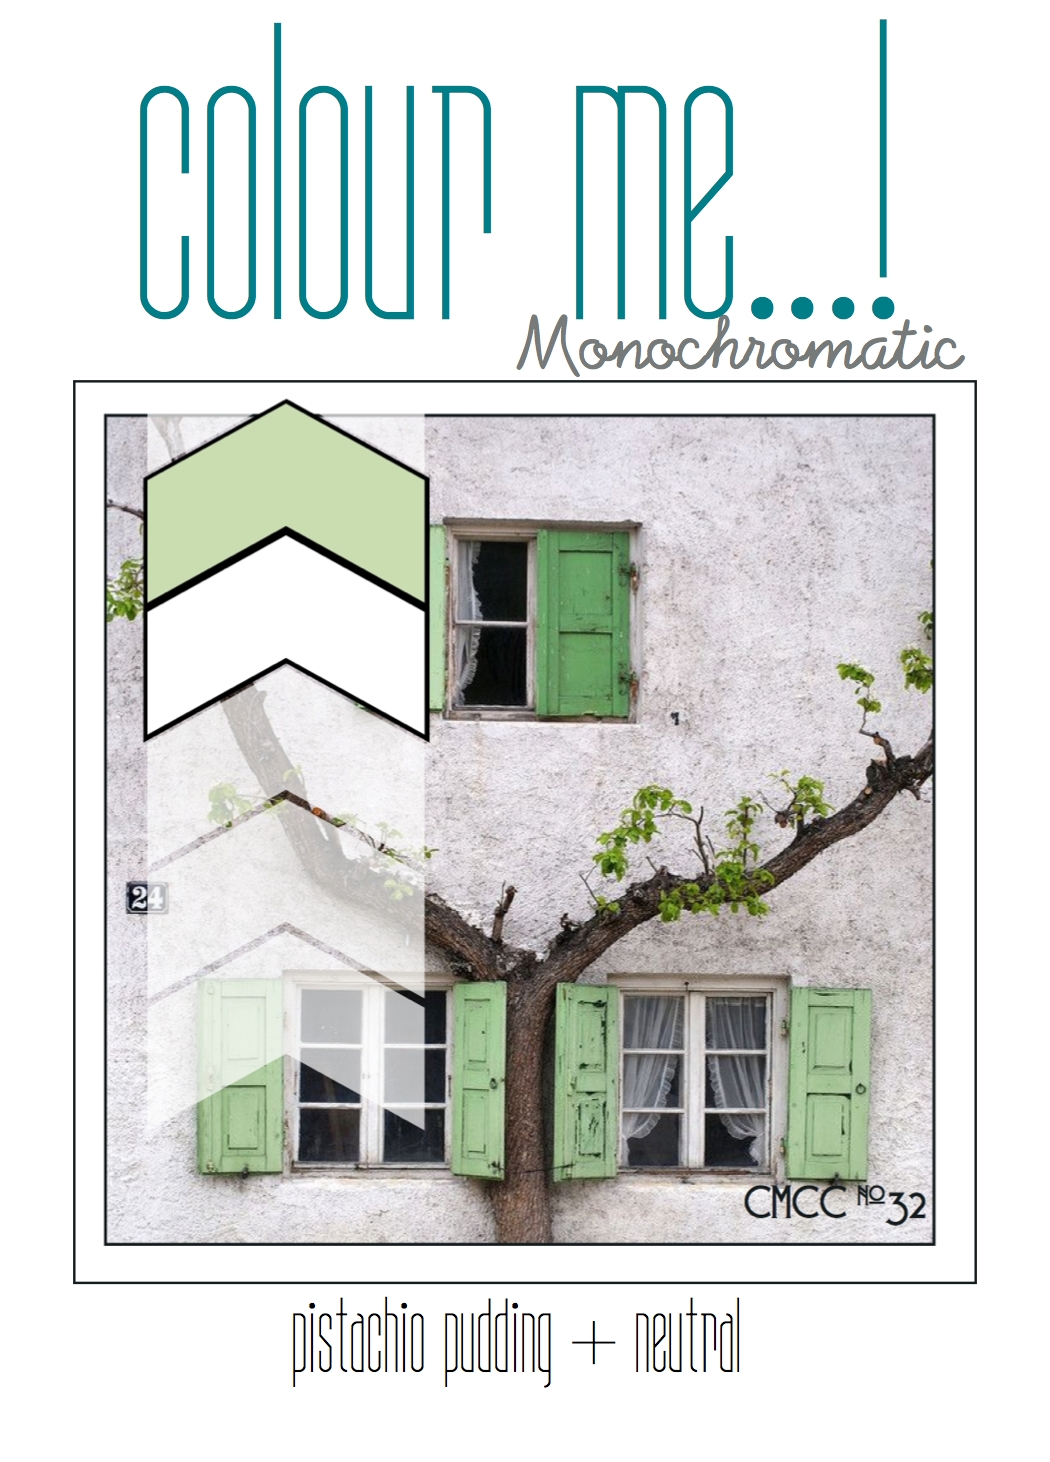
by Joanne James6. August 2014 11:00Happy Wednesday everybody! Today is a good day - the sun is shining again, my Autumn-Winter pre-order has arrived so I have lots of Halloween and Christmas goodies to play with, there's a new bunch of weekly deals (see earlier post here) and it's time for this week's Colour Me...! Challenge, where we have a monochromatic colour challenge this week using Pistachio Pudding and a neutral:
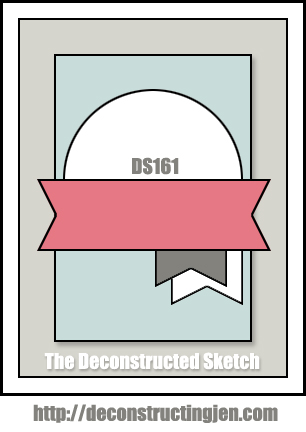
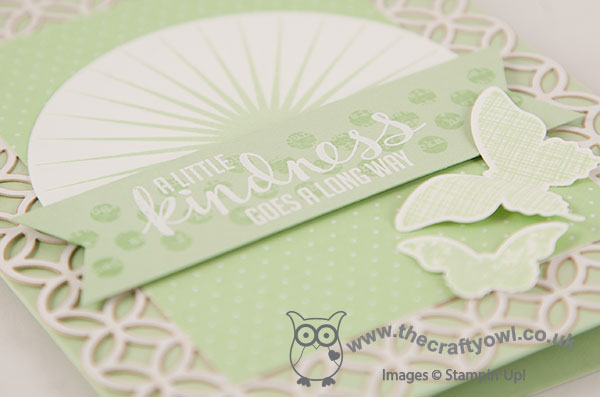
I thought this challenge would be trickier than it actually was. I used the latest sketch from the Deconstructed Sketch for my layout and inked up my new Kinda Eclectic stamp set which I have been keen to get working with - here's my card:
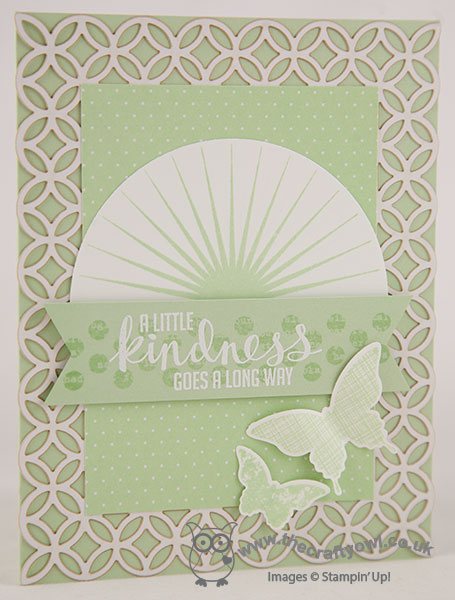
For my card I used a base of Pistachio Pudding, then layered one of the die-cut pieces from the now retired Simply Sent card kit in last year's annual catalogue. I added some Pistachio Pudding polka dot paper from the All Abloom DSP stack, then stamped the sunburst from Kinda Eclectic in Pistachio Pudding onto Whisper White and cut out using my Big Shot and Circles Framelits and cut the bottom third off the circle. For the central banner, I stamped the spots in Pistachio Pudding on the cardstock of the same colour, then stamped my sentiment in Versamark and heat embossed in White embossing powder over the top to add additional dimension. Lastly, I replaced the flags in the sketch with the butterflies from Kinda Eclectic, stamped in Pistachio Pudding onto Whisper White cardstock and punched out using the co-ordinating punches. I think the key to a single colour card where you are using one single colour plus a neutral, and don't have then benefit of tonal shades of the same colour, is to add layers, patterns and shapes for extra interest. If you're based in the UK and Europe, the Pistachio Pudding ink pad is on this week's Wednesday Weekly Deals List too and can be yours for just £3.71 instead of the usual £4.95 this week, so if you needed an incentive to have a go at this week's challenge, this is it!
I look forward to seeing what you come up with in the gallery this week - meanwhile, check out what the other designers have in store for you over at Colour Me and our new featured guest designer for the month of August.
Back tomorrow with another project for you; until then, happy stampin'!
Stampin' Up! Supplies Used:
1354179a-167f-4bc5-8a25-c568f87aa6cb|0|.0|96d5b379-7e1d-4dac-a6ba-1e50db561b04
Tags: Colour Me...!, Kinda Eclectic, Simply Fabulous Simply Sent, Butterflies, Big Shot, Circles Framelits, All Abloom, Shop online, Stampin' Up Card, Stampin' Up, Stampin' Up Card ideas, Stampin' Up Supplies
Cards | Stamping
by Joanne James4. August 2014 21:12Considering that today is Monday, I feel like I've lived half my week already! So a quick post from me to share one of the cards made in today's Blendabilties class.
We made a variety of cards with everyone using different colour pens so we ended up with a complete mix of finished pieces. This is one of the samples I made using the Daffodil Delight Blendabilities set - I think the yellows are my favourite! Here's my card:
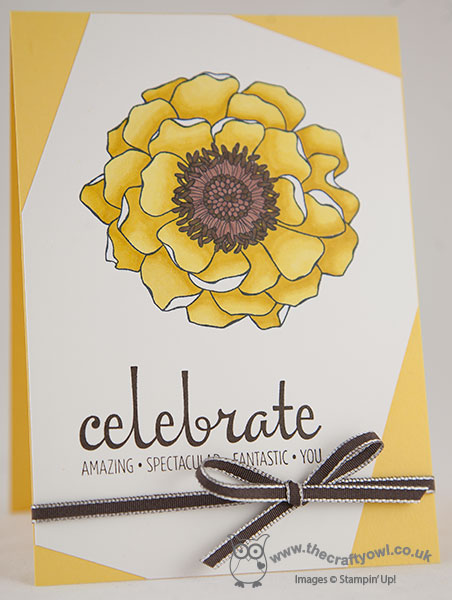
All of the cards in this month's classes featured the Blended Bloom stamp and were quite simple in design, since the focus was on colouring the images and practising different blending techniques. For this card, we simply stamped the Blended Bloom flower onto an offset panel of Whisper White, coloured using Daffodil Delight and Skin tone (for the centre) Blendabilities and added the 'celebrate' sentiment from the Fabulous Four stamp set in Early Espresso and a taffeta ribbon bow in the same colour (this colour is now retired in this ribbon type but you could easily substitute with the new 1/4" cotton ribbon in the same colour).
That's all from me today; back tomorrow with another project. Until then, happy stampin'!
Stampin' Up! Supplies Used:
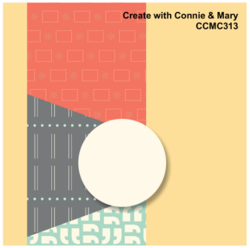
by Joanne James3. August 2014 08:00It's time for this week's challenge over at The Paper Players and Sandy has a theme challenge for us this week that's all about buttons:
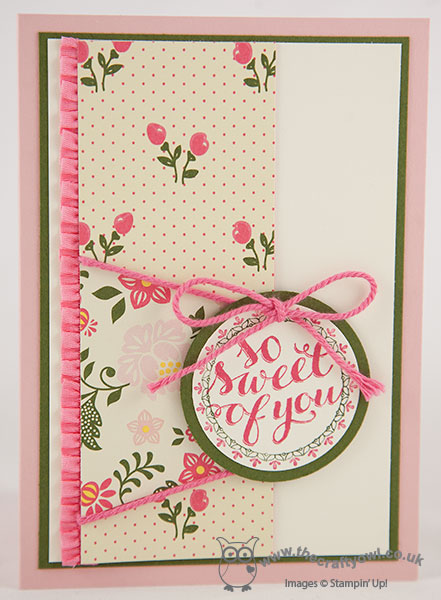
You can use any kind of buttons - real, embossed, paper - so for my card I decided to take Sandy's theme quite literally and create a 'Cute as a button' card suitable for a baby girl and featuring a clay button made with Simply Pressed Clay in one of Stampin' Up!'s silicone moulds - here is my card:
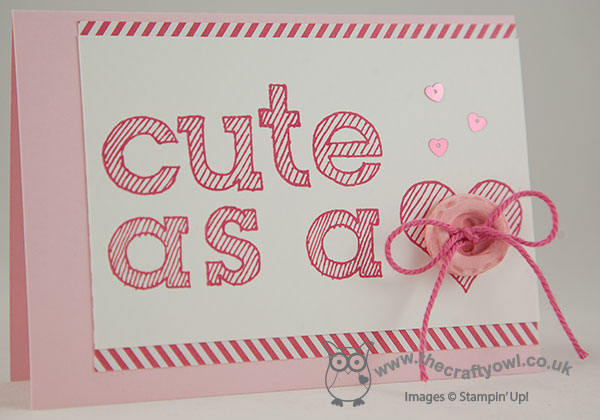
I used a Pink Pirouette card base and matted my Whisper White panel with a piece of Strawberry Slush DSP from the In-Colour stack in the chevron design, although with just enough showing so that it looks like a simple diagonal to echo the lines of the text. On my white panel, I stamped 'cute as a <3' using the new Epic Alphabet set. This set is photopolymer, which makes aligning the letters accurately so easy - with no stamp-a-ma-jig required! I moulded my clay button in the Simply Pressed Clay Mould and allowed it to dry before colouring it with my Pink Pirouette Stampin' Write marker - you can colour your clay before you mould it with reinker or afterwards with ink/markers, it's really up to you. The colour differs slightly depending on the method; personally I like to mould my buttons and embellishments in uncoloured clay a few at a time, then keep the dried pieces in a box to be coloured as required depending on the project. Here's a close up of my button:
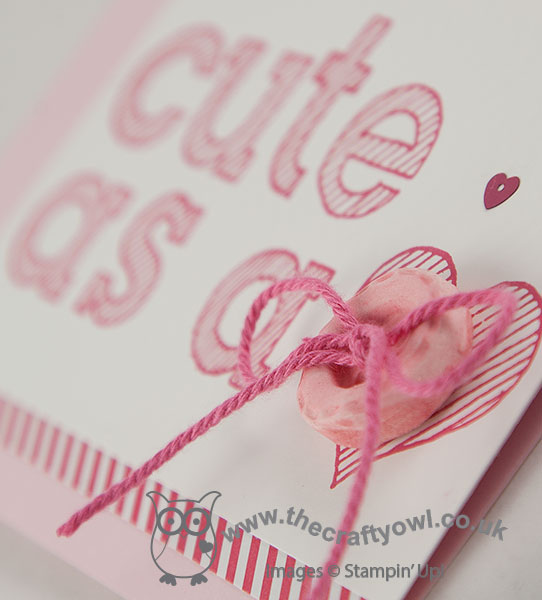
To finish, I pierced two holes in the button with my paper piercer and threaded some Strawberry Slush baker's twine through the holes and tied in a bow and added a scattering of In-Colour heart sequins.
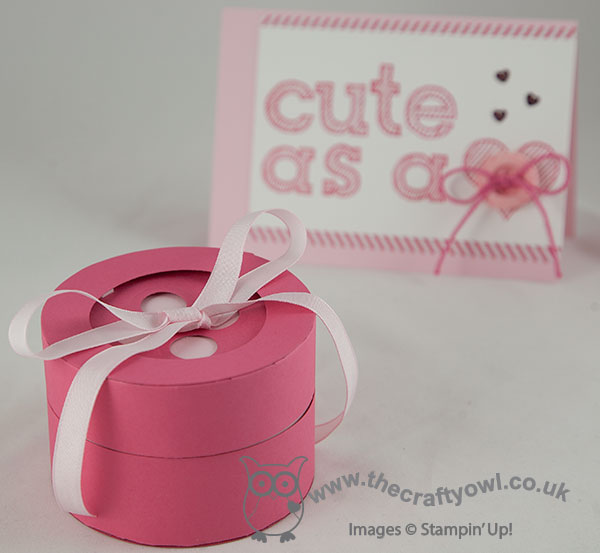
I really love how my card turned out - but I couldn't stop there! I thought it would be fun to create a button gift box to go with it, using my Big Shot and Circles Framelits - here it is:
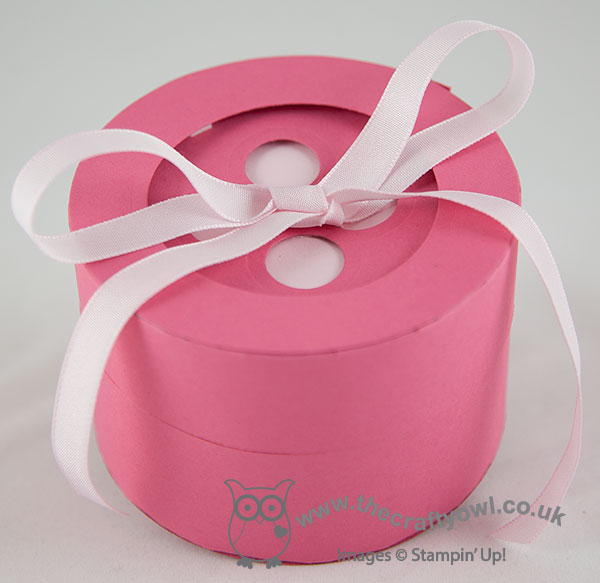
I used Strawberry Slush cardstock and the second largest of the circle framelits for my box, which measure 9.3cm in diameter and 7cm tall. I lined my box with Pink Pirouette cardstock for rigidity and to allow for an edge-to-edge closure. This box is just big enough to fit in a cute onesie, some bibs or a pair of booties - here's a photo of the inside:

Lastly, I threaded some retired Pink Pirouette ribbon through the button holes and tied in a bow. So there you go - two cute as a button projects, I hope you'll agree! Do pop over to The Paper Players and see what the other talented designers have for you today and I very much hope you'll join us in creating something for this week's challenge.
Back tomorrow with another project; until then, happy stampin'!
Stampin' Up! Supplies Used:
by Joanne James31. July 2014 08:00Hello there - this card is for you all! I used the latest sketch at Create With Connie and Mary this week, as I liked the unusual layout:
I'm too late to link up with the challenge, but wanted to share the card with you as it is a little different for me - here's my card:
I'm not sure I've ever used so much Strawberry Slush on one card! I thought the All Abloom papers would be perfect for this kind of paper-piecing and I loved the way that Mary Brown used thick bakers twine across the joins on her design team card here so I decided to do the same on my card. I also added some of the retired ruffle trim in the same colour to edge the patterned panel. Lastly I finished with one of the sentiments from the 'Hello There' hostess set, having first inked the outline with Strawberry Slush and Mossy Meadow markers to frame it and added a simple twine bow.
I really like the combination of Strawberry Slush and Mossy Meadow on this card; the green seems to really balance the vibrancy of the pink, and along with the vanilla and Blushing Bride cardstock makes for a very feminine card, without being too 'pink'.
I hope you like today's card - I'm off to prepare a picnic for an afternoon at the park, do enjoy your day, however you choose to spend it.
Back tomorrow with another card; until then, happy stampin'!
Stampin' Up! Supplies Used:
by Joanne James30. July 2014 08:00Good morning everyone - today I have my Design Team card for our challenge this week over at Colour Me...! where we are having a creative week where you get to choose your colour palette and which team you would like to play along with:
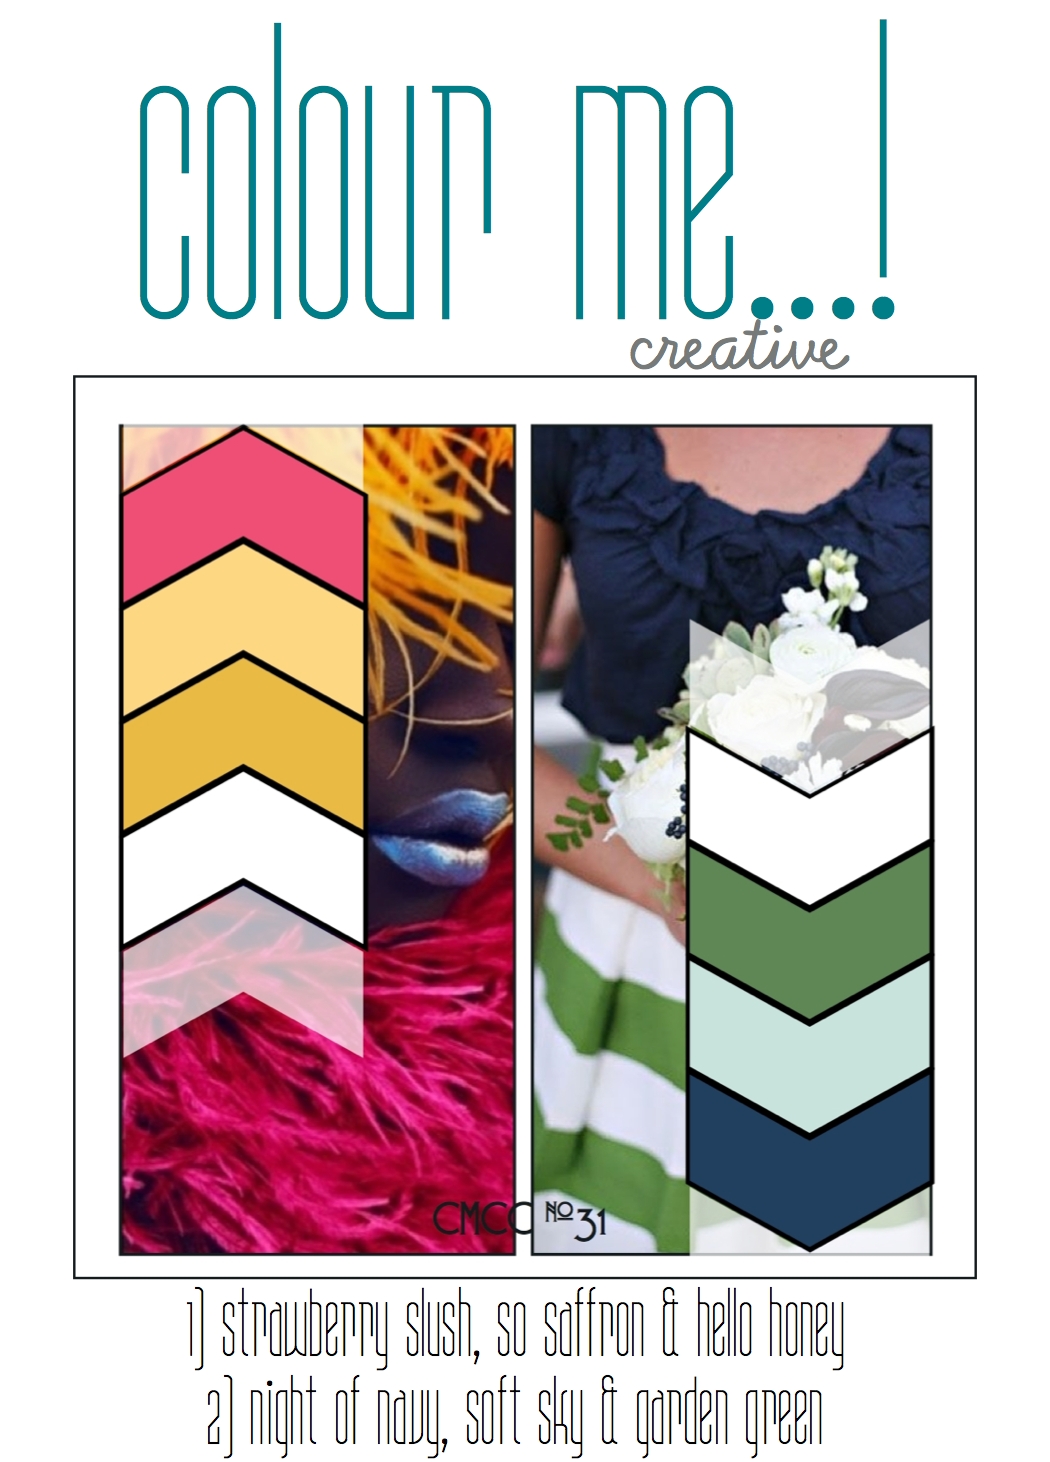
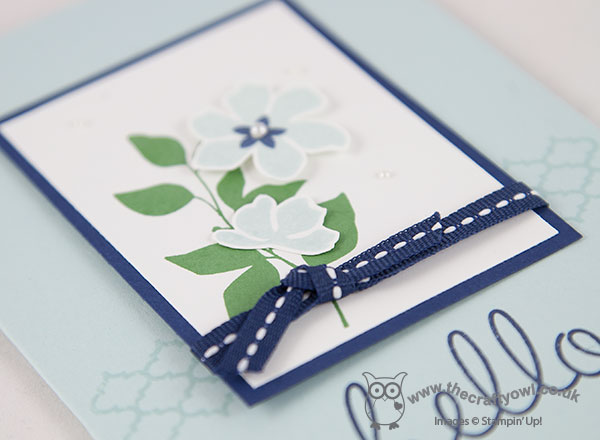
I am on 'Team Tara' this week so I'm working with Night of Navy, Soft Sky, Garden Green and a neutral (in my case, Whisper White). Here's my card:
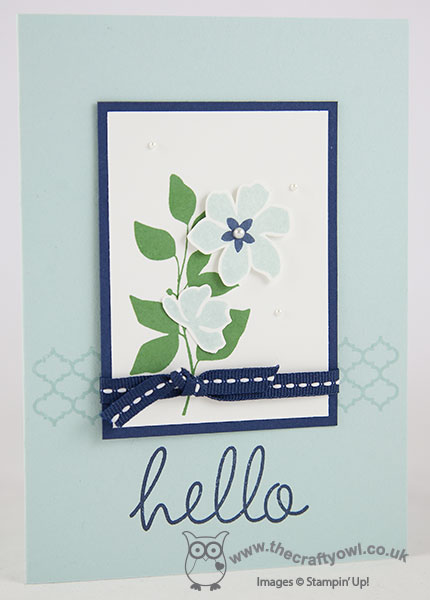
I decided to use Soft Sky for my base and flowers, stamped and fussy-cut from the Summer Silhouettes stamp set, with Garden Green for the foliage and Night of Navy as my accent colour and for my statement 'hello' greeting - this is from the 'Hi There' stamp set - I think it's going to be a new favourite of mine. A smattering of pearls and a piece of retired grosgrain ribbon (you could substitute this with the new seam binding ribbon in the same colour) finish my card.
To see what the rest of the team have created in each of the colour schemes, stop by their blogs for inspiration and do play along with us at Colour Me this week!
Back later with another project; until then, happy stampin'!
Stampin' Up! Supplies Used:
by Joanne James28. July 2014 18:51I know, I know - we re experiencing some of the hottest weather we've had in the UK for ages and I'm making Christmas cards with snowflakes on!!! My new seasonal catalogue arrived with the postman on Saturday (it doesn't go live until the beginning of September, but as a demonstrator we receive them early so that we can pre-order items to plan classes and make samples to share with you (one of the many perks of being a demonstrator) and so for the last couple of days I have well and truly had Christmas on the brain! When I saw this week's sketch over at Freshly Made Sketches I decided festive was the order of the day - here's the sketch:
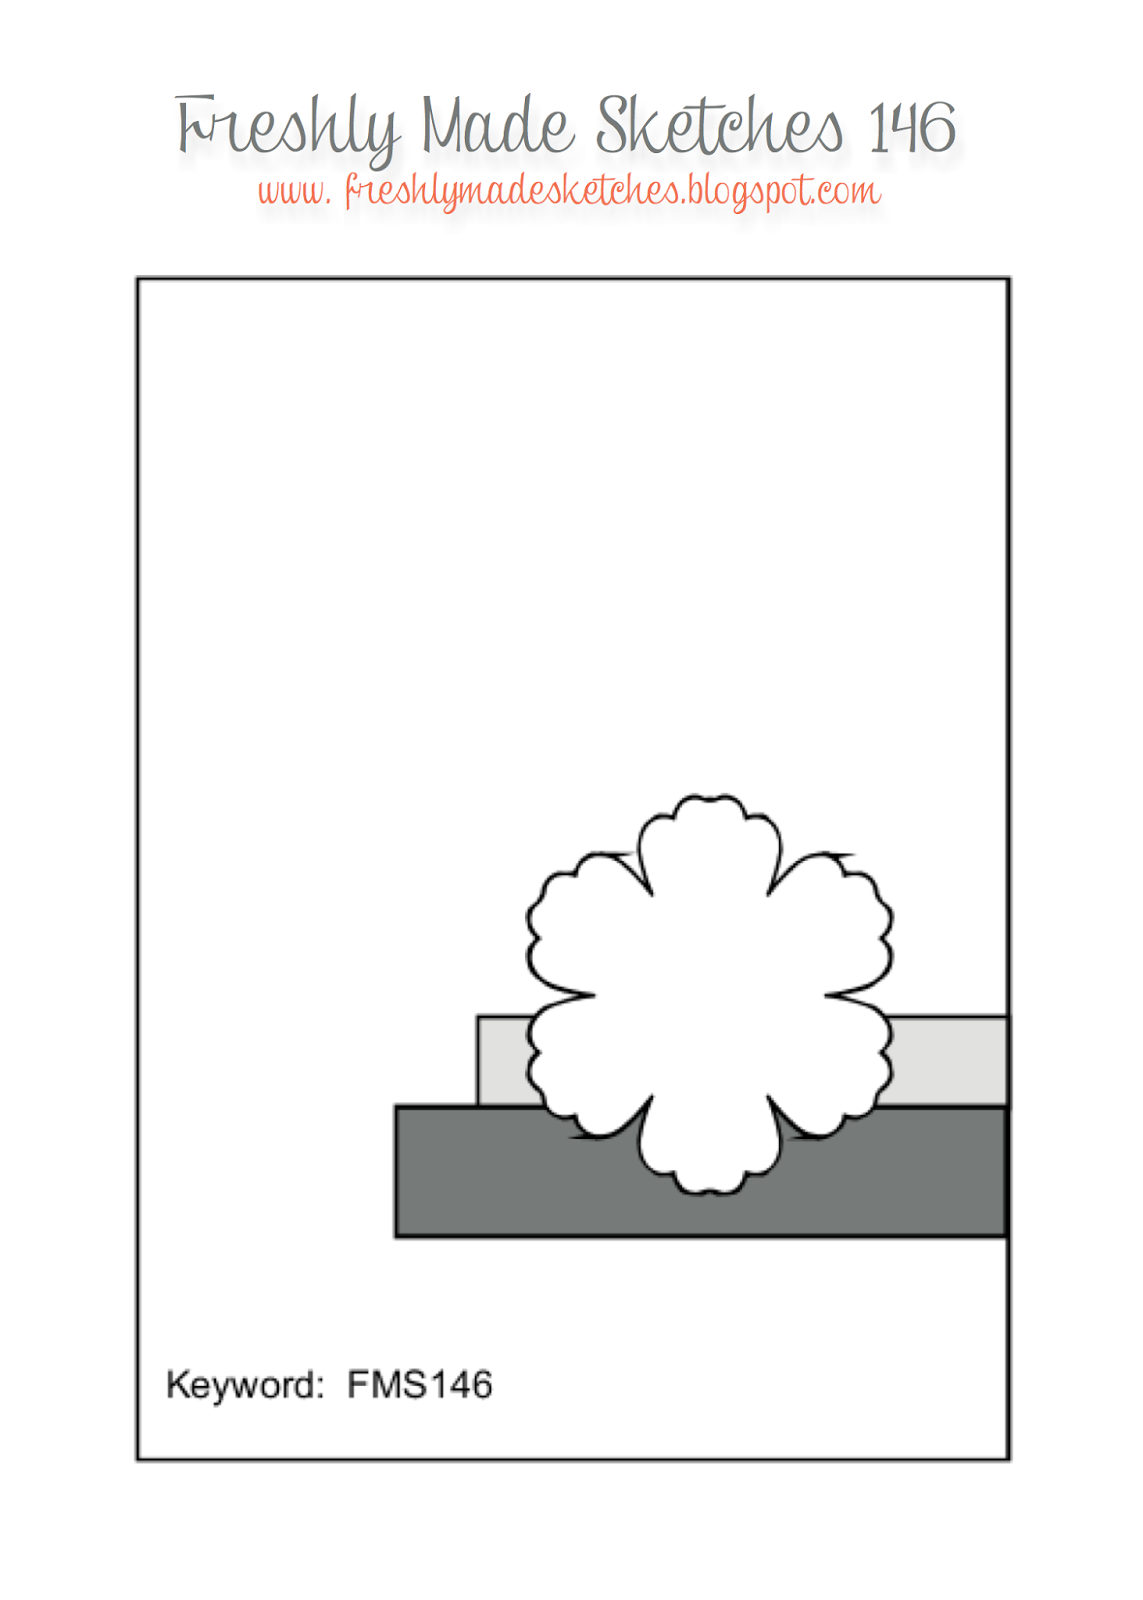
And here's my card:
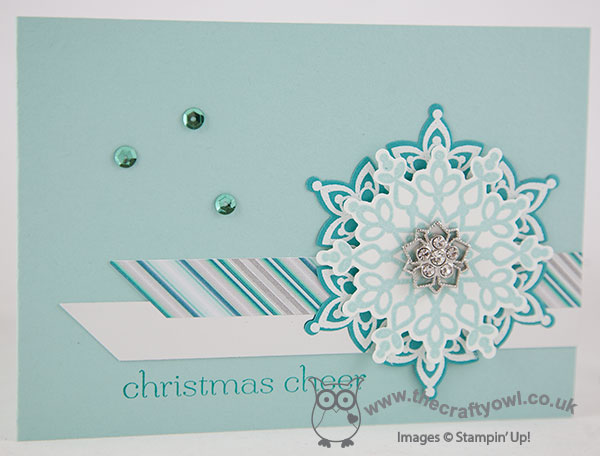
I changed the orientation of my card as I wanted to use two of the embossed layered snowflakes stamped with the Festive Flurry stamp set and cut out with the coordinating framelits and needed it to be wider rather than taller. I cut my banners out of silver foil sheet and a scrap of last year's Winter Frost DSP that I found in my box, along with a retired snowflake embellishment. I added a few of the current in-colour sequins in Coastal Cabana to add a little more sparkle and finished with a vintage sentiment (from the 'Sweet Essentials' set).
You still have another month and a bit to wait until the launch of the new seasonal catalogue, however if you're the kind of person who likes to get organised and wants to start making Christmas cards now, the Festive Flurry stamps and Framelits are on the Holiday Carryover List and, along with a number of other seasonal items, are still available to purchase until 27th August. You can find the full list of items in the 'Holiday Carryover' section on the right hand side of my blog page, or by clicking here.
That's all from me today - no more Christmas cards I promise - well, at least not this week. Once my pre-order arrives next week, I might not be able to stop myself from sharing a few 'sneak peeks' of festive loveliness!
Back tomorrow with another card; until then, happy stampin'!
Stampin' Up! Supplies Used:
a0a43734-b506-4367-b703-b05cd76d4926|0|.0|96d5b379-7e1d-4dac-a6ba-1e50db561b04
Tags: Big Shot, Christmas, Festive Flurry, Festive Flurry Framelits, Winter Frost, Frosted Finish Embellishments, Sweet Essentials, Stampin' Up Supplies, Stampin' Up Card ideas, Stampin' Up Card, Stampin' Up, Shop online
Cards | Stamping
by Joanne James27. July 2014 08:00Good morning everyone - it's Sunday and time for my Design Team card over at The Paper Players where Ann has a great sketch challenge for us this week:
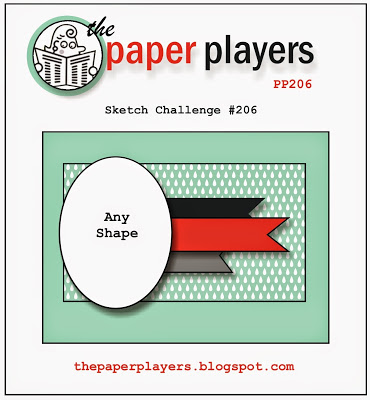
Now I love a sketch challenge and often I follow a sketch completely to the letter. Today is something of the exception to the rule though - when I saw the 'any shape' piece, I really wanted to use one of the flowers from the Bloom with Hope hostess stamp set that I had coloured with my set of Cherry Cobbler Blendabilities. As a consequence though, the layers didn't work for me - so I switched them about and offset them - I hope Ann doesn't mind! Take a look at this week's card to see what I mean:
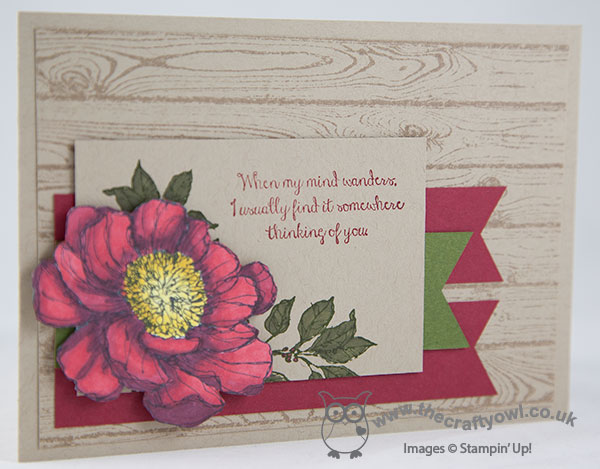
I wanted my flower to take centre stage so went with a neutral Crumb Cake card base, with a Hardwood stamped mat. I really wanted to use a sentiment alongside my flower - this stamp set has a great selection of really useful ones, but to follow the sketch literally I would have needed to stamp my sentiment on one of the banner flags to be seen, but this didn't work as I wanted them to bring some additional colour to my card. So I decided to tuck my banners behind my central rectangle; this allowed me to both stamp my sentiment onto it and add some leaves, which I stamped in Mossy Meadow and coloured with my Old Olive Blendabilities (they work on coloured cardstock too!). Here's a picture of my fussy cut flower, coloured with Cherry Cobbler and Daffodil Delight Blendabilities, in all its glory:
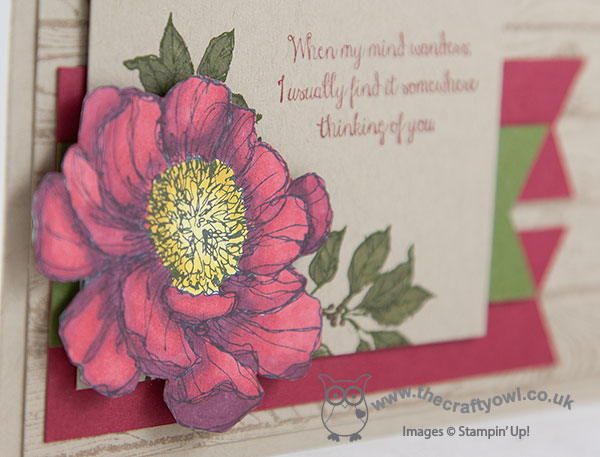
Isn't it just lovely? I'm still getting used to my alcohol markers and how they differ from water-based colouring. I am no expert (yet!) but I think this flower shows you can get great results without much experience - it looks much more 3D than with ordinary markers and a blender pen. I have a little tip for you too - when you fussy cut a coloured flower like this one, you invariably end up with some white that shows around the cut edge. If you run your marker around the edge of the flower, it takes that away and makes your flower look just a little more finished.
If you would like to know more about Blendabilities, do check back for more hints, tips, techniques and tricks as I learn what works best. Better still, if you live in Northampton and the surrounding area, get in touch about attending my August card class where we will be using Blendabilities, along with the lovely Blended Bloom stamp. Also, if the 'Bloom with Hope' set has caught your eye and you would like your own set, do get in touch to book to host a party or enquire about my new Stampers 6 Club that is beginning next month: for a monthly commitment of £25 a month for 6 months, you get to be the hostess one month and enjoy a minimum of £25 hostess credits to spend free on anything in the catalogue, including hostess sets. Party freebies without needing to actually invite your friends round! There is one space left in this current club - get in touch if you'd like it to be yours!
Do pop on over to The Paper Players blog to see what everyone else did with this sketch - there are some great cards there this week! I'll be back tomorrow with another card; until then, happy stampin'!
Stampin' Up! Supplies Used:
by Joanne James26. July 2014 23:24A late post from me today - I returned late yesterday evening from a family mini break and seem to have spent all day today washing and ironing, isn't that always the way?! That's not strictly true - I did manage to get some long overdue gardening done this afternoon and fit in a grocery shop; all in all a very productive day! I made this card earlier in the week for my brother-in-law's birthday; it's not until next week, but as he doesn't read my blog I know I'm safe to share! I used this week's Mojo Monday sketch challenge as the inspiration for my layout:
I've spent some time practising with my Blendabilities this week and thought today's card would be a great opportunity to show you just how great these fabulous markers are for achieiving a blended coloured image. Here is my card:
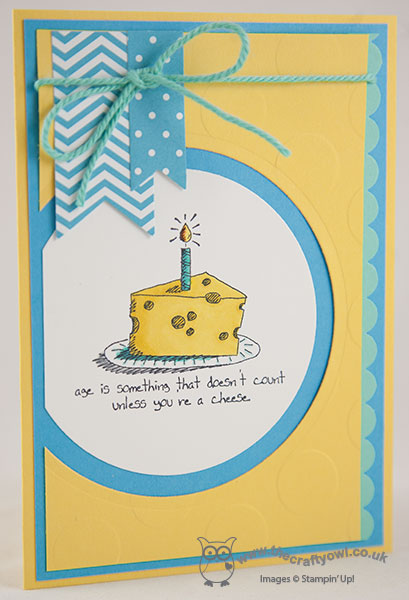
Since my Bro' is officially 'post 40' this year, this image and sentiment from the 'Giggle Greetings' set seemed rather appropriate. I coloured the candle and cheese with my Daffodil Delight and Coastal Cabana sets of markers and echoed these colours elsewhere in my card. I am loving these new pens - they allow for beautiful shading with seamless colour blending and are so easy to use - no previous expertise necessary, although if you're the type of person who liked to colour as a child, you may find them rather addictive! I also embossed the top layer of my card with the Large Polka Dot embossing folder - it kind of reminded me of the holes in the cheese, albeit a little too regular in design. Lastly, I went with thick baker's twine for my bow detail - as a true 'man's man', I'm not sure my brother-in-law would appreciate anything more fancy!
Back tomorrow with my design team card for the Paper Players this week when we have a great sketch challenge for you - and another card using my Blendabilities markers!
Until then, happy stampin'!
Stampin' Up! Supplies Used:
2fc9ef41-ffa4-4afe-b5b5-a732cb829a26|0|.0|96d5b379-7e1d-4dac-a6ba-1e50db561b04
Tags: Blendabilities, Giggle Greetings, Big Shot, Circles Framelits, Large Polka Dot TIEF, Stampin' Up Card, Stampin' Up Card ideas, Stampin' Up Supplies, Stampin' Up, Shop online, Scallop Trim Border Punch
Cards | Stamping
by Joanne James25. July 2014 08:00Yay it's Friday already! Today I'm sharing my card for this week's theme challenge over at Less is More where it's all about taking inspiration from the song 'Singing in the Rain'. Given the glorious weather we've been having in the UK of late, I'm just hoping today's card isn't tempting fate! Here it is:
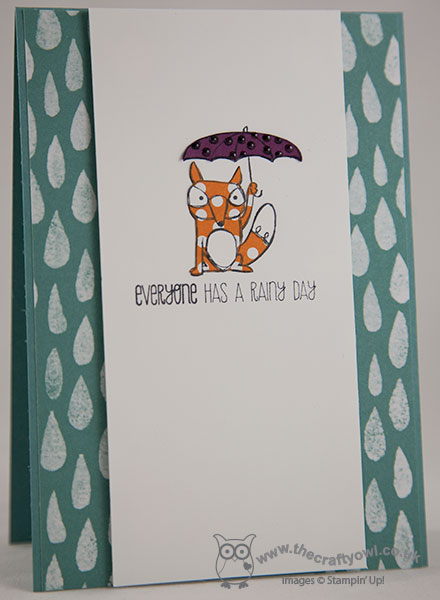
I don't have many stamps that fit with the theme of rain, even less so singing in the rain, but I have been wanting to use this sheet of DSP from the Moonlight DSP stack on something to do with rain as the pattern says 'raindrops' to me, so this seemed like a good opportunity. I also found this cute little fox with an umbrella in one of the new hostess sets, Life's Adventure, so this gave me enough to get started.
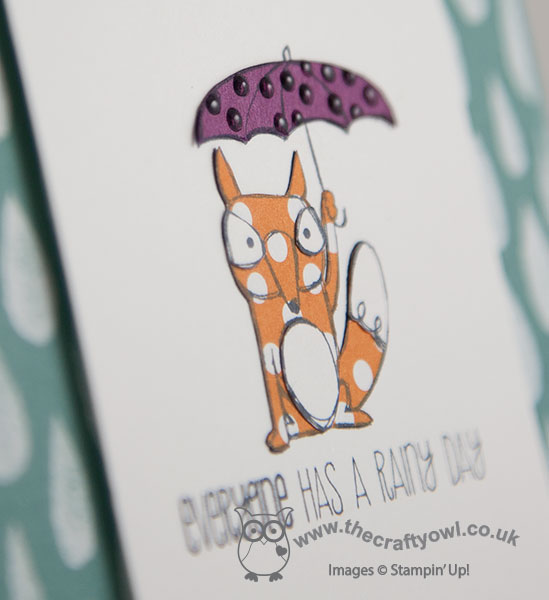
I actually took much of my inspiration from Sarah's card this week, as she had a cute paper pieced duckling on her DT card and I decided to do a little paper piecing of my own. I stamped the fox onto the card layer, then again onto some spare white cardstock, onto a piece of Pumpkin Pie retired dotty paper and lastly the umbrella onto a piece of Rich Razzleberry. I then cut each out carefully with my paper snips and paper pieced them together - you can see the detail on the picture below, including the Crystal Effects that I added to the spots on the umbrella (I think they look more like raindrops!)
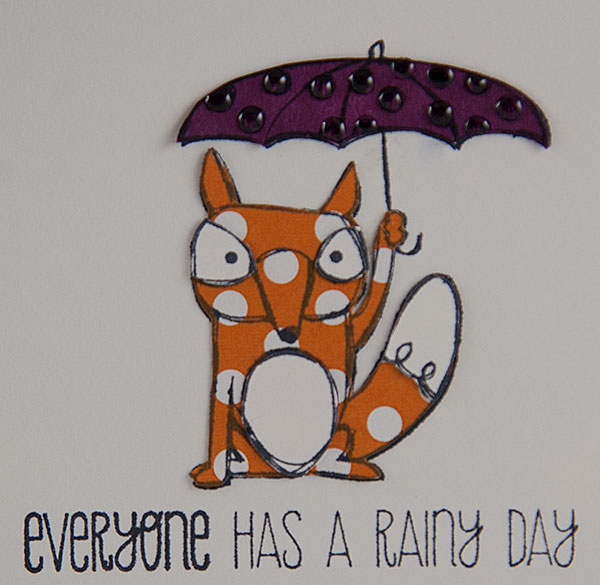
Cute, eh?! Whilst this card is all about the rain, I'm sure the bright colours would cheer someone up who was feeling a little down - I'll let you know when I eventually send it to someone, assuming I remember! Life's Adventure is an exclusive hostess stamp set, that you can only purchase if you either host a Stampin' Up! party or are a member of my Stampers 6 Club: for those of you that haven't heard of this before, this is where you commit to a minimum spend of £25 per month for 6 months and then in one month o the 6 you get to be the hostess, with a minimum of £25 of free hostess credits to spend. A virtual party, if you will, with none of the hassle of hosting or inviting your friends around if that's not your thing. I am starting a new Stampers 6 Club in August and currently have one space left - if you would like to participate, then get in touch. Once this last space has been filled, I will begin collating a waiting list for an additional Stampers 6 Club so either way you've nothing to lose.
Back tomorrow with another project; until then, happy stampin'!
Stampin' Up! Supplies Used: