
It's Sunday and time for this week's new challenge over at The Paper Players! It's the turn of my amazing friend Claire to host this week and she has my favourite, a sketch challenge, for you to work with:
I could have gone so many ways with this sketch! I have not one, but two cards, to share with you today - both with a fun party theme. Here's the first one - take a look:
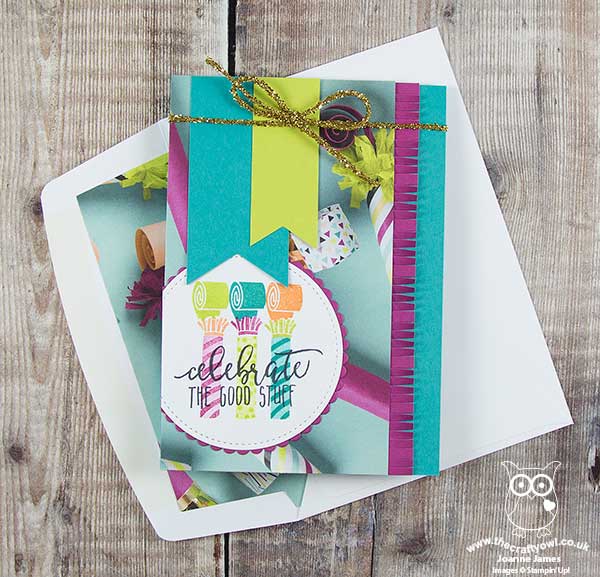
Here's the low-down on today's card:
Picture Perfect Party - Both of my cards today feature papers with the bold, photographic images featured in the Picture Perfect Party DSP Stack. In bright, celebratory colours, these papers are perfect for a large expanse of background and work really well as the background for my fun, party-themed cards. I used the offcut from my card panel to continue the decoration through to my envelope to with a colourful envelope liner.
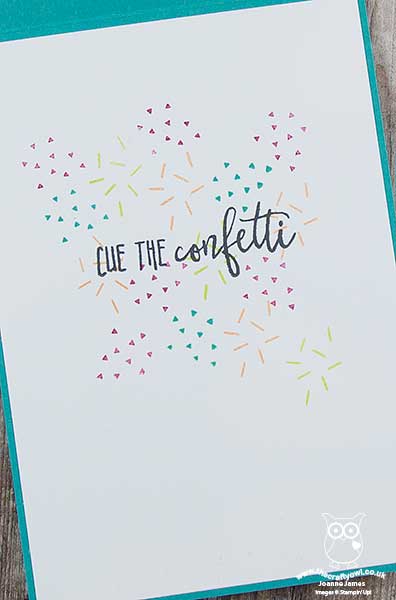
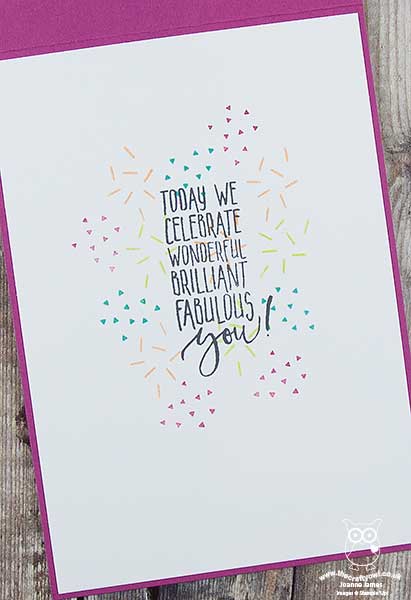
Picture Perfect Birthday - I used the co-ordinating Picture Perfect Birthday stamp set to decorate the sentiment circles on the front of my card. I was lucky to receive this set free when I attended Onstage last November, which really was fortunate for me as I think this is a set I might otherwise have overlooked. It contains some great, scripted fonts that work for birthdays and more general celebrations and has some fun confetti, candle, tooter and ribbon bow images too. In addition to using it to decorate the outside of my card, I added a little colour to the inside too:
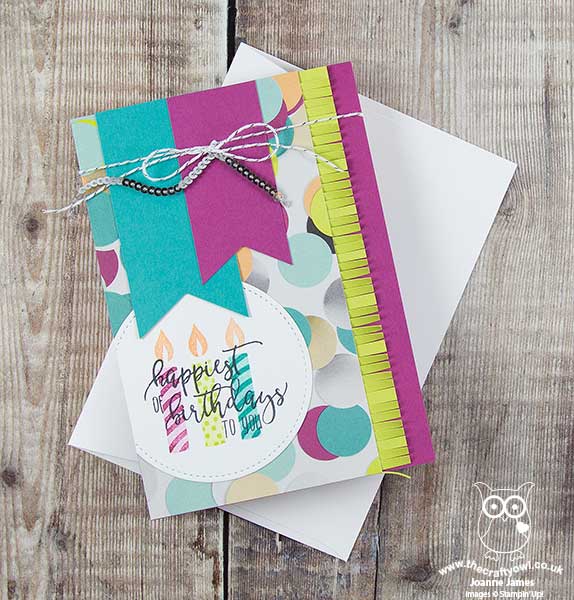
Finishing Touches - To finish my cards, I added some gold tinsel trim and a strip of fringed cardstock to the one above and some silver baker's twine and mini silver sequin trim with a strip of fringed cardstock to the card below:
And here's the inside of this card too:
Two cards using the same layout and supplies, each with a different pattern and sentiment. The Picture Perfect Party Suite is perfect for creating batches of birthday cards with a minimum of supplies. Here is the visual summary of the key products used on today's project for you to pin for easy reference:
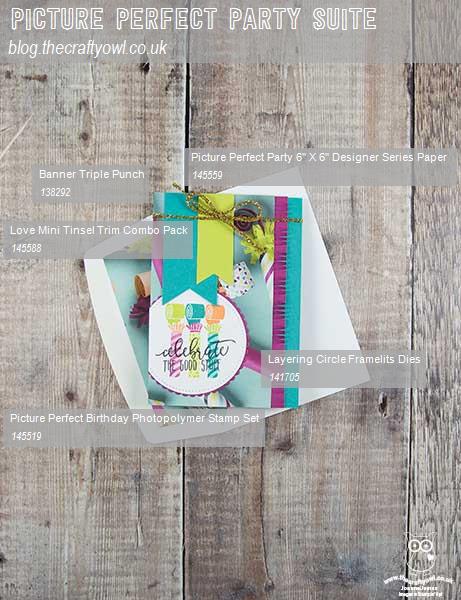

You can see all of my Product and 'How To' summaries on my 'How To - Tips and Techniques' Pinterest board in case you've missed any.
Before you reach for your ink and papers, check out what our amazing team has created to inspire you this week:
The Paper Players Design Team
Here's a quick recap of our challenge rules:
1. Create a new paper project
2. Upload your creation to your blog with a link back to us and provide a direct link to the post featuring your challenge submission.
3. Please link your card to no more than four challenges, TOTAL.
4. Have FUN!
I can't wait to see what you create with this week's sketch and look forward to visiting your blogs this week! Enjoy the rest of your weekend as it will be over all too quickly. We are minus one James Junior who is away on a short hockey tour for a few days, so will be spending the day researching hurricanes with James Junior number 2 for a geography project in between a little crafting too I hope!
I'll be back tomorrow with another project that also uses this same sketch but has a totally different feel, so do come back and take a look at that card; until then, happy stampin'!
Stampin' Up! Supplies Used: