Today it's Sunday and time for this week's new challenge over at The Paper Players! It's the turn of the fabulous Claire to host this week and she has a clean and simple challenge for you to work with:
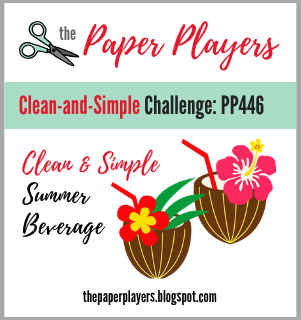
Remember: this is clean and simple week. What do we mean by 'clean and simple' ? Create a card that has:
- Minimal layers and embellishments
- Plenty of open space, also known as 'white space'
- Is simple and uncluttered
Having had a clear out of retired stampsets, I had a minor panic when I realised that today's challenge was all about summer beverages; when I went through my collection, I realised I had only one set that had anything even remotely drink-related. In the end this made things easier - less choice can be liberating! Last week's CAS(E) This Sketch layout was just what I needed to bring my card to life - take a look:

Here's the low-down on today's card:
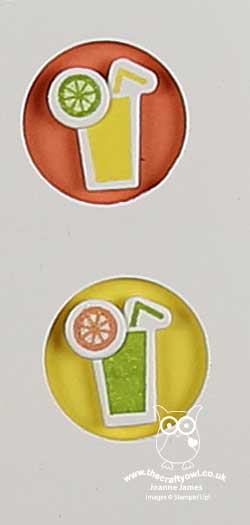
Colourful Seasons Summer Drinks - Yes, the little drink in the Colourful Seasons stamp set was the only one in my crafting arsenal, but it was perfect for a long, cool summer beverage - complete with a slice! Easy to stamp and then cut out with the co-ordinating Seasonal Layers Thinlits, this little glass was this week's saving grace. Phew!
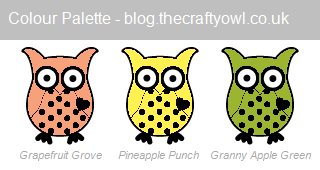
Tropical Colour Trio - I decided to balance the white of my CAS card with a trio of tropical colours: Grapefruit Grove, Pineapple Punch and Granny Apple Green. Each of my little circles features all three colours, interchanging the background colour, juice glass and slice of oange, lemon or lime respectively, each of which I coated with a liberal dose of Wink of Stella for a lovely sparkle. I added a strip of each colour to the base behind the greeting, to tie in with the circles above and below. This is a great fresh and zingy colour combo; here it is for you if you would like to save to use on future projects:
An Itty Bitty Birthday Greeting - Lastly, follwig another hunt through my depleted stamp sets, I found a suitable sentiment from the 'Itty Bitty Birthdays' set that was a perfect match for my colourful glasses and added to my card using Memento black ink.
Here is the visual summary of the key products used on today's project for you to pin for easy reference:
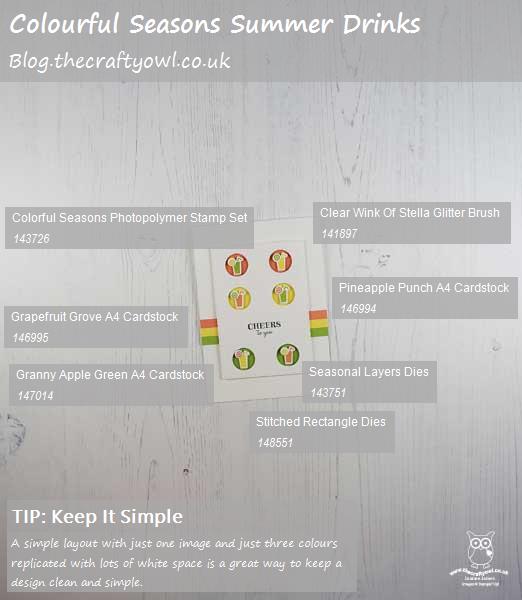
You can see all of my Product and 'How To' summaries on my 'How To - Tips and Techniques' Pinterest board in case you've missed any.
Before you reach for your ink and papers, check out what our amazing team has created to inspire you this week:
The Paper Players Design Team
Here's a quick recap of our challenge rules:
1. Create a new paper project
2. Upload your creation to your blog with a link back to us and provide a direct link to the post featuring your challenge submission.
3. Please link your card to no more than four challenges, TOTAL.
4. Have FUN!
You can see all of my 'How To' summaries on my 'How To - Tips and Techniques' Pinterest board in case you've missed any.
Enjoy your day; we are celebrating Father's Day here in the UK and yesterday it was also one of the James Junior's birthdays, so we will be rounding off a busy week with a few more celebrations before Rebecca heads off to the Lake District for a week of outward bound activities with her school mates tomorrow. I'll be back tomorrow with another project. Until then, happy stampin'!
Stampin' Up! Supplies Used: