Today it's Sunday and time for this week's new challenge over at The Paper Players! It's the turn of the fabulous LeAnne to host this week and she has a great Clean and Simple challenge for you to work with:
As you are reading this, I am away entertaining a lovely group of ladies at my Creative Escapes weekend craft retreat where we will be Christmas crafting to the max. My cards for you today though are all about birthdays - and male birthdays at that! I made these cards a while ago when I was preparing for my 'Come Sail Away' technique card class, although I didn't feature them in the class itself and LeAnne's challenge this week is the perfect opportunity for me to share them with you. I made two cards in one sitting and wanted to share both with you, so first up the more clean-and-simple of the two:
Here's the low-down on today's card:
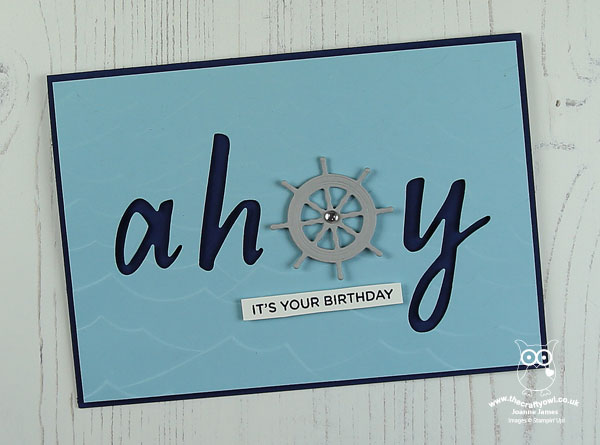
All At Sea - Both of my cards feature a background layer embossed with the High Seas embossing folder for some subtle texture. I love the detail that this gives and it’s perfect for my nautical theme.
Ahoy The Hand Lettered Prose Dies - I used my diecutting machine and the Hand Lettered Prose Dies to diecut an a, h, and y from my Balmy Blue card layer before I added the waves embossing. This allowed me to use the negative space to show the contrast of colour with the navy cardstock behind and gave me the opportunity to make a second card using the letters I had cut out with just a little extra effort. If you like these letters, it is worth also checking out the blog of one of our current Paper Players guest designers, SU Mohr (see the link list below), who has created many wonderful projects using them.
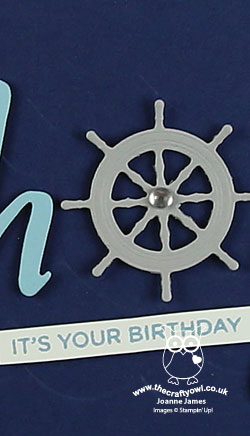
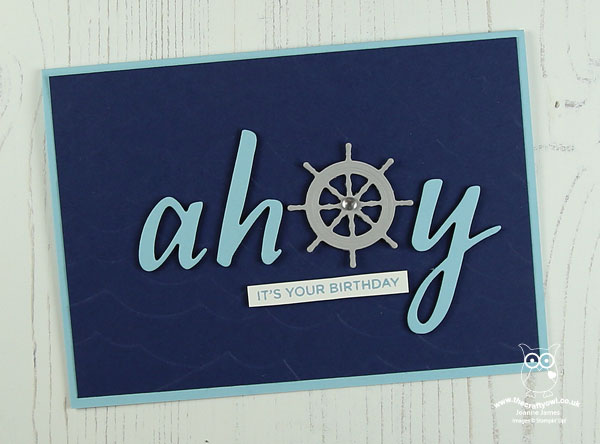
O It's A Ship's Wheel - I substituted the ‘o’ in the word ‘ahoy’ with a ship’s wheel from the Smooth Sailing Dies to tie in with my theme and added a frosted epoxy droplet to the centre for some subtle bling. I love playing with words to create this effect! I finished my sentiment with a stamp from the ‘Broadway Birthday’ set. The second of my two cards is below, which uses an extra layer and the positive rather than negative letters, but is otherwise the same basic card:
So what do you think? Is today's sentiment loud enough to celebrate a birthday? I’m now of an age where I’m not shout from the rooftops with each passing year, however I do love to celebrate and am thankful for the many thoughtful cards i receive from friends and family near and far.
Here is the visual summary of the key products used on today's project for you to pin for easy reference:
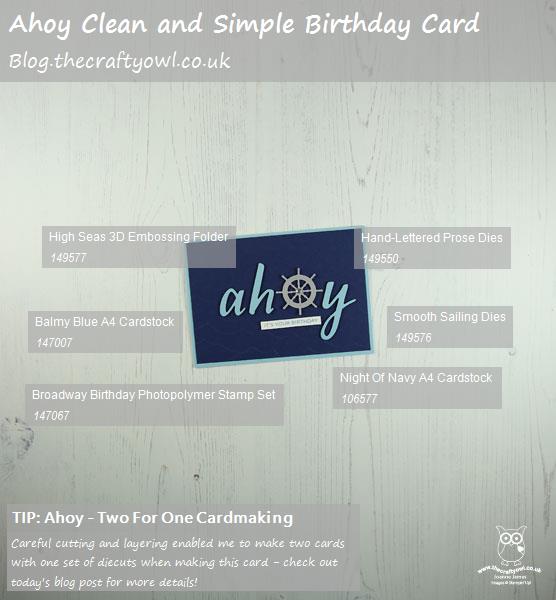
You can see all of my Product and 'How To' summaries on my 'How To - Tips and Techniques' Pinterest board in case you've missed any.
Before you reach for your ink and papers, check out what our amazing team has created to inspire you this week:
The Paper Players Design Team
Here's a quick recap of our challenge rules:
1. Create a new paper project
2. Upload your creation to your blog with a link back to us and provide a direct link to the post featuring your challenge submission.
3. Please link your card to no more than four challenges, TOTAL.
4. Have FUN!
You can see all of my 'How To' summaries on my 'How To - Tips and Techniques' Pinterest board in case you've missed any.
Enjoy your day; I'll be back later this week with another project. Until then, happy stampin'!
Stampin' Up! Supplies Used: