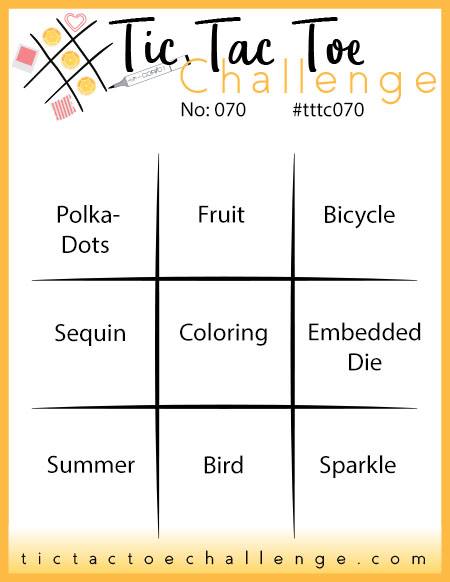
It's Thursday and time for a new challenge over at TicTacToe! It's the turn of Team X to host and the lovely Shannon is our featured designer this week. This is the fun board that we are playing along with:

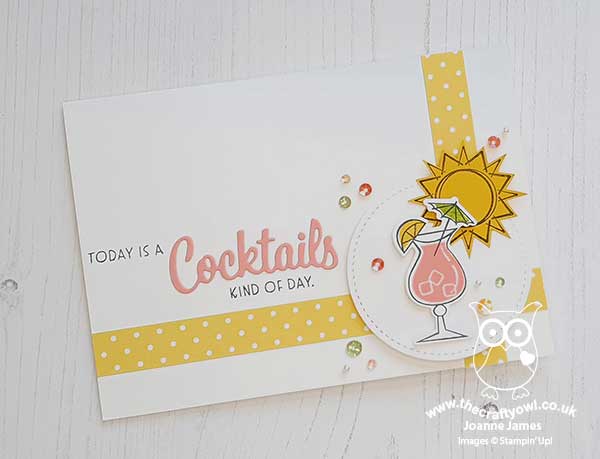
I must confess I totally struggled with our board this week! I found myself getting 2 out of 3 squares, but struggling to make a complete row. In the end I grabbed this week's CAS Colours & Sketches sketch for my layout and went down the first column with polka dots, sequins and summer and this is what I came up with:
Here's the low-down on today's card:
A Dotty Dilemma - I got hung up on so many things on this card, including the polka dots! I couldn't find any dotty papers in summery colours but found a scrap of retired polka dot Brights DSP in Daffodil Delight lurking in the scrap box, so went with it!!
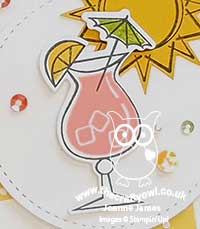
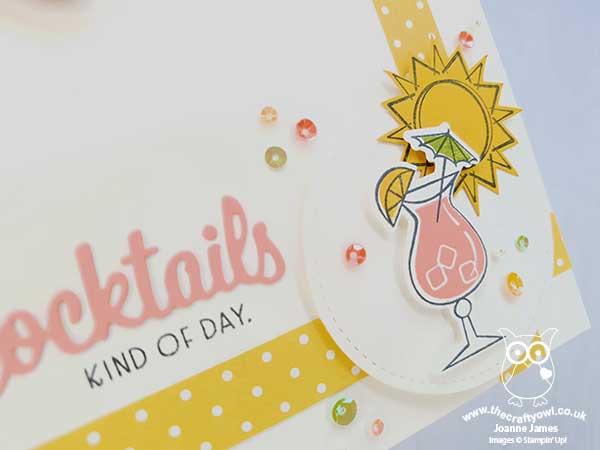
A Cocktails Kind of Day - The weather has been glorious here in the UK this week, with yesterday being the hottest day of the year at 31.8 degrees centigrade recorded and the forecasters are predicting that today will be hotter still! For me cocktails are definitely associated with summer - either a vacation treat or something to be enjoyed on a warm summer evening in the garden. I may or may not have indulged in a rhubarb gin cocktail already this week and this inspired the pink drink on my card. The cocktail and diecut sentiment are courtesy of the new 'Nothing's Better Than' bundle that allows options for cocktails, cookies, coffee and chocolate-themed cards too; I love this set and know I will use it lots!
Sunshine and Sprinkles - To further emphasise the sunshine element of my card, I added a stamped and fussy cut sun from the retired set 'Day at The Beach' which I seem to be getting a lot of use out of lately and a scattering of retired iridescent sequins and sprinkles in co-ordinating colours. Check out that sparkle:
I actually really love this card and looking at the end result I can't believe it took me so long to get there!! I am also linking up with the lovely ladies over at SUO Challenges who are also challenging us to celebrate summer this week and I'm definitely doing that!
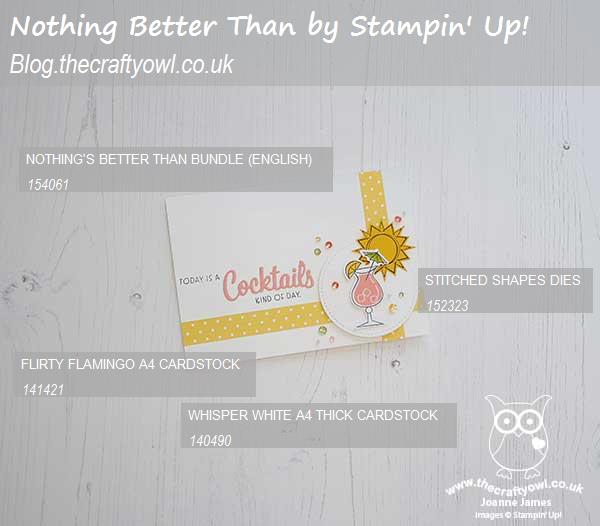
Here is the visual summary of the key products used on today's project for you to pin for easy reference:
You can see all of my Product and 'How To' summaries on my 'How To - Tips and Techniques' Pinterest board in case you've missed any.
A tictactoe board offers so many creative possibilities - how does this week's board inspire you? Why not have a go? We would love to see you in the gallery and who knows - you might be selected for Designer's Choice and be eligible to be a guest designer on a future challenge.
Enjoy your day; I have lots to do today and will be trying to get everything done without melting into a heap. I might have to reward myself this evening with a cocktail! I hope you are enjoying the lovely weather and I'll be back tomorrow with another project. Until then, happy stampin'!
Stampin' Up! Supplies Used: