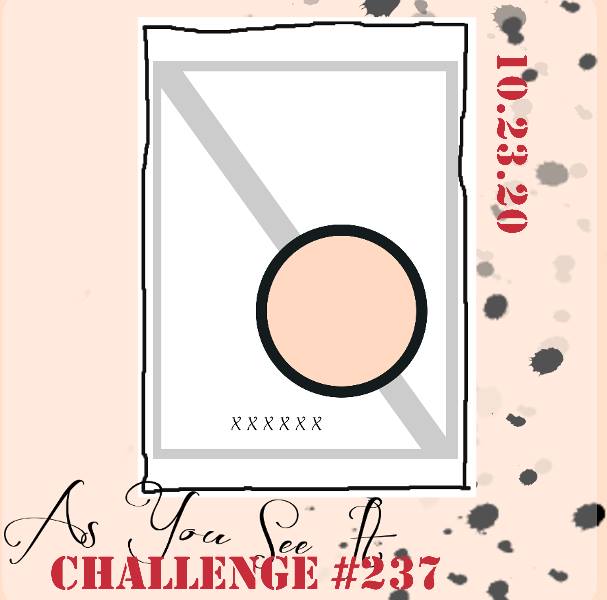
Today I'm sharing my design team card for our new challenge over at As You See It where it's time for my favourite, a sketch challenge:
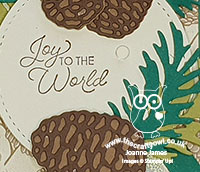
For my card today I paired an old favourite with some new Christmas papers - a look:
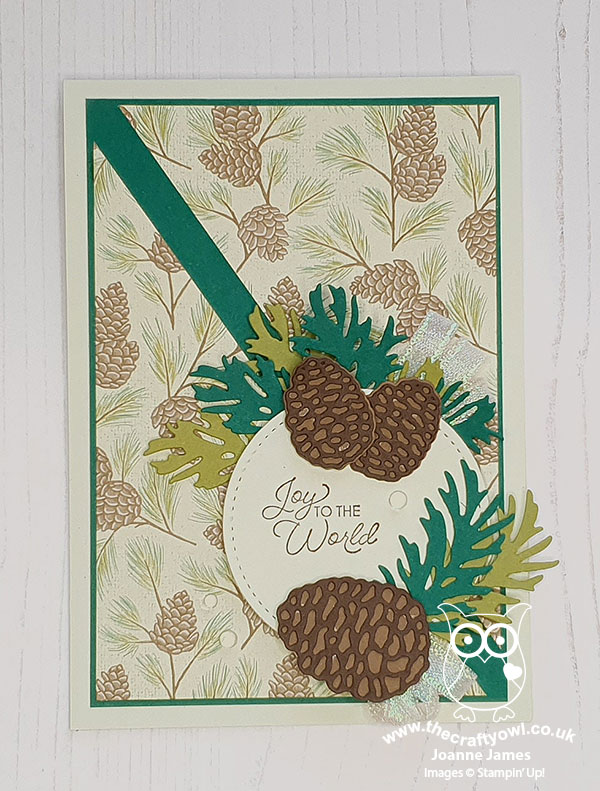
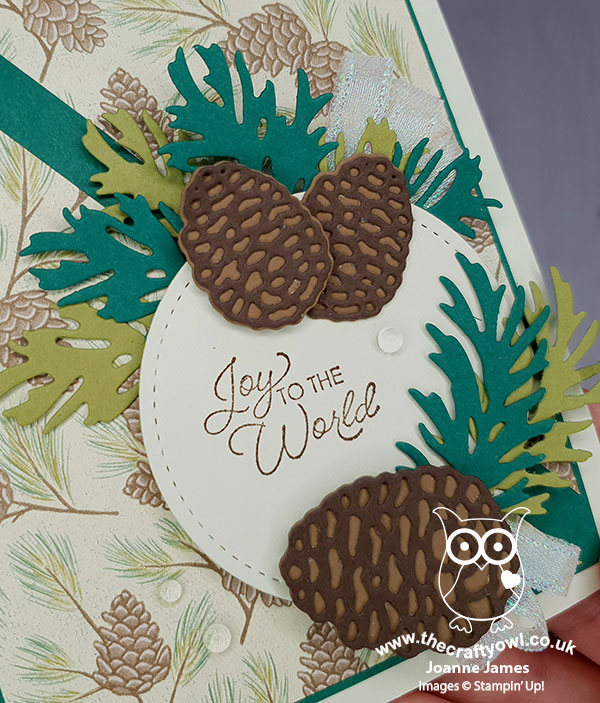
Here's the low-down on today's card:
Beautiful Boughs - The Beautiful Boughs Dies are in the annual catalogue as a carryover from the last Autumn-Winter seasonal catalogue and whilst I don't have the bundled stamp set (hence choosing a greeting from 'Itty Bitty Christmas' for today's card, that most useful of Christmas sentiment sets!) I do love the dies; their beautiful layered detail is great to add bold festive greenery to a project.
Pine Cone Poinsettias - The starting point for today's card was most definitely the designer series paper (no surprises there then!) I decided to use one of the papers that is on offer as part of this month's designer series paper sale (you can read all about that here) so I chose the Poinsettia Place paper pack and a pattern that I haven't yet used featuring pine cones, hence the fit with the Beautiful Boughs dies.
A Slight Confession - Whilst the layout of today's sketch is clearly visible on my card, I chose not to follow the suggested sentiment placement, instead making mine a feature of the circle. This is in part because I was originally going to use an alternative paper and use a diecut flower as the focal point, but in the end changed my mind at the last minute as I wanted to play with a new paper design. Either way, the sketch is a suggestion and does not have to be followed to the absolute letter; as long as the broad elements are visible, artistic licence is welcome!
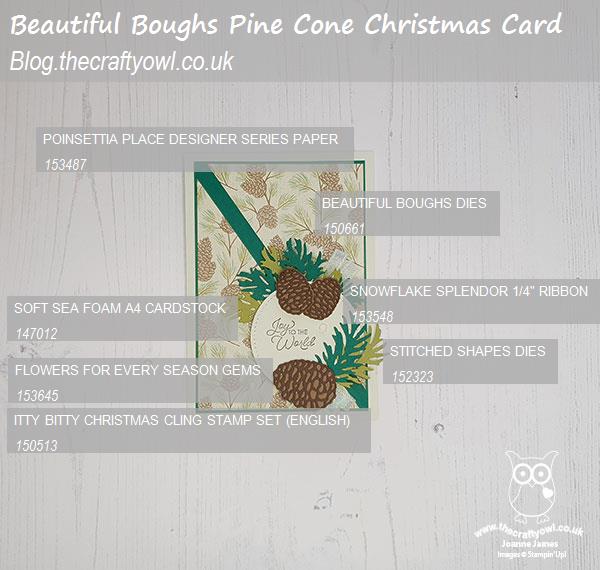
Here is the visual summary of the key products used on today's project for you to pin for easy reference:
You can see all of my 'How To' summaries on my 'How To - Tips and Techniques' Pinterest board in case you've missed any.
Here's a summary of our challenge rules:
- Create any card, scrapbooking page, 3D project or packaging project that fits the challenge.
- Please include the challenge graphic and link back to the challenge in your blog post. Turn off word verification so we can leave you lots of lovely comments. Make sure you link the post not the whole blog to the Linky. Use #AYSIXXX when uploading to a public gallery.
- If you’re unsure about ‘the rules’, check the details under the Challenge Guidelines tab on the As You See It Challenge homepage.
We look forward to seeing your creations in the AYSI gallery.
Both of the James Juniors are now officially on half-term for a week; I've spent the last few days enjoying some quality mother-daughter time with Rebecca as Ben was still at school, and tidying up some odds and ends, hence my lack of blog posts. They are both having a 'lazy day' today though so once I've battled my way slowly through the ironing pile, I am hoping to make a card or too later :-) Enjoy your day and I'll be back tomorrow with another project. Until then, happy stampin'!
Stampin' Up! Supplies Used: