It's Tuesday and time for a new challenge over at CAS Colours & Sketches. Cecile is hosting this month and she has our second colour challenge of November:
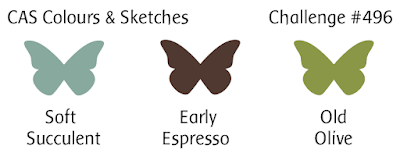
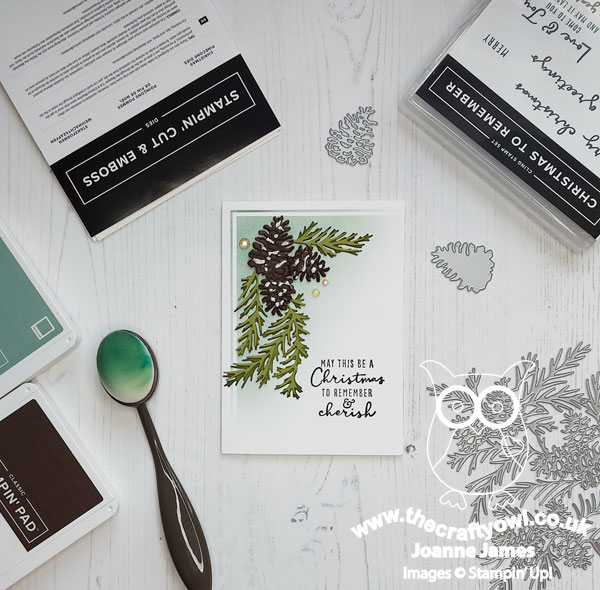
I usually struggle with colour challenges, but Cecile has chosen some great ones this month - I love them all! For my card today I decided these colours were perfect for another Christmas card - take a look:
Here's the low-down on today's card:
Masked Blending - I started by adding a couple of strips of masking tape to my white card base and using a blending brush, blended my Soft Succulent ink from the corner across my card, fading at the edges. I then removed the masking tape to give a nice border to frame my main focal image.
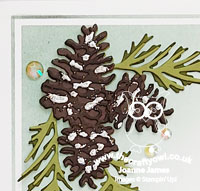
Christmas Pinecones and A Blending Trick - I decided these colours would be perfect for some pine needles and pinecones, so I cut some using my Christmas Pinecone Dies and snipped out a section that could be used to fit my corner. I created two-tone colours by adding the same colour ink to deepen the colour on one of the layers - this is a useful trick to create two tones of the same colour easily. I added some puffy snow and some iridescent gems for a little extra detail:
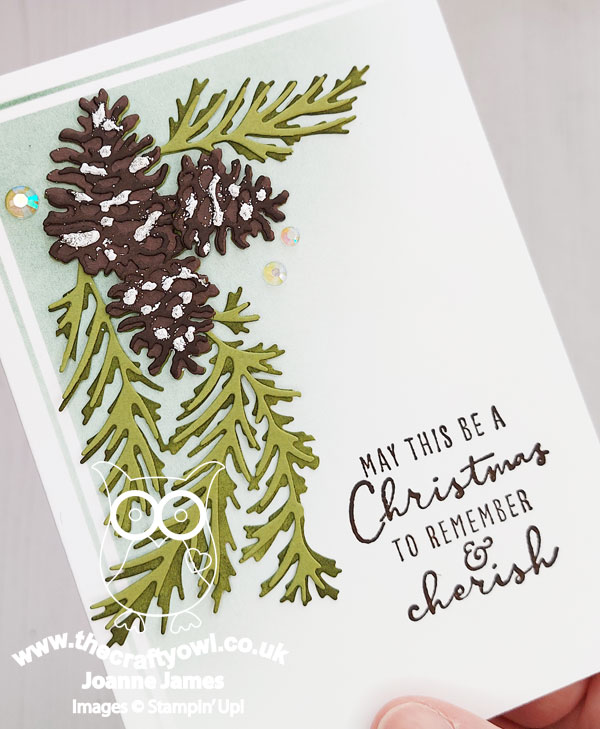
Christmas To Remember - The sentiment on the front of my card comes from the 'Christmas To Remember' stamp set, and I used another from the same set on the inside of my card. I stamped it in Early Espresso to compliment my pinecone detail.
This card does have more detail than I usually choose for a CC&S card, however it is still clean and simple with some clean, white space.
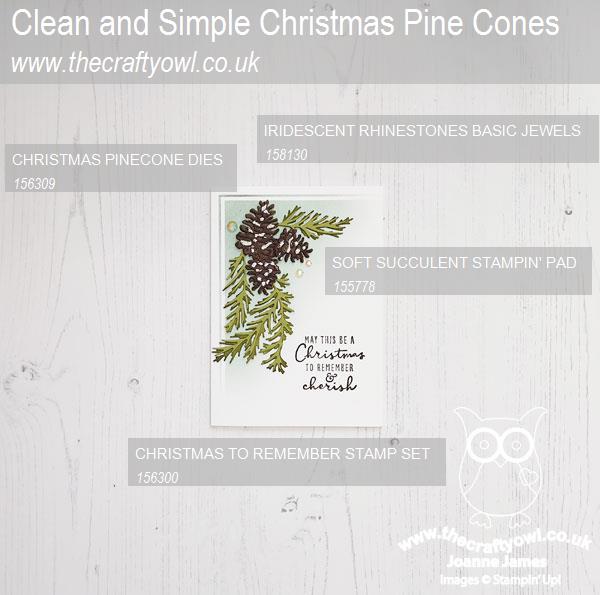
Here is the visual summary of the key products used on today's project for you to pin for easy reference:
You can see all of my 'How To' summaries on my 'How To - Tips and Techniques' Pinterest board in case you've missed any.
As a reminder, for our colour challenges, you must use all of the stated challenge colours. You may also use neutral colours; however, the challenge colours should be the most noticeable ones featured on your card. We use Stampin' Up! color names for reference, but you are welcome to use any other companies' products as long as you match the challenge colours as closely as possible.
Enjoy your day. I am spending today with one of my dear crafty friends that I don't get to see often face-to-face and we have lots to catch up on, so I'm really looking forward to it! I'll be back tomorrow with another project. Until then, happy stampin'!
Stampin' Up! Supplies Used: