It's Tuesday and time for a new challenge over at CAS Colours & Sketches. Cecile is hosting this month and since we have 5 weeks this month we are ending with a double challenge:
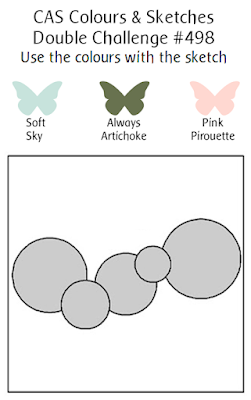
Feel free to flip or rotate the sketch when making your card.
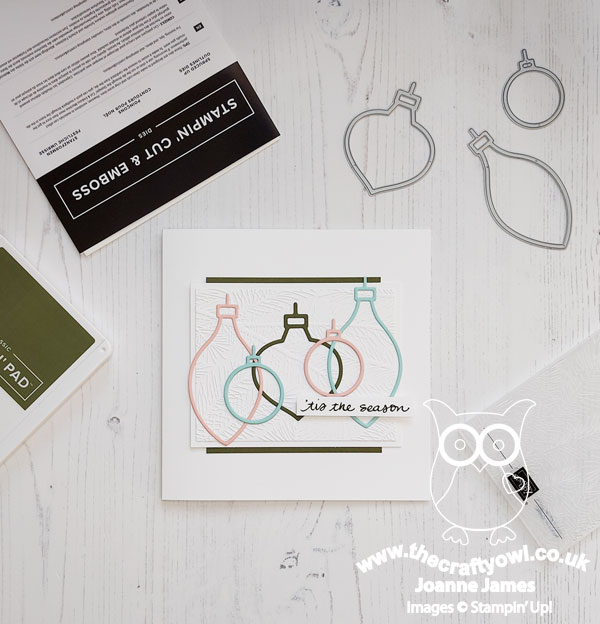
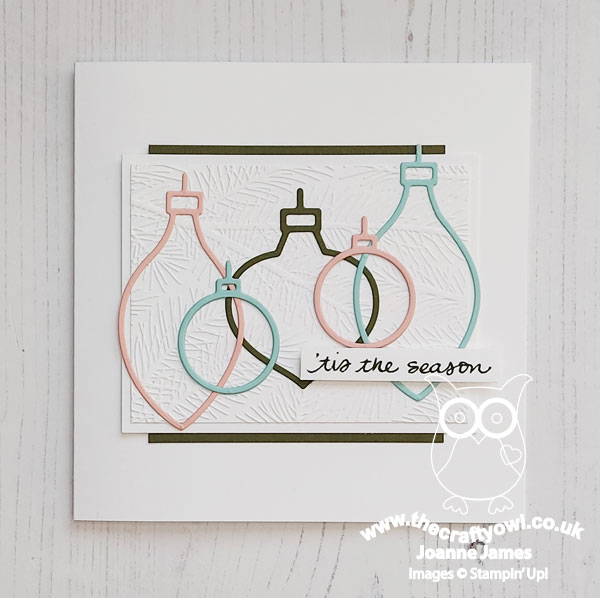
I have loved all of Cecile's colour and sketch choices this month and whilst I normally struggle with a double challenge, this one came together easily - I love it when that happens! For my card today I used my Spruced Up Outline Dies to create a collection of ornaments in three sizes to mirror the circles on the sketch, in each of the challenge colours - take a look:
Here's the low-down on today's card:
Retro Colours - As I no longer have any of this week's colours (long time readers of my blog will remember my thoughts on Always Artichoke!), I substituted with my nearest matches: Pool Party, Mossy Meadow and Blushing Bride respectively. I actually think they look ok together and the Mossy Meadow is perfect for a festive feel; I made this my dominant colour of the trio and used it for a hint of mat layer colour and my sentiment too.
Wintry Pines - Whilst I could have just added my baubles and been done, they looked a little 'lost', so I added a panel of embossed pines courtesy of the Wintry 3D Embossing Folder. This is a narrow EF so did mean I had to get creative with my layering to maintain the square aspect ratio, but I think it works and I really love the way the ornaments now look as if they are hanging from pine branches. Keeping this layer white helps to keep the clean and simple feel yet adds beautiful subtle embossed detail:
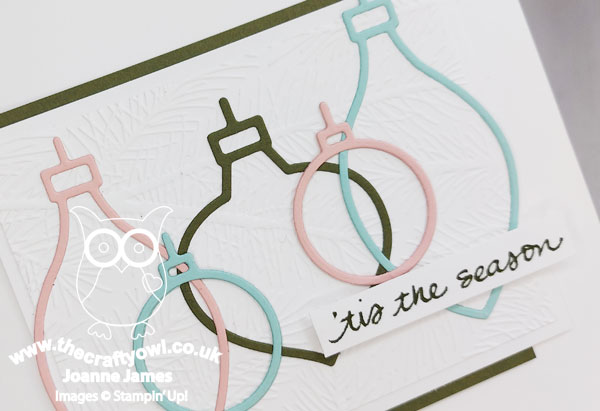
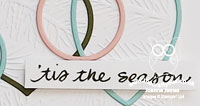
'Tis The Season - Finally, my simple sentiment is courtesy of the 'Jingle Jingle Jingle' stamp set - just enough to finish without obscuring the detail of my card.
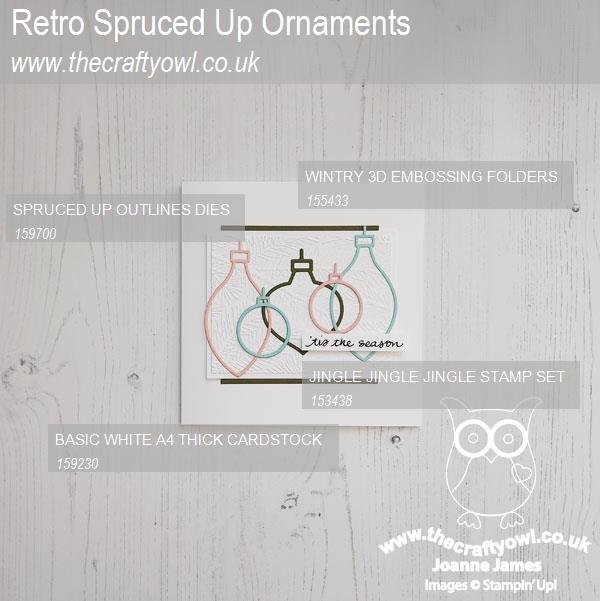
Here is the visual summary of the key products used on today's project for you to pin for easy reference:
You can see all of my 'How To' summaries on my 'How To - Tips and Techniques' Pinterest board in case you've missed any.
I really love this card - so much so, I'm going to make a few more in alternative colourways too.
As a reminder, for our colour challenges, you must use all of the stated challenge colours. You may also use neutral colours; however, the challenge colours should be the most noticeable ones featured on your card. We use Stampin' Up! color names for reference, but you are welcome to use any other companies' products as long as you match the challenge colours as closely as possible.
Enjoy your day; I'll be back later with another post with important details about this week's upcoming Retiring List. Until then, happy stampin'!
Stampin' Up! Supplies Used: