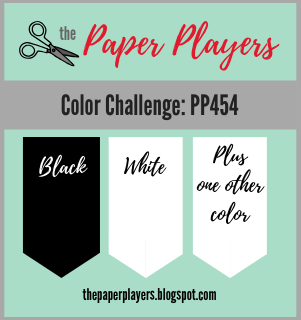
Today it's Sunday and time for this week's new challenge over at The Paper Players! It's the turn of the lovely Jaydee to host this week and she has an interesting colour challenge for you to work with:
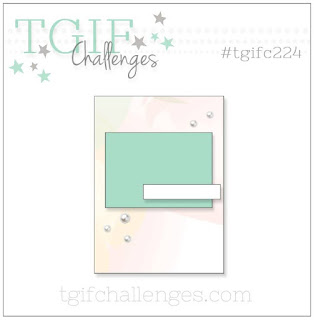
I had an idea of I wanted to do with this week's colour palette and the sketch from TGIF Challenges was just what I needed to turn my idea into a reality (although I made my base horizontal rather than vertical and used an extra-large card base) - take a look:
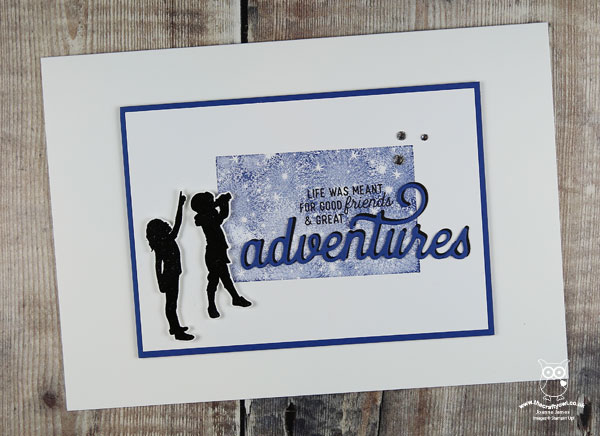
Today is a special day in the James household: the youngest of the James Juniors celebrates his 12th birthday. I'm not sure where those years have gone, but I did need as a result need a couple of special birthday cards to celebrate. Today's card is the card I made for Ben from Rebecca and features Blueberry Bushel as my featured additional colour. Here's the low-down on today's card:
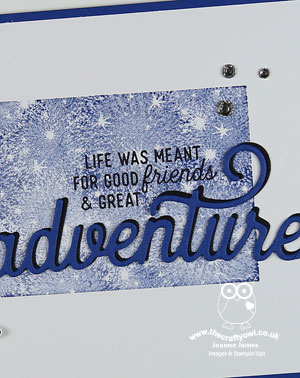
When Is An Adventure Not An Adventure? - The two figures on today's card from the Silhouette Scenes stamp set so remind me of Ben and Rebecca. I can honestly say they truly are each others best friends and always have been. Even as they approach their teens, they still enjoy each others company more than anyone else's - and I love that about them! So it seemed only right to feature them together on my card. I could have stamped the sentiment 'as is', however I wanted to feature the 'adventure' diecut to tie in with the sketch - but I needed it in the plural. Luckily for me, the Sweet Silhouettes dies also incude the word 'inspire' - so I diecut this too, snipped away the letter 's' and paper-pieced it seamlessly to my 'adventure'. Clever, right? :-) I diecut both twice, once in Blueberry Bushel and again in Basic Black and offset this one behind; this allows the diecut to stand out from the background a little better.
A Starry Sky - Since I only had one colour to pair with my black and white, a sponged or brayered sky wasn't really an option. The starry stamp in the 'Bokeh Dots' set came to the rescue; the distinktive nature of this stamp meant that even with one colour, there would be enough variation to create interest.
Sisterly Love - Lastly, not content with my tinkering of sentiments, I did the same on the inside. Do you recognise this sentiment from an existing stamp set? I'll give you a clue - it's in the 'A Wish For Everything' stamp set, but it doesn't look quite like this:

Did you spot it? I took the stamp that reads 'First my Mother...forever my friend' and masked out the 'Mo' of Mother and replaced it with the 'Br' from another stamp in this set that reads 'Hope this new year is filled with promises of many bright tomorrow's':
.png)
It took a little while to ink and mask with my Stampin' Write marker, but I'm really pleased with the result. Do you look for opportunities to create your own customised sentiments out of your stamp collection when you don't have the perfect fit? Do share any that you've created - I'd love to know what other combinations there are.
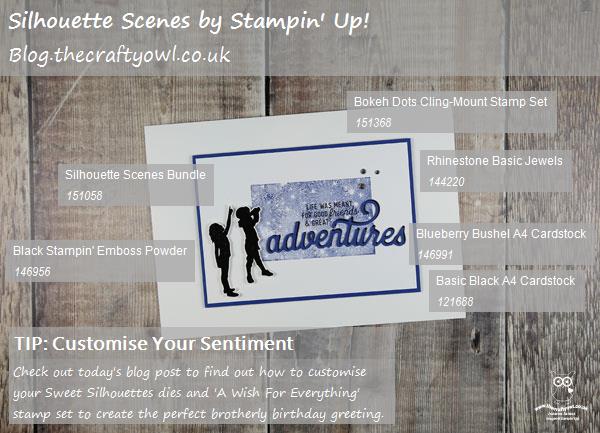
Here is the visual summary of the key products used on today's project for you to pin for easy reference:
You can see all of my Product and 'How To' summaries on my 'How To - Tips and Techniques' Pinterest board in case you've missed any.
Before you reach for your ink and papers, check out what our amazing team has created to inspire you this week:
The Paper Players Design Team
Here's a quick recap of our challenge rules:
1. Create a new paper project
2. Upload your creation to your blog with a link back to us and provide a direct link to the post featuring your challenge submission.
3. Please link your card to no more than four challenges, TOTAL.
4. Have FUN!
You can see all of my 'How To' summaries on my 'How To - Tips and Techniques' Pinterest board in case you've missed any.
Enjoy your day; we will be celebrating with cake, an escape room outing and a best friend sleepover - wish me luck! I have my monthly technique class tomorrow but I'll be back tomorrow with another project. Until then, happy stampin'!
Stampin' Up! Supplies Used: