Today it's Sunday and time for this week's new challenge over at The Paper Players! It's the turn of the fabulous Claire to host this week and she has a seasonal clean and simple challenge for us to work with:

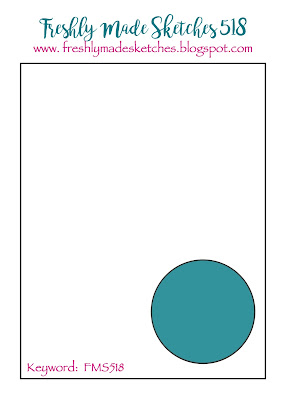
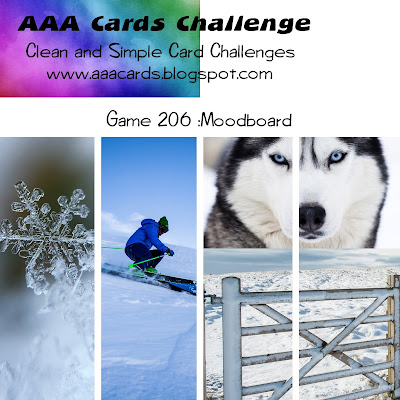
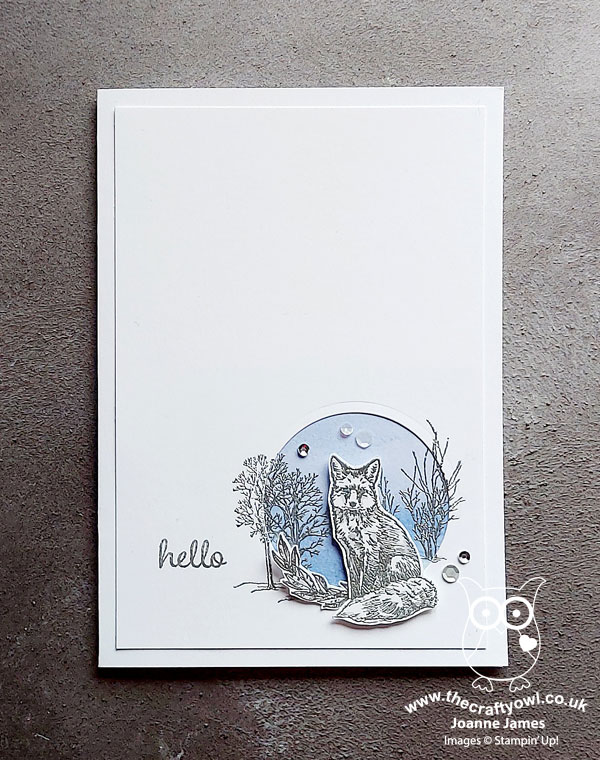
Winter animals - so many options! I decided to dig out a rather neglected stamp set of late and using Judy's sketch over at Freshly Made Sketches and very much inspired by the snow and blue tones over at AAA Cards set to work on my clean and simple card - take a look:
Here's the low-down on today's card:
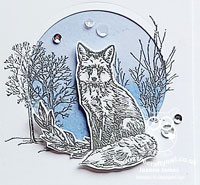
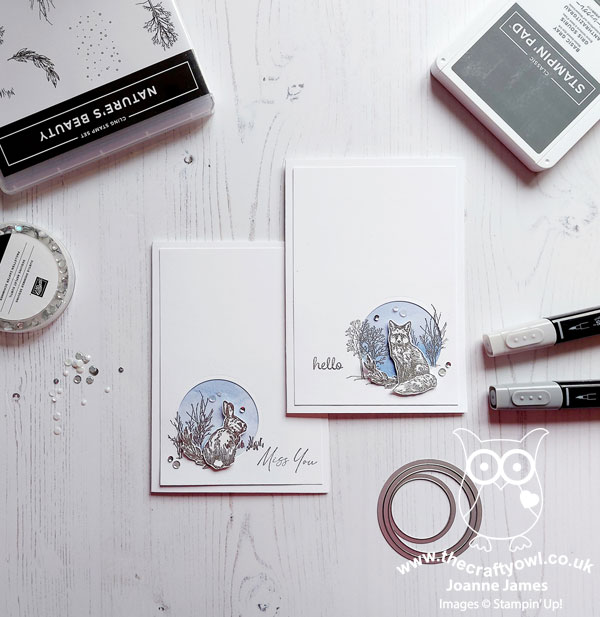
I diecut a circle from my white cardfront and added a piece of Beauty of the Earth paper with a watercoloured blue behind and stamped some bushes and twigs in Versamark across the aperture and heat embossed them in silver. I then also stamped and fussy cut a leaf branch and arctic fox, heat embossed them both in silver then added some shading with my Smoky Slate Blends, before finishing with a sentiment from 'timeless Tulips' and a sprinkling of sequins. You can see the detail on the fox and the shine of the metallic slightly better below:
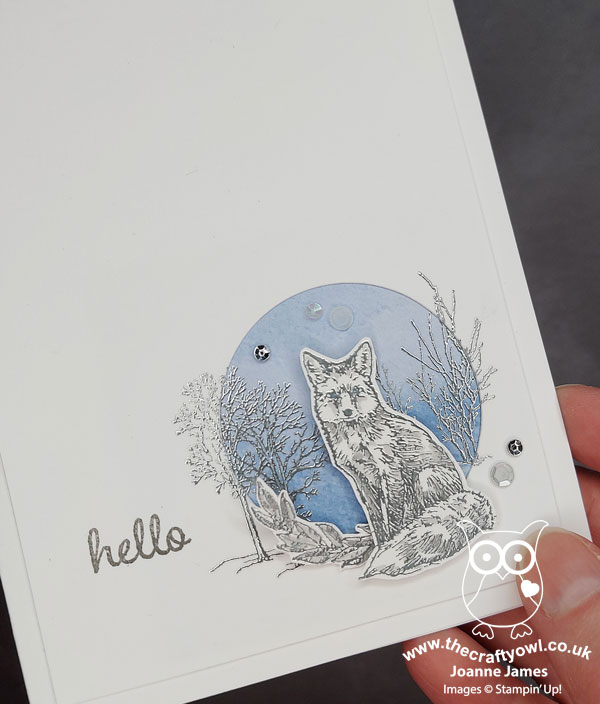
A quick reminder to all of you playing along over at The Paper Players this week, in addition to the theme of winter animals, it is more importantly 'clean and simple' week. What does this mean?
- minimal layers and embellishments
- clean, white space
I liked this card so much I made another one, mirroring the sketch and using the arctic rabbit as the focal point:

I used a different sentiment on this one - this one comes from the new 'Honeybee Home' set - but I like this card just as much as the fox. Again, you can see the shine and detail slightly better below:
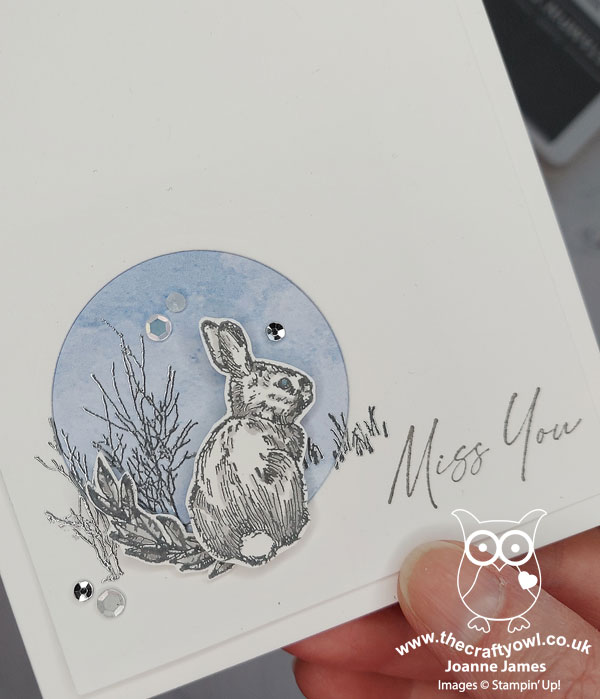
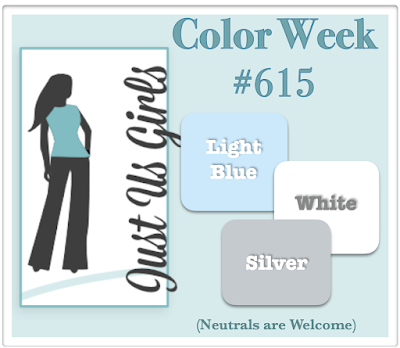
Since my second card also uses this week's colours over at Just Us Girls of white, silver and light blue, I'll be linking it up there.
Here is the visual summary of the key products used on today's project for you to pin for easy reference:
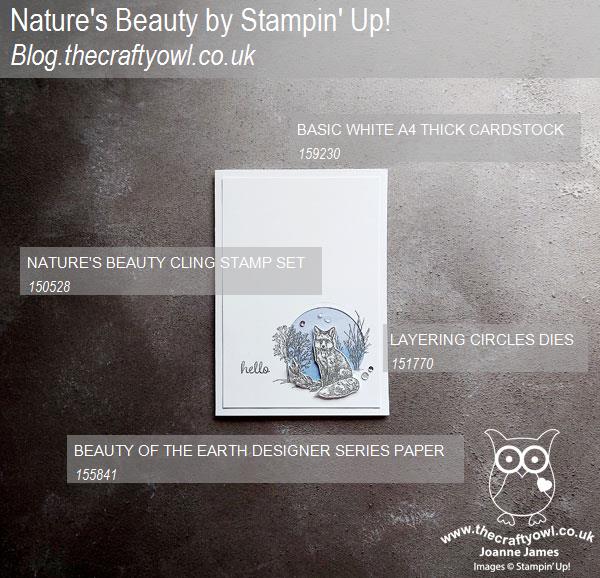
You can see all of my Product and 'How To' summaries on my 'How To - Tips and Techniques' Pinterest board in case you've missed any.
And one last photo of both cards together - which one do you prefer? I like them both and it was nice to give this stamp some love again.
Before you reach for your ink and papers, check out what our amazing team has created to inspire you this week:
The Paper Players Design Team
Here's a quick recap of our challenge rules:
1. Create a new paper project
2. Upload your creation to your blog with a link back to us and provide a direct link to the post featuring your challenge submission.
3. Please link your card to no more than four challenges, TOTAL.
4. Have FUN!
Enjoy your day; having spent yesterday outside in the freezing fog watching the oldest of the James Juniors play hockey whilst hubby went to watch the youngest do the same (fun games and wins all round, so that helped!), we are all looking forward to a day indoors enjoying the warmth today! I'll be back tomorrow with another project. Until then, happy stampin'!
Stampin' Up! Supplies Used:
Edit: Kim chose my card for Princess of Clean for FMS518 - yay!