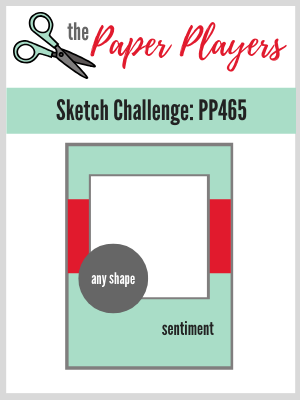
Today it's Sunday and time for this week's new challenge over at The Paper Players! It's the turn of the fabulous Ann to host this week and she has my favourite, a sketch challenge for you to work with:
There were so many ways to go with this sketch - in the end I decided to 'Let It Snow' - in a big way! Take a look:
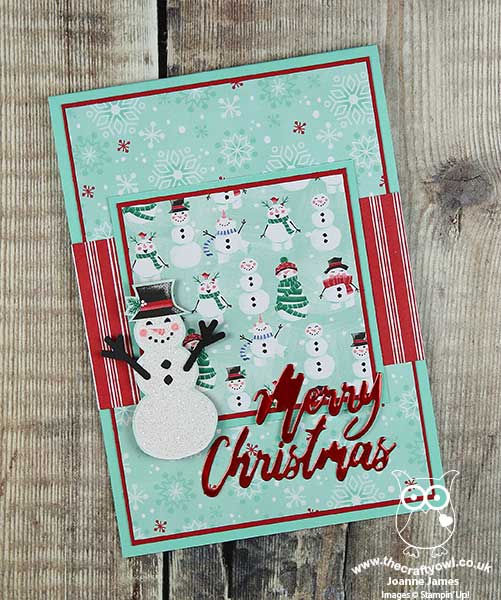
Here's the low-down on today's card:
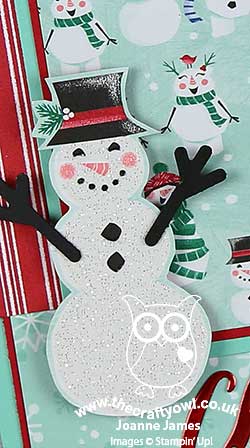
My card today is a celebration of the wintery-themed Let It Snow Specialty Designer Series Paper. This collection of cute snowmenwas at the top of my Christmas shopping list; my regular readers know how much I love DSP, and today's card uses not one, not two, not three, but four - yes four! - of the patterns in the pack. I used three of the non-glittery patterns for the layers (it was so hard not to use the sparkly designs on the reverse!) and fussy cut a glittery snowman for my corner embellishment from the fourth (I added some arms using the Snowman Builder Punch).
I added a diecut from 'Word Wishes' for the sentiment on the front of my card, although have a slight confession to make: this was supposed to be red glimmer paper for a touch of festive sparkle to compliment my glittery snowman, however could I find mine anywhere in my crafting square mile? Not a chance! I know I have some, but I couldn't find it anywhere so I resorted to some red foil instead.
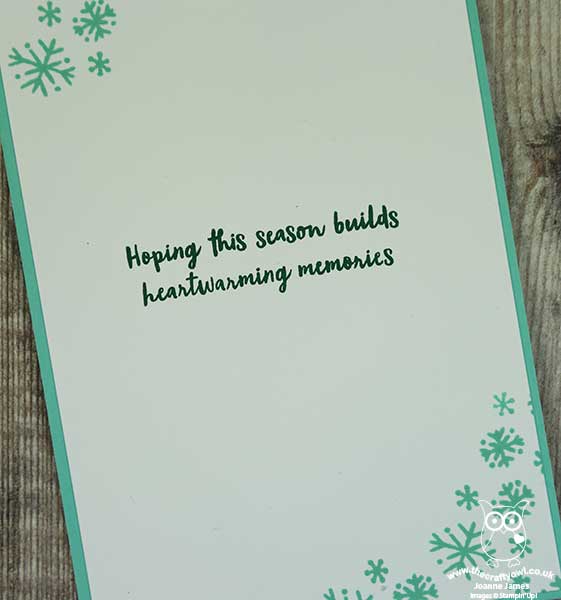
My card doesn't have a stitch of stamping on the front, although I did add a sprinkling of snowflakes and a sentiment from the 'Snowman Season' stamp set on the inside:
I love the combination of cool greens, white and red - it reminds me of candy canes - that feature in this paper pack and one thing is for sure: those glittery snowmen really are as sweet as sugar, and as sparkly too!
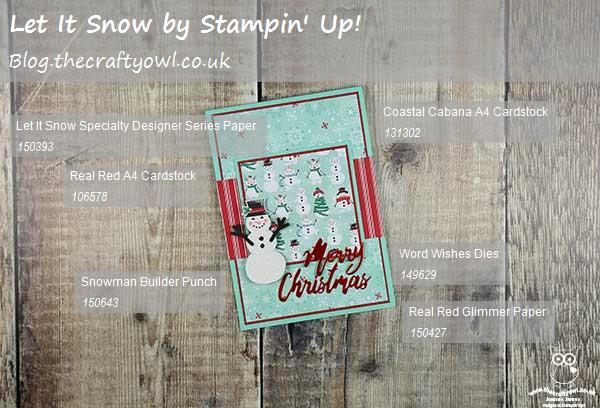
Here is the visual summary of the key products used on today's project for you to pin for easy reference:
You can see all of my Product and 'How To' summaries on my 'How To - Tips and Techniques' Pinterest board in case you've missed any.
Before you reach for your ink and papers, check out what our amazing team has created to inspire you this week:
The Paper Players Design Team
Here's a quick recap of our challenge rules:
1. Create a new paper project
2. Upload your creation to your blog with a link back to us and provide a direct link to the post featuring your challenge submission.
3. Please link your card to no more than four challenges, TOTAL.
4. Have FUN!
You can see all of my 'How To' summaries on my 'How To - Tips and Techniques' Pinterest board in case you've missed any.
Enjoy your day; today marks the official start of winter and with that an extra hour in bed - yay! My day will be a quiet one and hopefully I'll be back tomorrow with another project. Until then, happy stampin'!
Stampin' Up! Supplies Used: