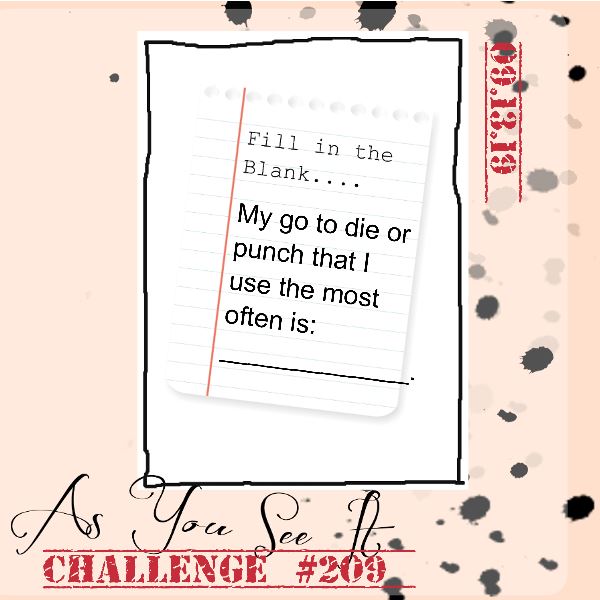
It's Friday - hurrah! Who else is ready for the weekend? Today before I share my card with you, I have an exciting announcement: I am joining the As You See It Challenge Team as one of their new designers! Those of you who follow my blog will know how much I enjoy playing along with the AYSI fortnightly challenges, so I was delighted when the lovely Heather Cooper asked me to join their team, especially as it includes a number of my fellow blogger friends, including Jan Clothier of Thinking Stamping and my faithful team mate over at The Paper Players, the lovely LeAnne Pugliese of WeeInklings fame. So today's card is my first for the AYSI team and we have a great theme for you this week - check it out here:
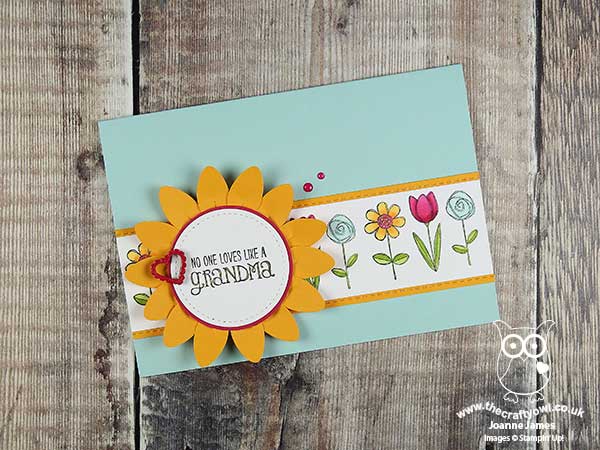
This one was a really easy one for me - my most-used tool in my craft room (after my die-cutting machine) is my set of Stitched Shapes Dies, specifically my Stitched Circles Dies; I use them all of the time! I love the way they add just the right amount of detail to a sentiment shape and that is how I used it today on my card, based on the current Global Design Project #GDP206 sketch (included at the bottom of today's post). Here's my card:
Here's the low-down on today's card:
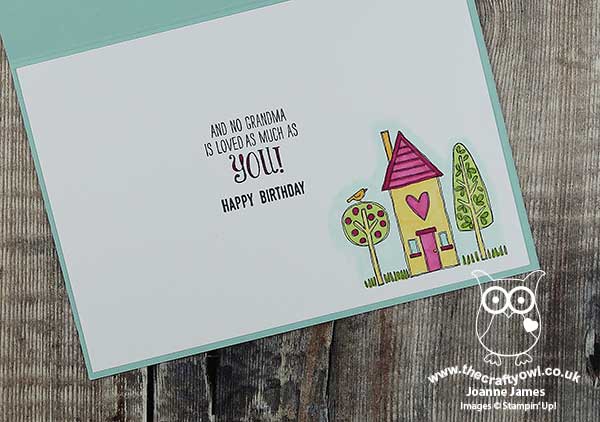
Grandma's House - Whilst lots of the team created Christmas cards this week, not me: September is the month of birthdays in my family with many of us, myself included, who are celebrating. This does mean it is a super-busy time for cardmaking and keeps me working on non-Christmassy things too at this time of year! Yesterday it was the turn of my Mother-In-Law, who is also the much-loved Granny to my James Juniors and has another 2 grandchildren to boot. As soon as I saw the 'Grandma's House' stamp set in the annual catalogue, I knew that I would have to get it - so many of the sentiments in this set apply to our very own Grandma!
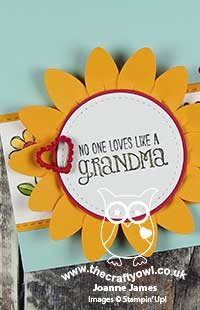
Stitched Shapes For Everything - I used my Stitched Circle to house my sentiment at the centre of the main focal point of my card. I just love these Stitched Shapes - I use them in so many ways (just search 'Stitched Shapes Dies' on my blog and you will get a ton of inspiration!) and think that extra detail finishes off an ordinary shape perfectly.
A Festive Flower - I decided that instead of just leaving my stitched circle as a single layer, I would use it as the centre of a flower to tie it in with my floral border that is stamped with another of the stamps in the 'Grandma's House' set and coloured with my Blends. I added a punched circle for a thin border then created a bunch of petals using ... can you tell what punch I used? It's actually the Christmas Bulb Builder punch (top marks if you spotted it!!) I punched a few then snipped through the base of each approx. 1cm and overlapped the ends and glued them in place, then added them to my centre to create a slightly dimensional flower. I added a little wooden heart from my stash that I heat embossed with (retired) Lovely Lipstick coloured embossing powder and a couple of enamel dots to finish my card front. I love these fresh colours, courtesy of the current challenge over at SUO Challenges, carried my design through to the inside of my card too:
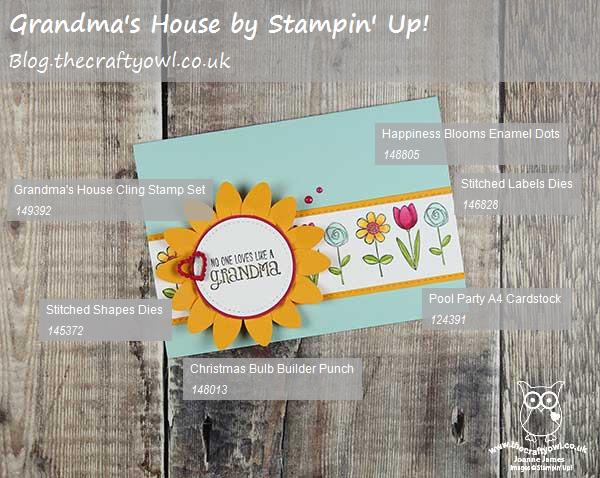
Here is the visual summary of the key products used on today's project for you to pin for easy reference:
You can see all of my 'How To' summaries on my 'How To - Tips and Techniques' Pinterest board in case you've missed any.
So what is your 'go to' die or punch? Do leave me a comment below - I would love to know what your favourite item is and why! Why not make something with it and share with us over at As You See It too - you can check out the inspiration from the other As You See It team members whilst you're there and see if they share your favourites.
Enjoy your day and I'll be back tomorrow with another project. Until then, happy stampin'!
Stampin' Up! Supplies Used: