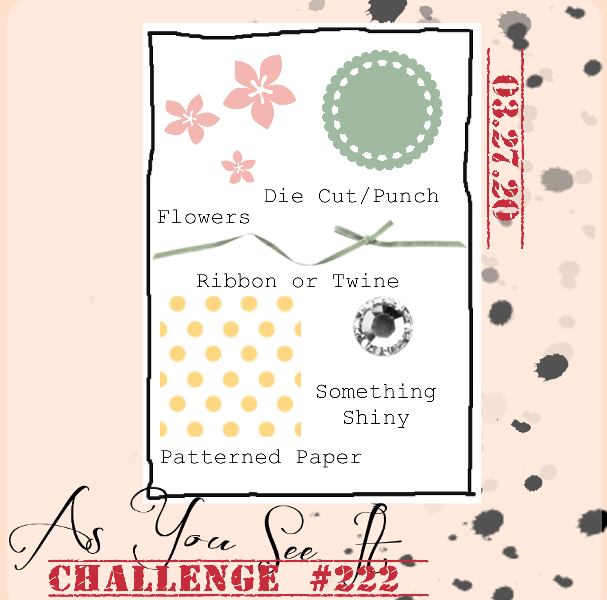
Today I'm sharing my design team card for our new challenge over at As you See It where for this fortnight we have a fun recipe challenge for you:
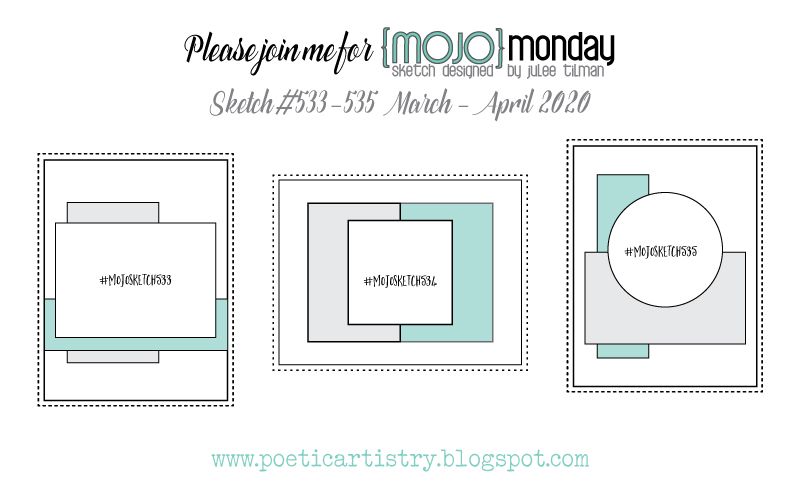
I often struggle with this kind of recipe challenge, but must confess that along with Julee's Mojo Monday sketch for my layout (sketch 3) today's card came together quite easily - take a look:
Here's the low-down on today's card:
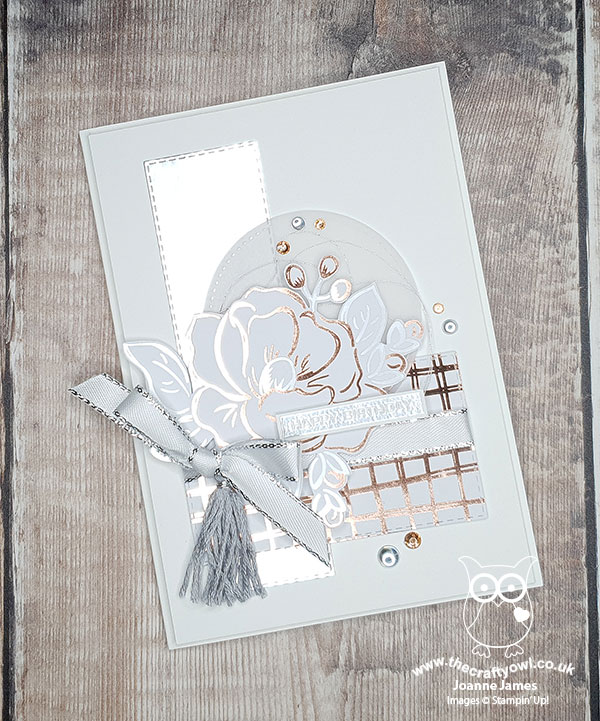
Flowering Foils - I decided to use the Flowering Foils Specialty Designer Series Paper as the basis for today's card. This is one of the second-release items that can be yours FREE with a purchase of £45 or more during the current Sale-A-Bration promotion and has been super popular with my customers, so I was keen to show them how they could use it. I used a rose-gold hatch patterned piece along with a piece of silver foil cut using my Stitched Rectangle Framelits for two of my layers, then fussy cut one of the flowers from another sheet to form the centrepiece of my card. I backed my flower with a stitched vellum circle to preserve the shape of the sketch but not detract from the detail of the bloom itself. These papers are so, so pretty and the photographs in today's post really don't do them justice - it is so difficult to photograph foil!
Sparkle, Sparkle - To compliment the foiled papers, I decided to add lots of sparkle and shine. I used some white ribbon with a silver metallic edge for my bow, along with some silver twine behind my flower and a sprinkling of champagne rhinestone jewels and clear epoxy droplets for extra sparkle. I even added a silver (retired) tassle - then had to stop myself before I went really overboard!!
Label Me Bold - Whilst this card would make a lovely wedding card, I have no need for one so decided instead that it would work equally well as a special birthday card. I inked up my 'Label Me Bold' stamp set for the first time to add a simple silver heat-embossed sentiment to my card. You can see that better on the photo below:
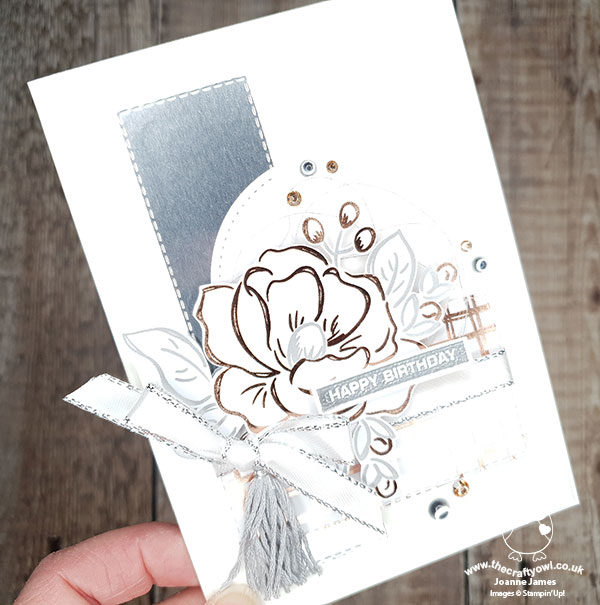
This sentiment stamp set was one of the first I bought from the new seasonal catalogue as I've been wanting a set like this for ages, but this is the first time I've inked it up. I love the clean, block font which is perfect to cut through the detail on a card like this.
So what do you think? Do you love these Flowering Foils as much as me?
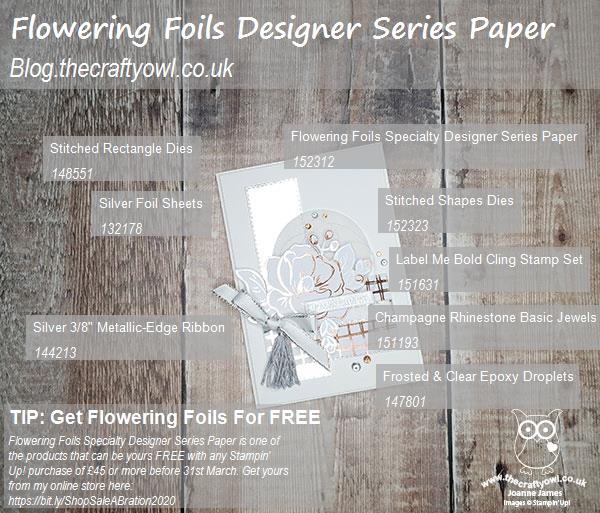
Here is the visual summary of the key products used on today's project for you to pin for easy reference:
You can see all of my 'How To' summaries on my 'How To - Tips and Techniques' Pinterest board in case you've missed any.
Before you put your creative thinking caps on, why not check out the blogs of the other As You See It team members:
Amy Jasper
Heather Cooper
Jan Clothier
Jane Knudsen
LeAnne Pugliese
Here's a summary of our challenge rules:
- Create any card, scrapbooking page, 3D project or packaging project that fits the challenge.
- Please include the challenge graphic and link back to the challenge in your blog post. Turn off word verification so we can leave you lots of lovely comments. Make sure you link the post not the whole blog to the Linky. Use #AYSIXXX when uploading to a public gallery.
- If you’re unsure about ‘the rules’, check the details under the Challenge Guidelines tab on the As You See It Challenge homepage.
We look forward to seeing your creations in the AYSI gallery.
Enjoy your day and I'll be back tomorrow with another project. Until then, happy stampin'!
Stampin' Up! Supplies Used: