Friday already - wow, that was a quick week! Thank you to everyone who placed orders during the 24 hour stamp sale - there will be lots of lovely bargains heading your way next week! For those of you that missed out - please be sure that you are following my blog and social media channels I'm sh to be reminded of special offers and events and make sure you are signed up for my newsletter by clicking here.
Back to today and I'm sharing my design team card for our new challenge over at As you See It where it's time for a theme challenge:
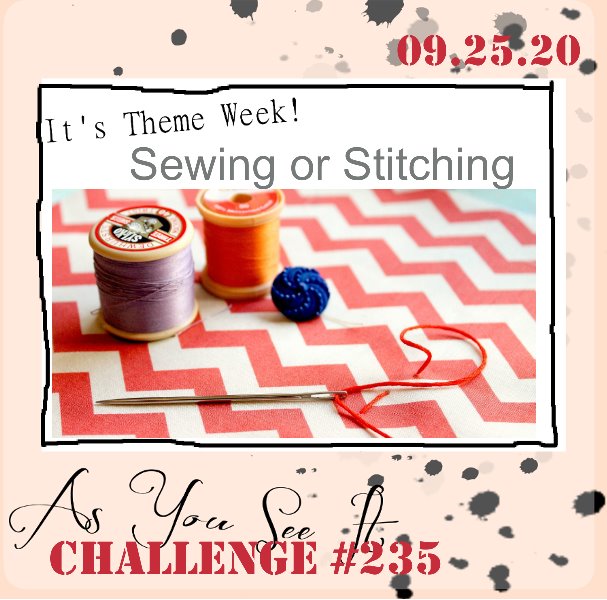
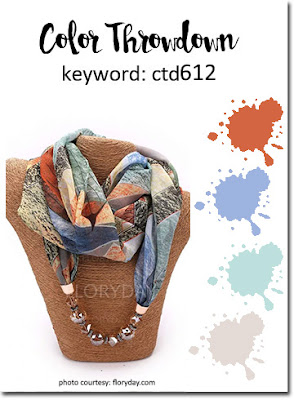

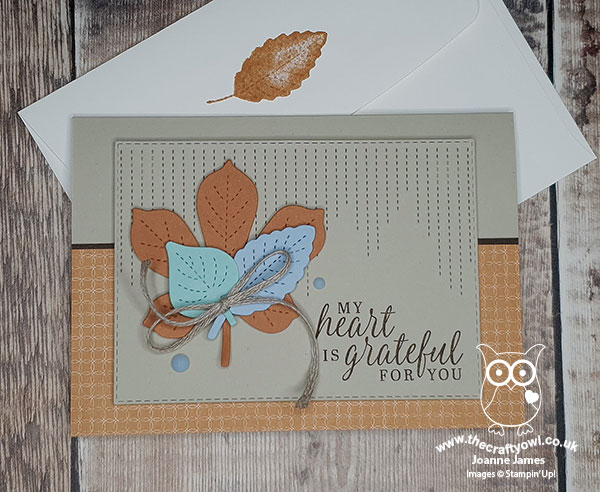
I was struggling to be creative with my AYSI card this week (too many other things on my mind I think!), so I paired up with those intriguing colours over at Color Throwdown and the Autumn theme over at Paper Craft Crew and decided to go with some atypical leaves - take a look at what I came up with:
Here's the low-down on today's card:
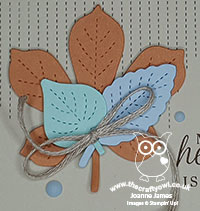
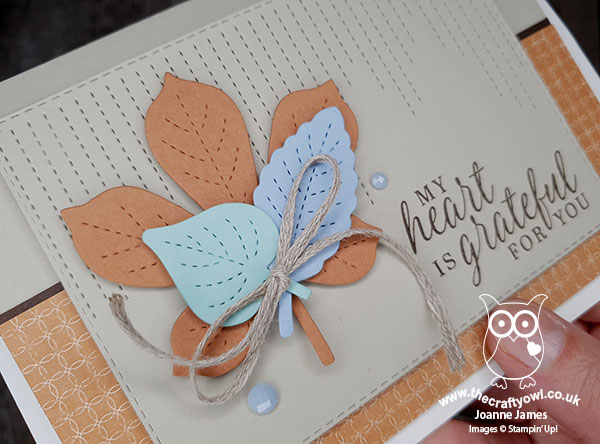
All About The Stitching - Today's card is definitely all about the stitching! I was tempted to use my most favourite of stitched items, my Stitched Shapes Dies, on today's card, but for once they don't feature at all! I decided to go with the Lovely Leaves bundle and Stitched Leaves Dies. Not only do they have those lovely leaf outlines with detailed dies for the centre, there is the fabulous stitched lines die that I used on the panel behind my leaves, which is great for adding interest on all kinds of cards. I also used my Rectangle Stitched Framelits to cut out this panel for added stitch detail.
Beautiful Autumn - I could have used a sentiment from the Lovely Leaves set on today's card, but I had someone in mind for today's card and instead reached for one of my personal favourites from the 'Beautiful Autumn' stamp set, which is more appropriate. I stamped it in Early Espresso as opposed to black as it fitted in better with the autumnal feel of my card.
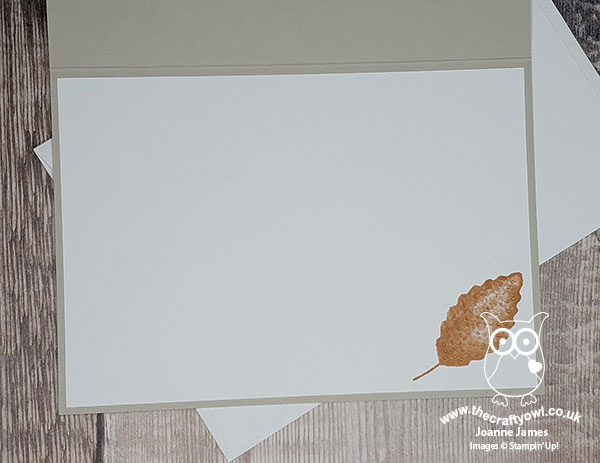
Stitched Detail Tip - The other lovely thing about the central stitched detail pieces is that they can be used to add detail to stamped leaves too, even if they haven't been cut out. I've shown this on my envelope flap before and I also added this detail onto my inner lining:
Whilst Cinnamon Cider and Sahara Sand are the dominant colours on today's card, the pop of colour from my blue and aqua leaves really brightens up my card, don't you think? It makes a nice change from the reds and yellows in my view, but I'd love to hear your thoughts!
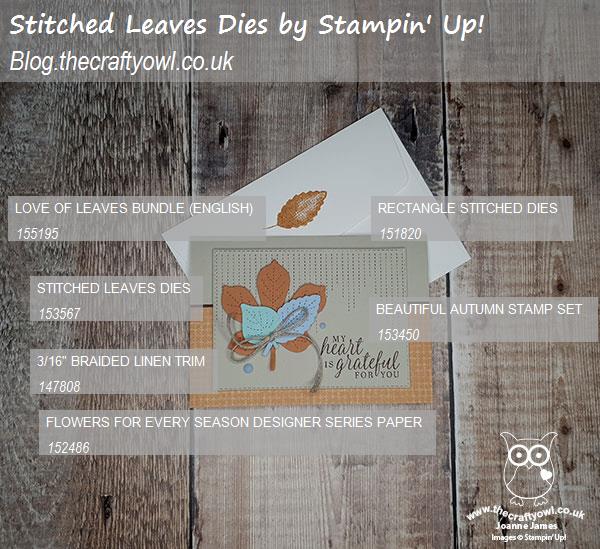
Here is the visual summary of the key products used on today's project for you to pin for easy reference:
You can see all of my 'How To' summaries on my 'How To - Tips and Techniques' Pinterest board in case you've missed any.
Here's a summary of our challenge rules:
- Create any card, scrapbooking page, 3D project or packaging project that fits the challenge.
- Please include the challenge graphic and link back to the challenge in your blog post. Turn off word verification so we can leave you lots of lovely comments. Make sure you link the post not the whole blog to the Linky. Use #AYSIXXX when uploading to a public gallery.
- If you’re unsure about ‘the rules’, check the details under the Challenge Guidelines tab on the As You See It Challenge homepage.
We look forward to seeing your creations in the AYSI gallery.
Enjoy your day and I'll be back tomorrow with another project. Until then, happy stampin'!
Stampin' Up! Supplies Used: