Today I'm sharing my design team card for our first challenge of the new year over at As you See It. We have a fresh new look thanks to Heather and Amy and I am the hostess for this week, starting us off this year with a Speed Stamping challenge. I always find myself getting distracted by the process of tidying my craft room in the new year (well, I have to make room for all of the new things Santa brought me!) so I thought this would be a good opportunity to rummage through the scrap bin and use up some of those crafty leftovers and put them to good use:
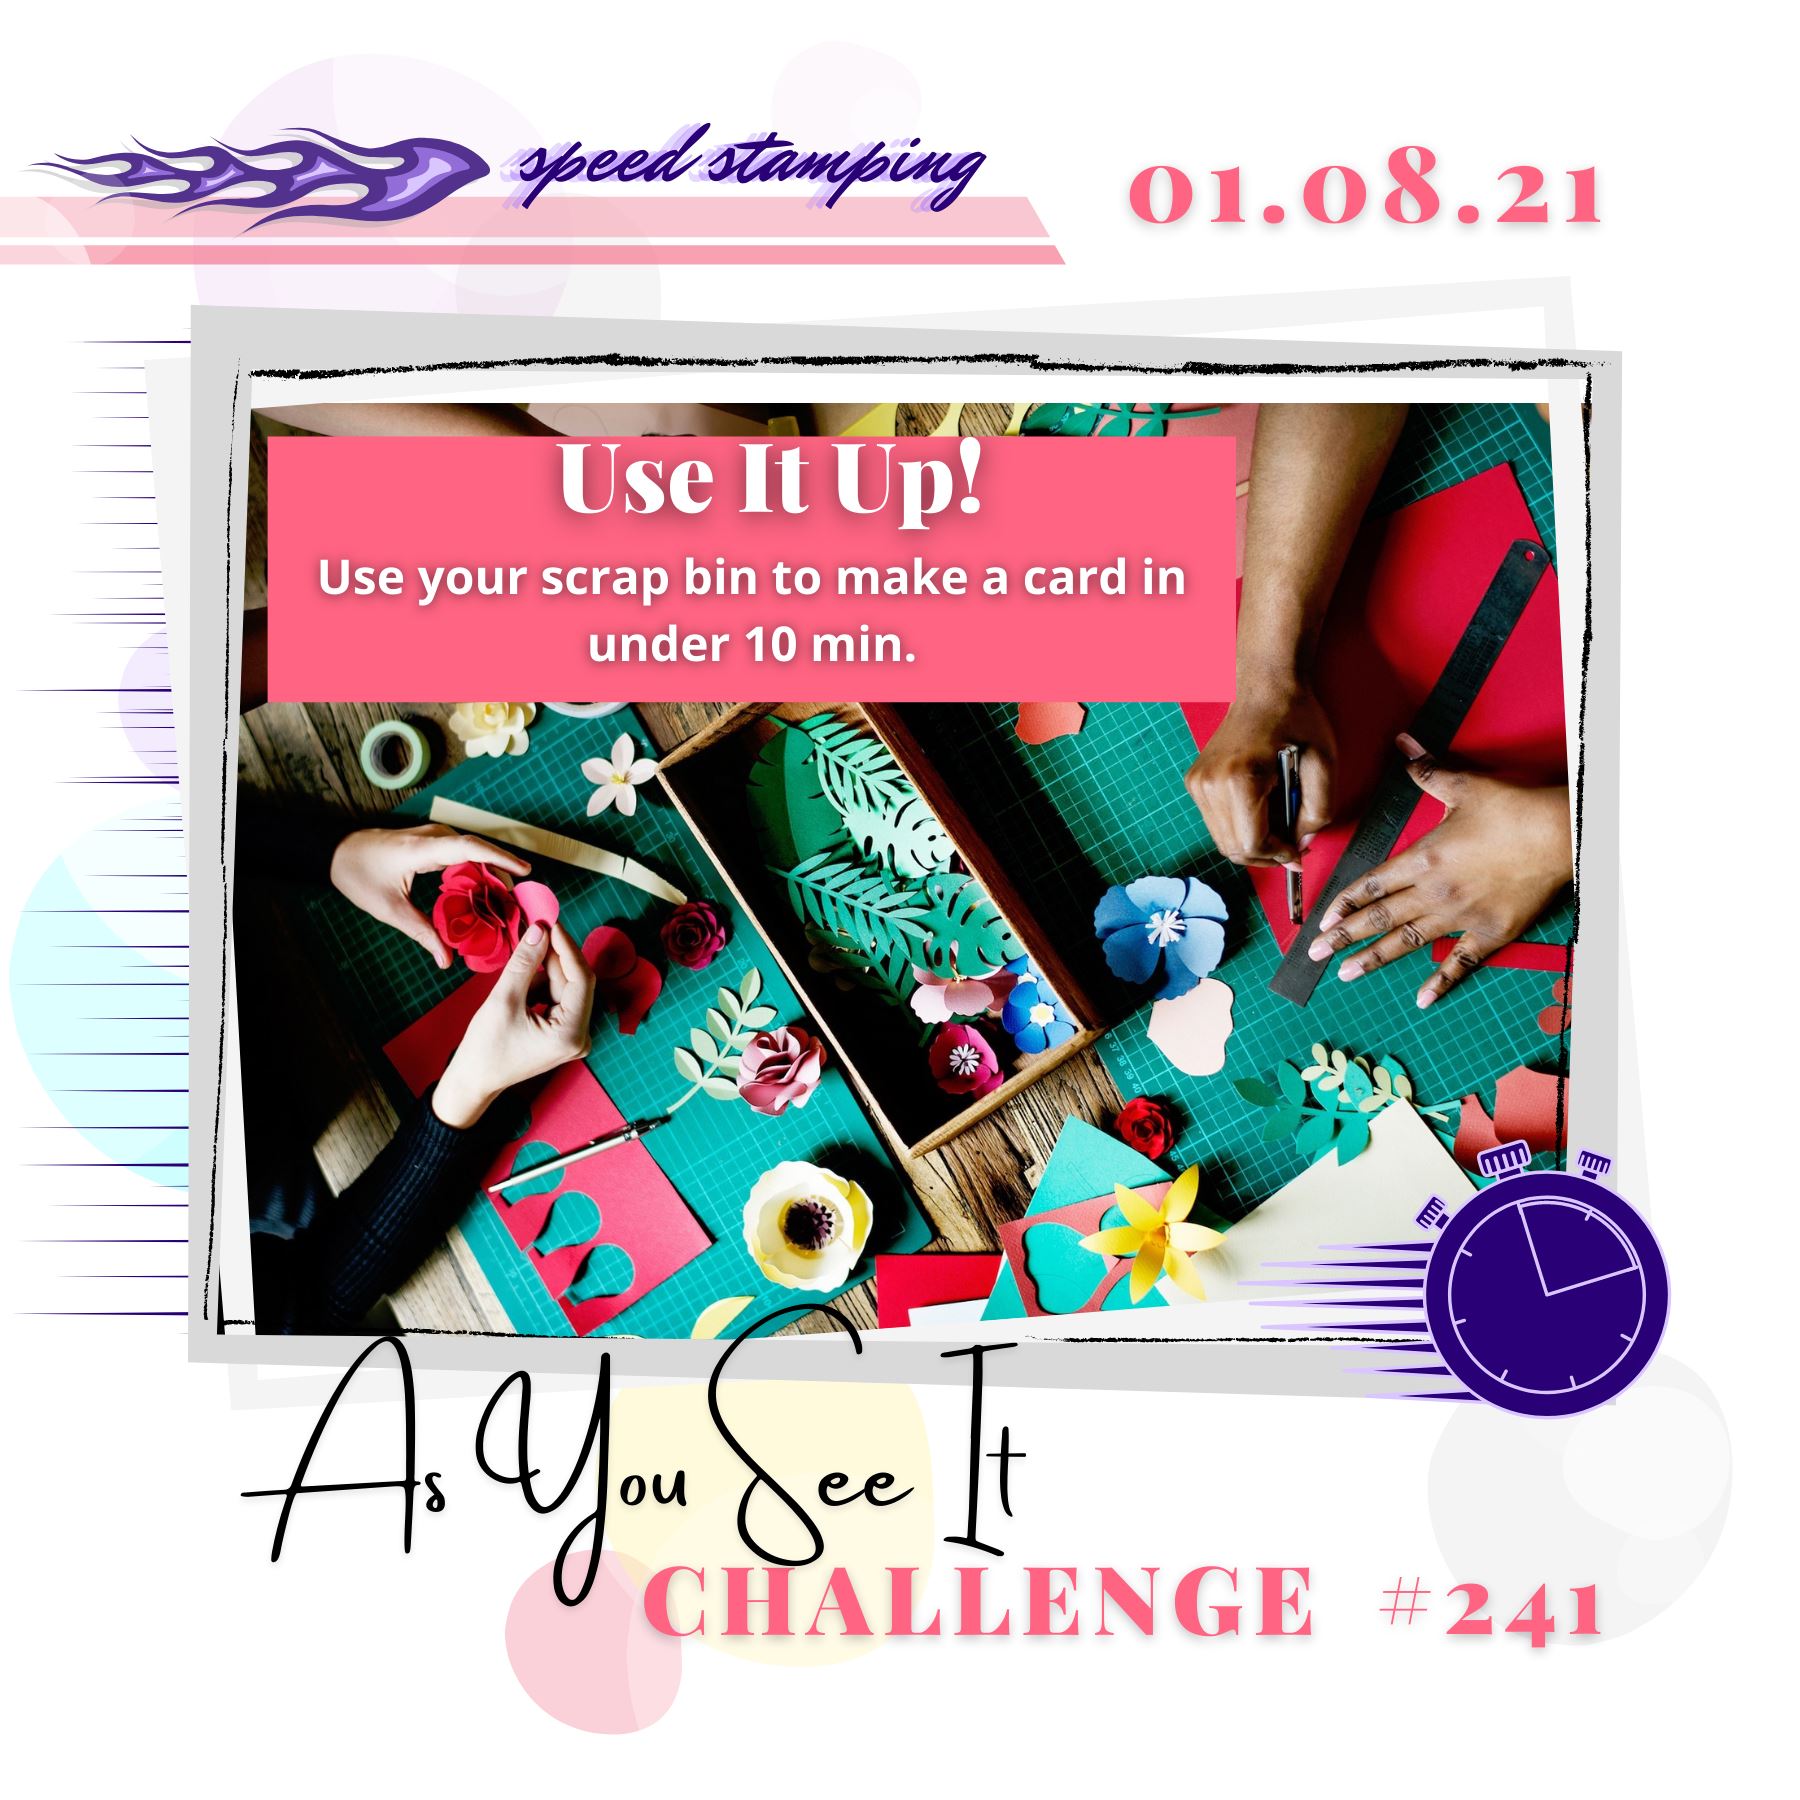
So the idea of the speed challenge is that you create a card in under 10 minutes. Thankfully this doesn't include the time to plan out your ideas; the clock only begins the minute you start to construct. Now for today's challenge I am more thankful for free planning time than ever; why? This was my scrap box before I started this challenge:
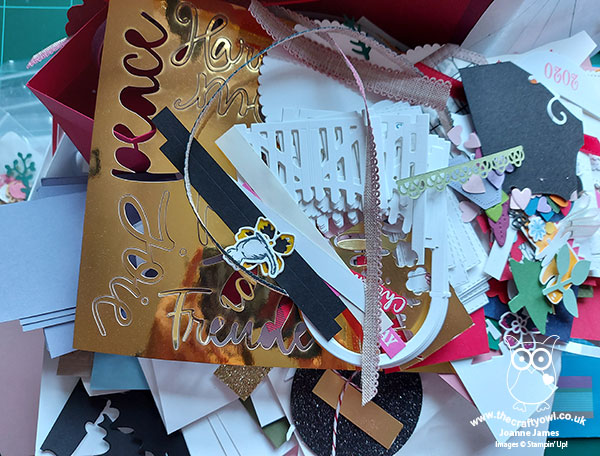
Yes, out of control in epic proportions! I haven't been through it in some time!! So first things first: I sorted through the box, made piles of things that co-ordinated in terms of colour/style/theme and created a number of piles, so that I could take each in turn and create something with it:

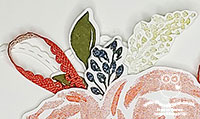
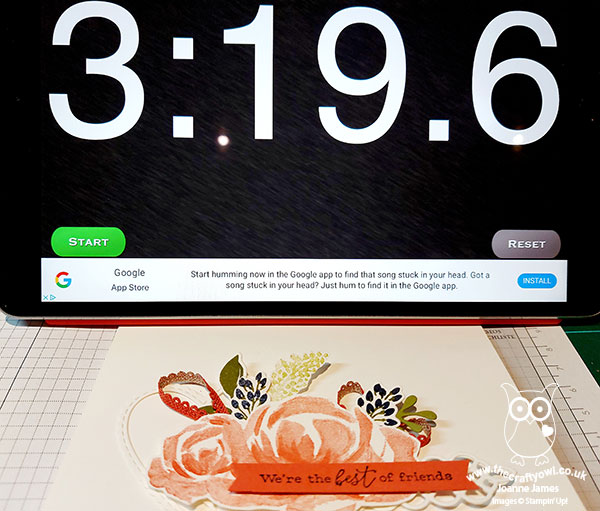
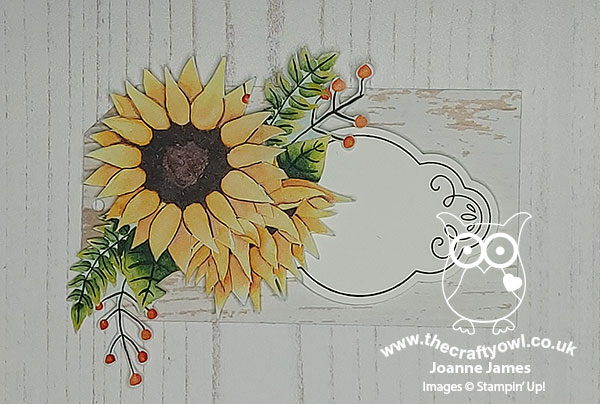
I ended up making a whole bunch of cards and managed to time and photograph a few of them to share with you in today's post. So here's my first card, which uses some flowers from Beautiful Friendship and Fabulous Florals stamp sets, along with a sentiment from Free As A Bird, some diecuts and an offcut of Terracotta Tile scalloped linen ribbon:
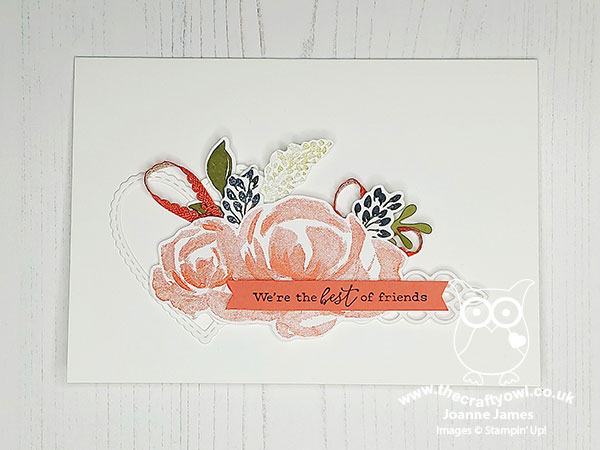
Every single one of these pieces was already cut and stamped in my box, so all I needed to do was cut a card base, layer and arrange in place, which took a record 3 minutes 19 seconds:
This card was so quick, I also pulled together a few more from the other bundles of mostly retired bits and pieces. Here's one of my favourites in Very Vanilla and Rich Razzleberry/Blackberry Bliss, with touches of gold:
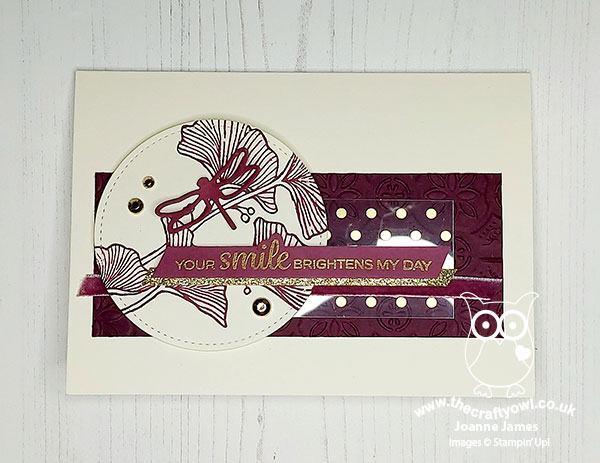
This one took a little longer at 8 minutes 10 seconds, but still within a 10 minute window. Here's another:
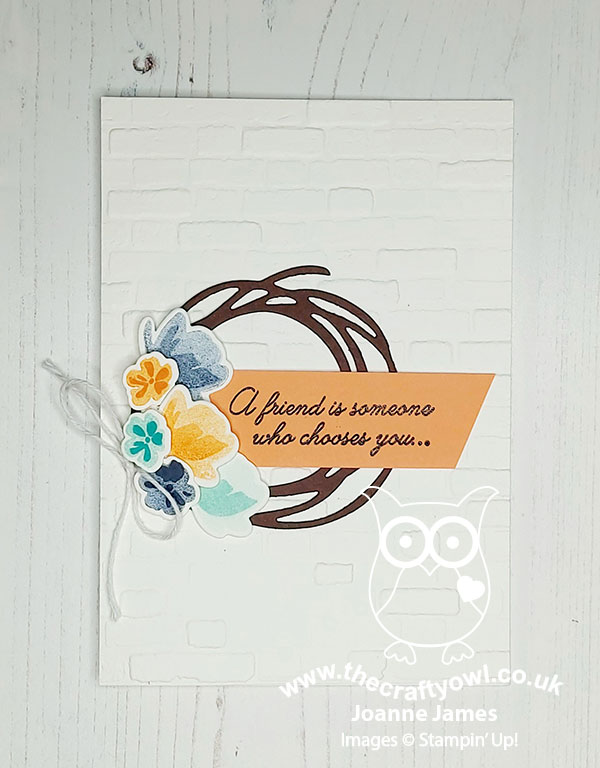
The brick-embossed cardbase was already in my box so this was a super quick make too, at just 2 minutes and 21 seconds. The quickest card was this one though, at just 2 minutes and 21 seconds:

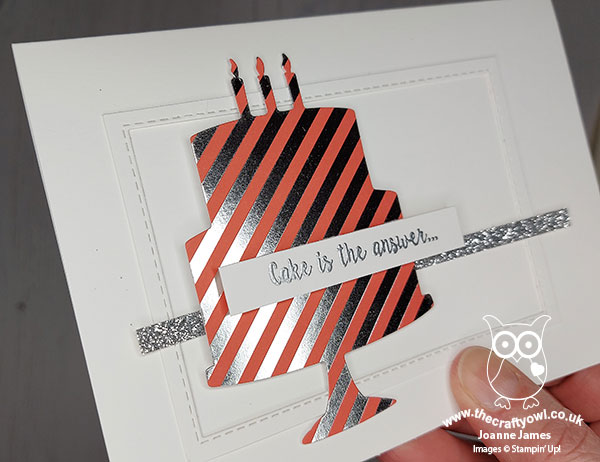
This one uses a foil-striped diecut and a heat embossed sentiment that is easier to see at an angle:
And finally I made a gift tag with another pile of scraps:
I've since completed another 5 cards too with the other bits and pieces. My scrap box is much depeleted and I've gained additional space on my desk - bonus!
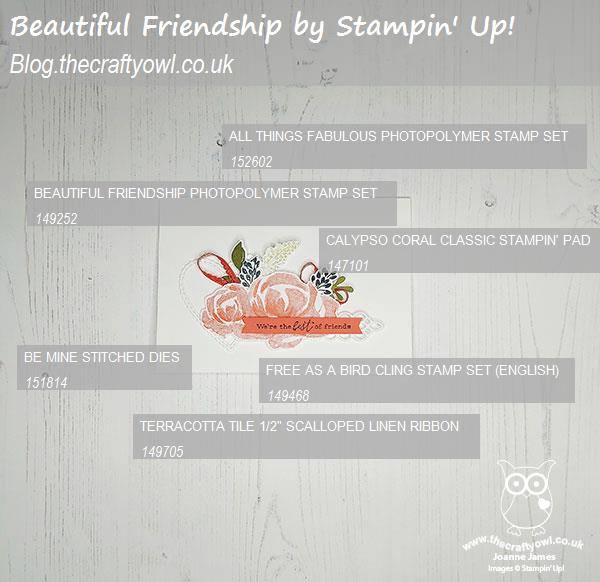
Here is the visual summary of the key products used on today's project for you to pin for easy reference:
You can see all of my 'How To' summaries on my 'How To - Tips and Techniques' Pinterest board in case you've missed any.
Here's a summary of our challenge rules:
- Create any card, scrapbooking page, 3D project or packaging project that fits the challenge.
- Please include the challenge graphic and link back to the challenge in your blog post. Turn off word verification so we can leave you lots of lovely comments. Make sure you link the post not the whole blog to the Linky. Use #AYSIXXX when uploading to a public gallery.
- If you’re unsure about ‘the rules’, check the details under the Challenge Guidelines tab on the As You See It Challenge homepage.
- In a speed stamping challenge, please time yourself and say in your post how long your card took to complete.
We look forward to seeing your creations in the AYSI gallery.
Enjoy your day and I'll be back tomorrow with another project. Until then, happy stampin'!
Stampin' Up! Supplies Used (main card only):