Today has not quite gone according to plan so I'm a little late sharing my design team card for our new challenge over at As you See It - and it's my choice of theme this week too! For our new challenge we have a seasonal theme challenge:
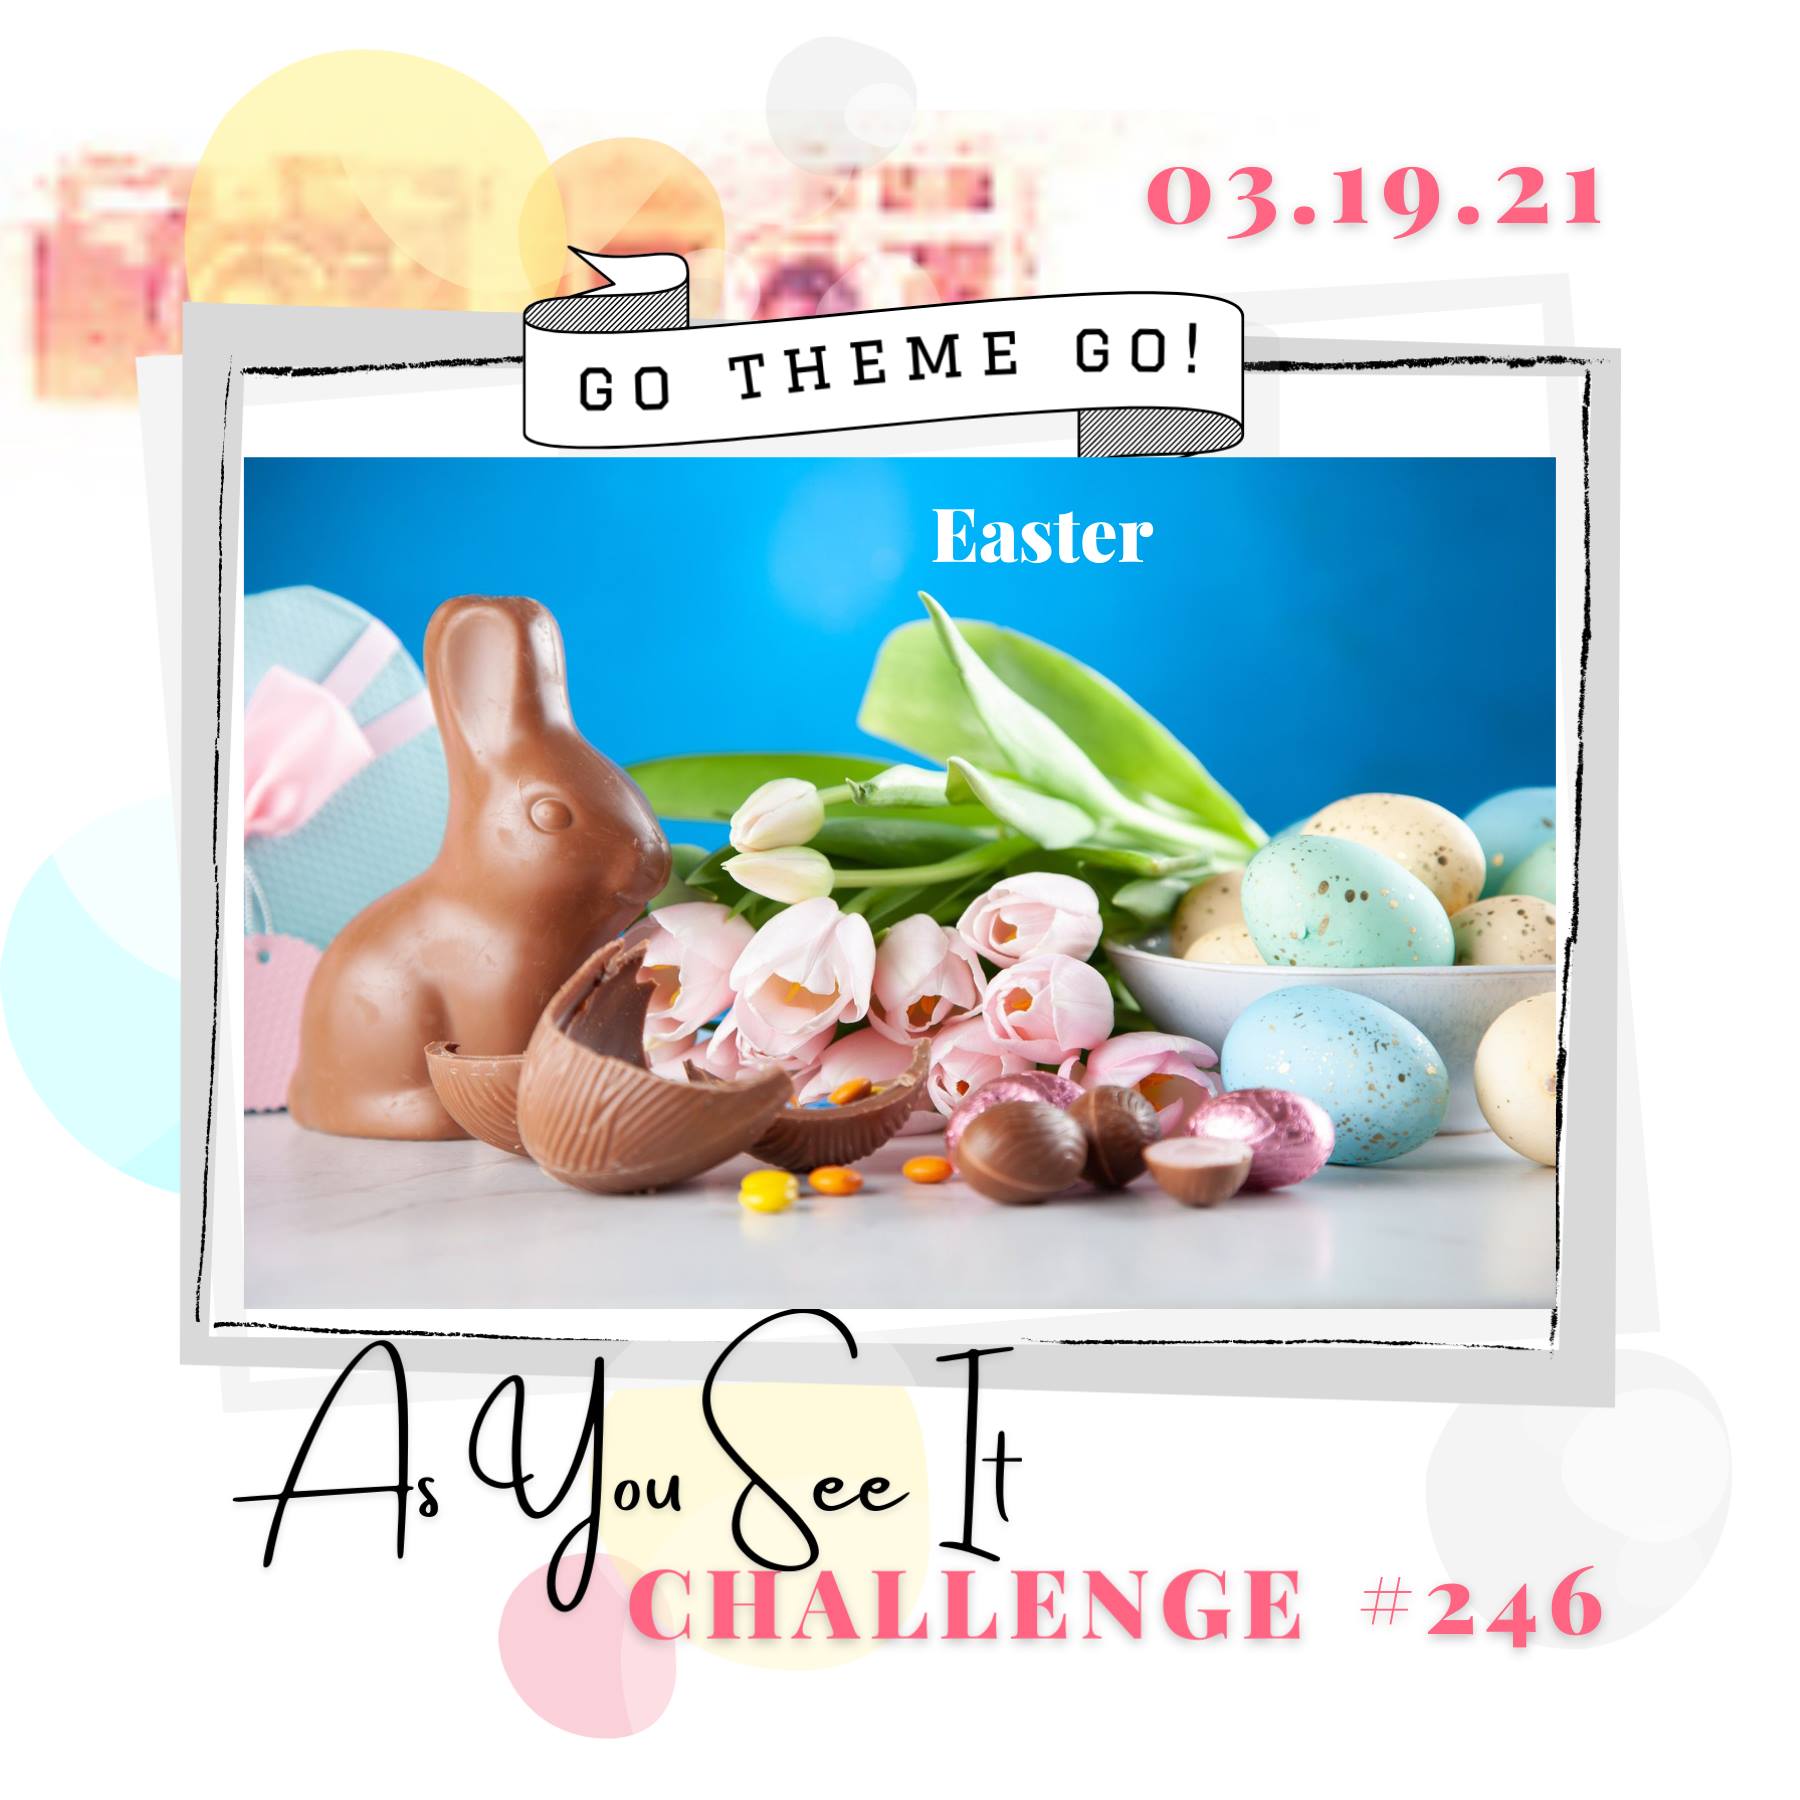

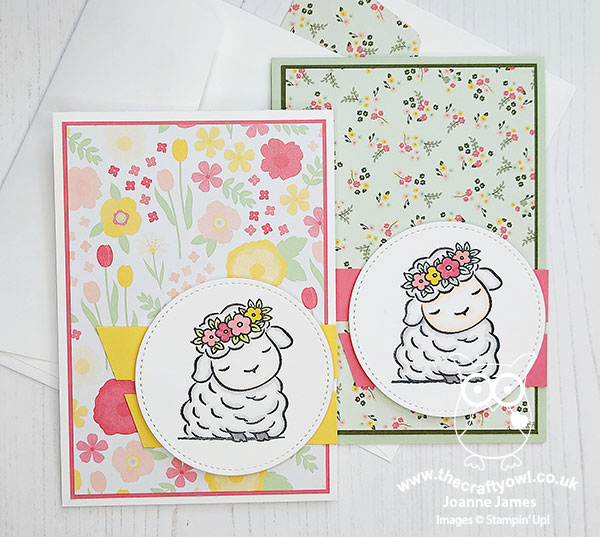
Easter! Whether you are looking forward to potentially gathering face-to-face with friends or your congregation for the first time in a while, or simply enjoying hot cross buns and the prospect of a chocolate egg or two, Easter is I am going for a less traditional take on Easter today and instead, somewhat inspired by the chocolate bunny in our challenge photo, I'm going with a cute spring lamb to decorate my Easter card today - take a look:
Here's the low-down on today's card:
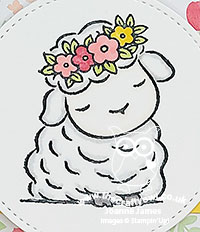
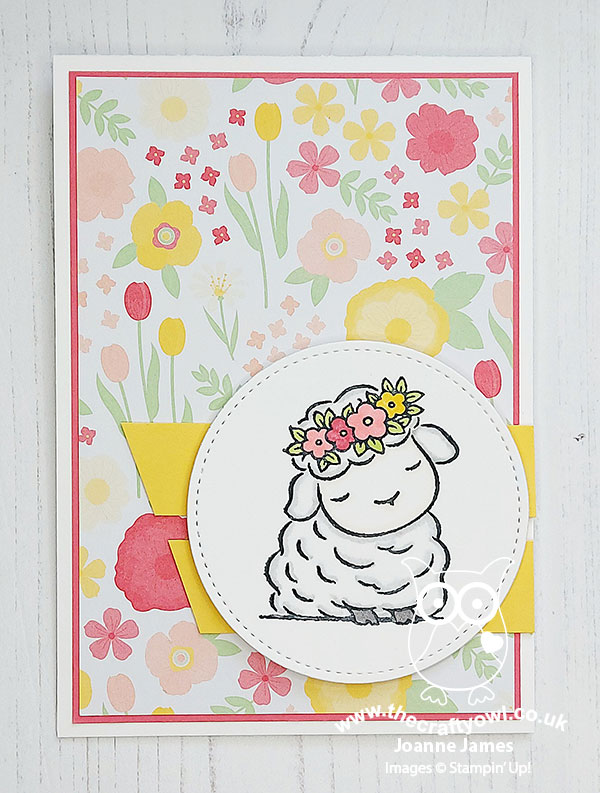
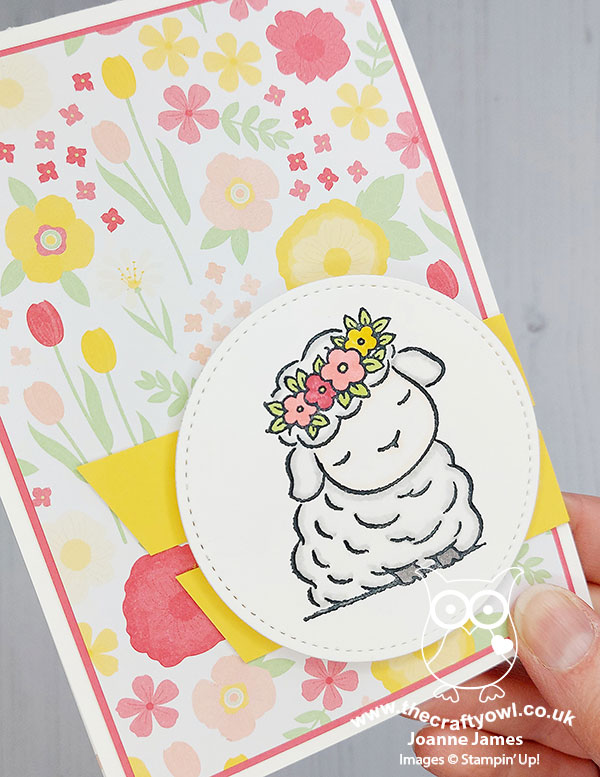
My little lamb decorated with flowers is from the new 'Springtime Joy' stamp set, a set full of cute animals along with some lovely sentiments. I actually coloured two and made a couple of cards, paired with some retired All Ablooms designer paper that is covered in spring flowers (these papers feature the retired in-colours Strawberry Slush and Pistachio Pudding - remember those?) that I thought would work perfectly with my sweet lambkins. Here's the second one, using a different paper from the same pack:
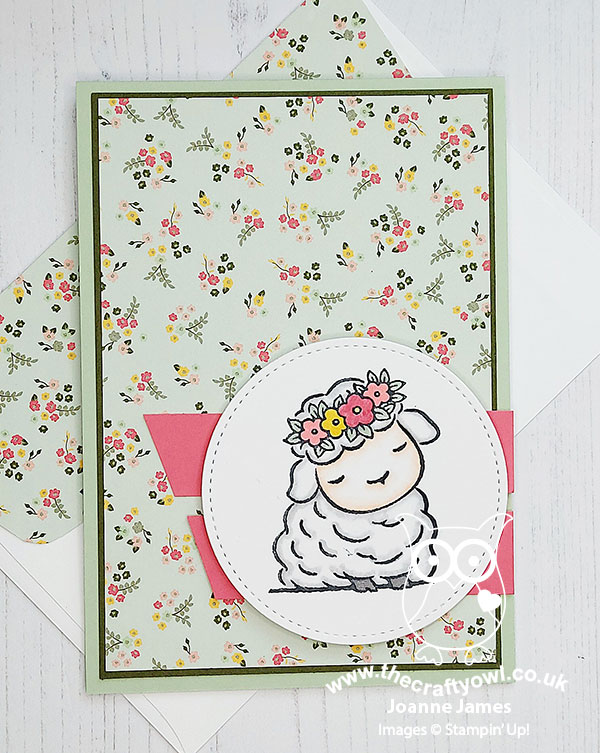
I added some extra DSP to my envelope flap and a liner too (great ways to dress up your card further and use up paper if you have lots of it going spare!) From the outside, my card could potentially be for any occasion - I added my favourite sentiment from the stamp set to the inside of my card:
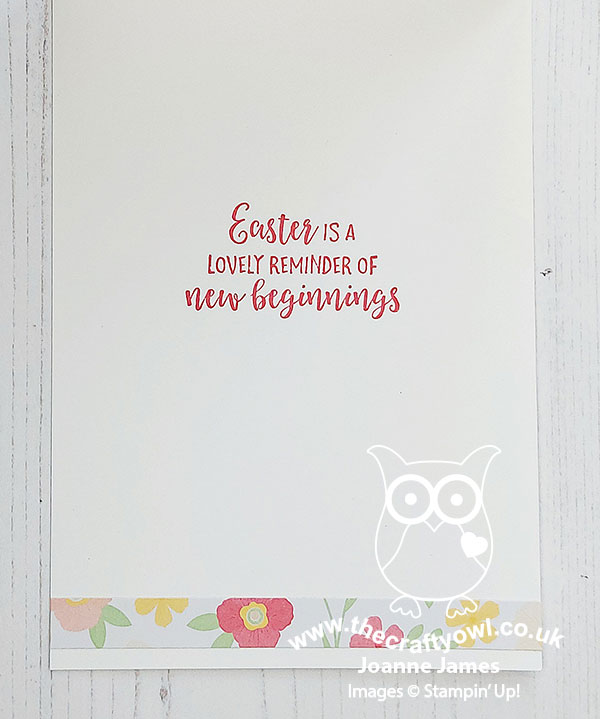
Because Easter is the perfect reminder of new beginnings, I think.
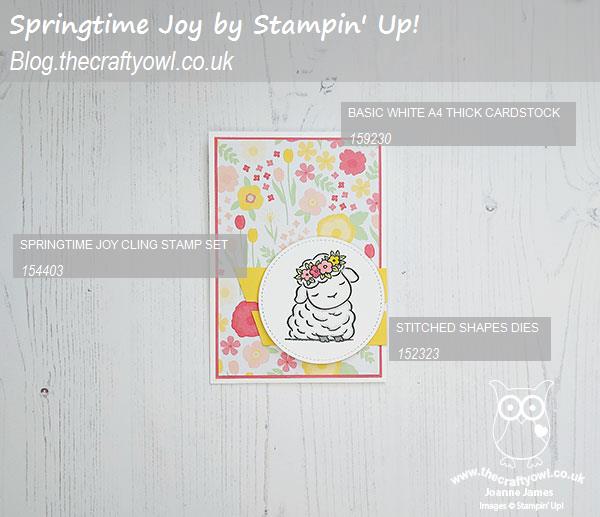
Here is the visual summary of the key products used on today's project for you to pin for easy reference (details for current products only):
You can see all of my 'How To' summaries on my 'How To - Tips and Techniques' Pinterest board in case you've missed any.
I'm also linking today's card up over at The Paper Craft Crew where they are all about cards featuring our favourite critters this week - I think my sweet lamb qualifies. We have a farm near where we live and as it's currently lambing season, Rebecca takes any and every opportunity to head over on foot or bicycle so that she can visit the newborn lambs in the field or take a peek into the lambing shed. I must confess, they are adorable!
Here's a summary of our challenge rules:
- Create any card, scrapbooking page, 3D project or packaging project that fits the challenge.
- Please include the challenge graphic and link back to the challenge in your blog post. Turn off word verification so we can leave you lots of lovely comments. Make sure you link the post not the whole blog to the Linky. Use #AYSIXXX when uploading to a public gallery.
- If you’re unsure about ‘the rules’, check the details under the Challenge Guidelines tab on the As You See It Challenge homepage.
We look forward to seeing your creations in the AYSI gallery.
Enjoy your evening and I'll be back tomorrow with another project. Until then, happy stampin'!
Stampin' Up! Supplies Used: