Another Monday, another week! Today I'm sharing a couple of cards that I made using this week's Freshly Made Sketches layout that I'm also linking up over at Addicted to CAS where the codeword is 'leaf':


This week's FMS sketch is courtesy of Cecile Ribon. If you are not a regular follower of Freshly Made Sketches, you should make a point of checking out her cards; I am in awe of her beautifully clean, elegant designs! I didn't get a chance to make a card to play along until today, but couldn't resist the opportunity to channel my 'inner Cecile' and have a go - take a look at what I came up with:
Here's the low-down on today's card:
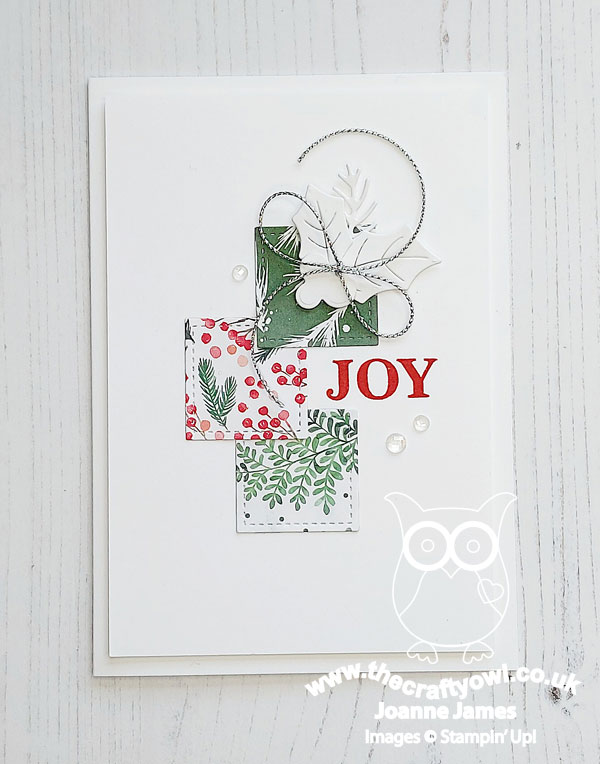
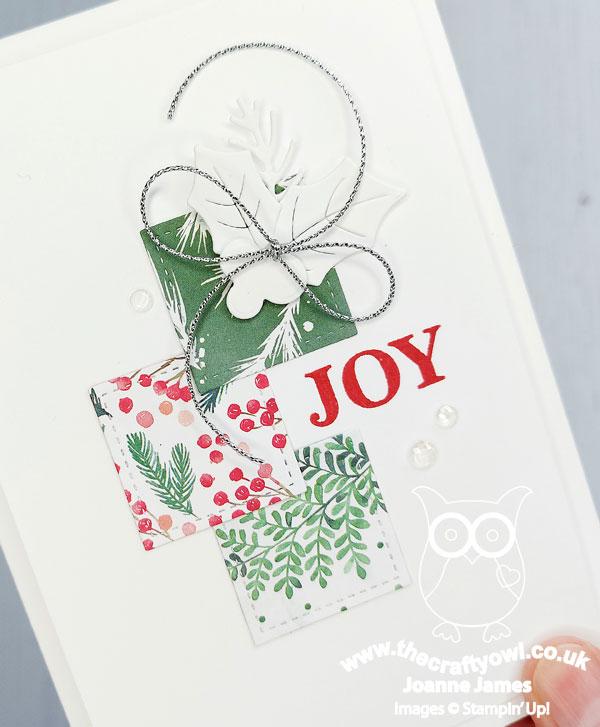
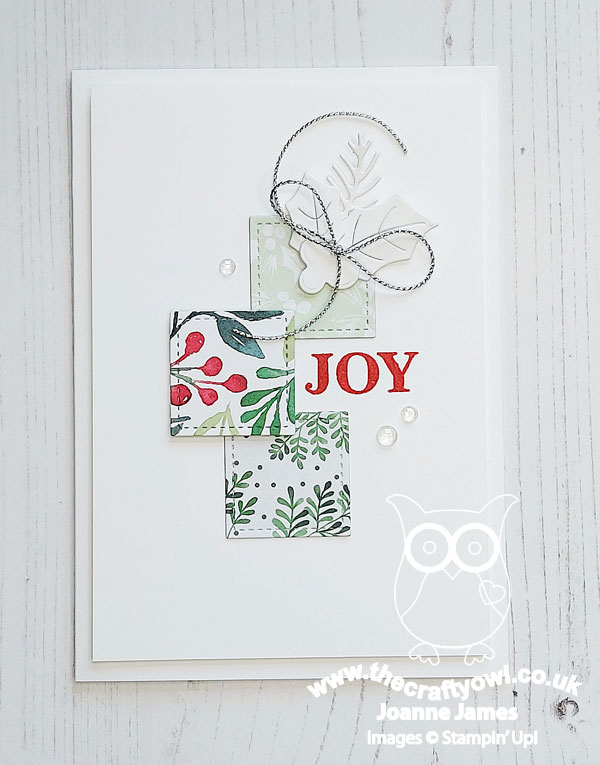
Painted Christmas - I decided to use designer paper for the trio of squares on the sketch and chose a selection of soft watercoloured patterns from the painted Christmas papers. I went mostly with patterns in greens and white with small designs, with one square that had red in too, which I picked up in my simple 'Joy' sentiment from the 'Merriest moments' stamp set. These papers are so pretty but not too overpowering - perfect in small amount for a clean and simple card.
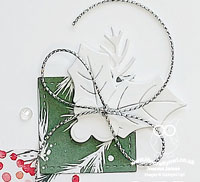
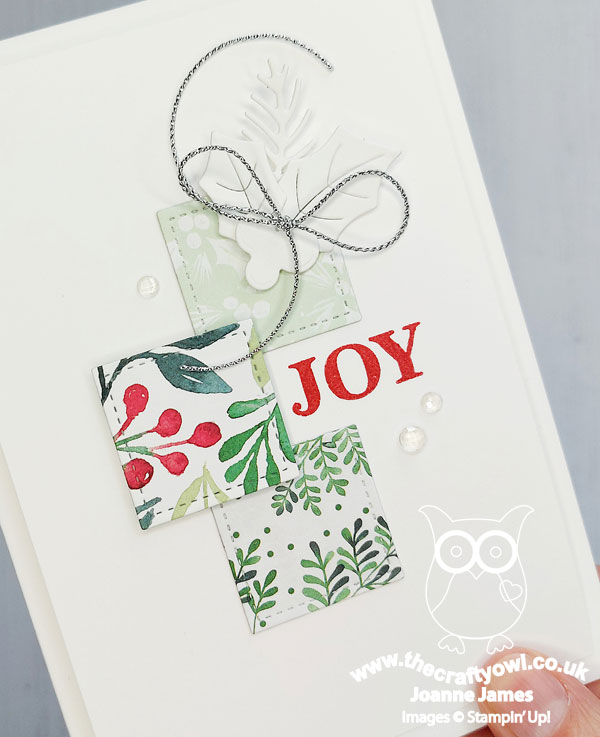
White Holly - I chose to accent my card with a sprig of diecut holly in white; this was a deliberate move, albeit an unusual one for me. I used the (retired) Sweetest Borders Dies as I wanted to have something that was the right size with a little diecut detail, but there are plenty of current dies that could be adapted to achieve the same effect:
I was aiming for a single leaf for my Addicted to CAS entry, but because I used holly ended up with two; is it just me, but do you ever see holly leaves in ones? I only ever place them in pairs!
Finishing Touches - I added a trio of clear faceted gems and a silver twine bow to my white foliage for some simple finishing touches, along with a simple sentiment on the inside:
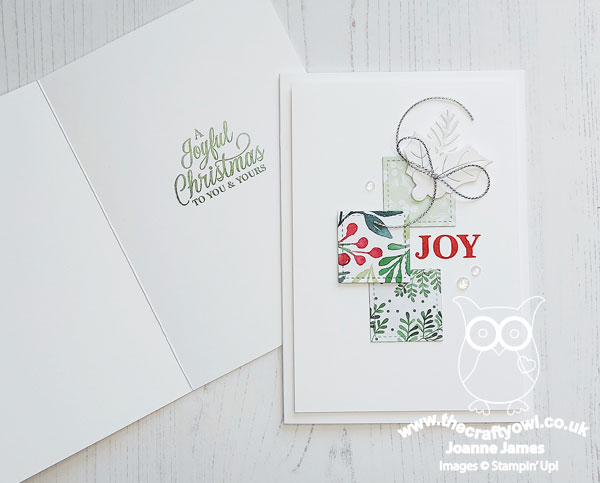
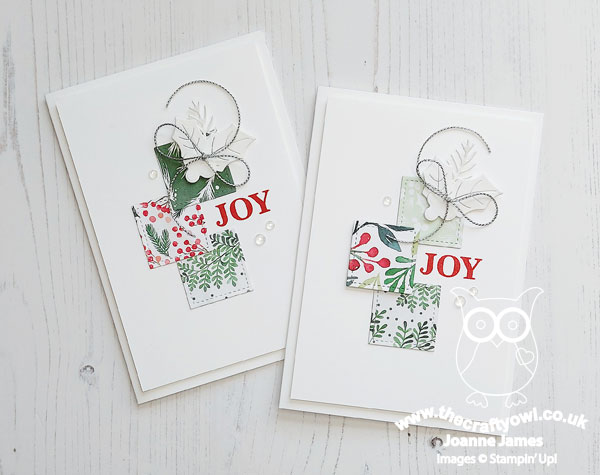
I liked this card and sketch so much, I made a second one too, this one with the centre square being the uppermost and popped up on dimensionals, rather than overlapped as per Cecile's original sketch:
I chose a couple of other prints too, with a little more pale green in the print pattern:
So what do you think? I love both of these cards and loved trying to channel my 'inner Cecile' to create my FMS entry this week!
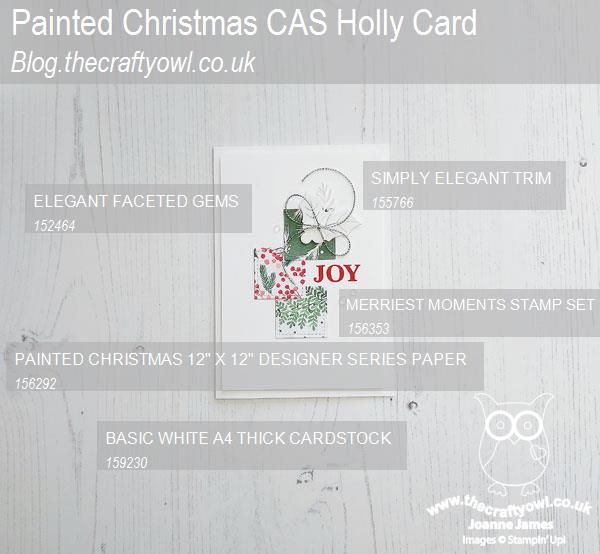
Here is the visual summary of the key products used on today's project for you to pin for easy reference:
You can see all of my 'How To' summaries on my 'How To - Tips and Techniques' Pinterest board in case you've missed any.
My day has been a topsy-turvy one, with plans upended and rejigged due to changes in school activities such that the restful day of crafting I had planned didn't quite materialise. No matter though - sometimes you have to roll with it and tomorrow may bring less upheaval; here's hoping! Enjoy the rest of your day and I'll be back tomorrow with another project. Until then, happy stampin'!
Stampin' Up! Supplies Used: