by Joanne James2. November 2023 21:30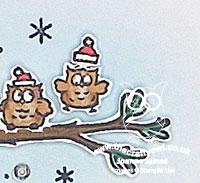
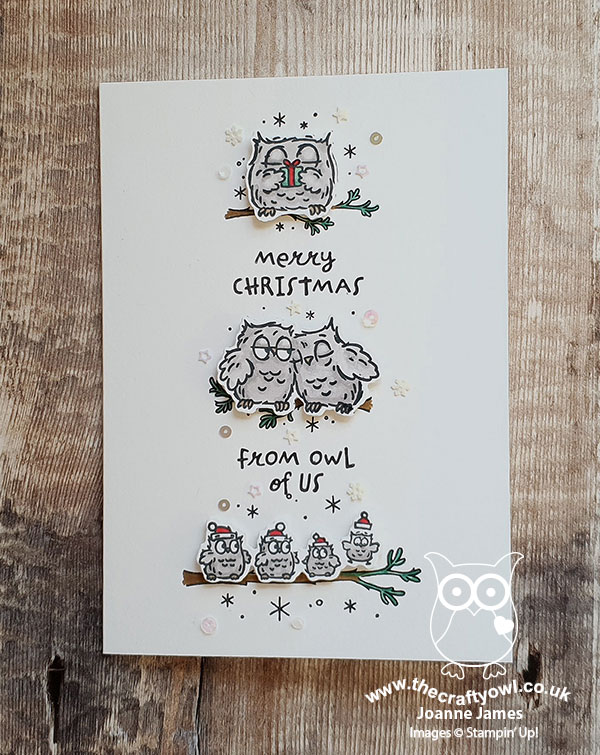
Today's post is a quick one to share a super clean and simple Christmas card for a few challenges that I wanted to play along with this week: at CAS on Friday we need to feature an animal and I also took the opportunity to play along with my friends over at Just Us Girls for what feels like the first time in ages (hello ladies!) as they are on 'CAS Week - use only the centre of your card' to make my annual card featuring the retired 'Have A Hoot' stamp set and this cute family of owls - take a look:

I stamped my image and added some blended Balmy Blue ink to the centre of my card base, then stamped the image a second time and coloured it with my Stampin' Blends. I then fussy cut the second image (I seem to have 'mislaid' my Peek A Hoot Dies since I last used them, which is rather unfortunate - I'm sure they must be here somewhere!) and popped it up on dimensionals:

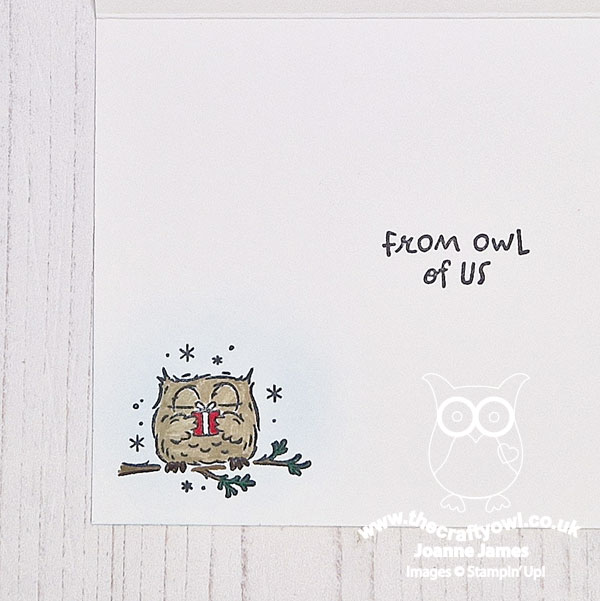
Isn't that little owl on the end of the branch, jumping for joy, just the sweetest?! A few clear rhinestones added a touch of festive sparkle to complete my clean and simple card - not forgetting the inside too:
Enjoy your day and I'll be back tomorrow with another project. Until then, happy stampin'!


by Joanne James16. October 2021 09:00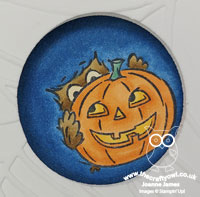
Today I'm sharing a clean and simple card for the current challenge over at Addicted to CAS where the code word is 'Spooky':


I'm also linking up with the ladies over at Retro Rubber where the theme is 'anything goes' and at SUO Challenges where the theme is Halloween too. Whilst digging around in my retired stamp collection the other week, since this is where most of my Halloween stamps are to be found, I remembered there were three different Halloween owls in last year's 'Have A Hoot' stamp set from September 2020 and decided to use it to try a really easy fun fold Peek-A-Boo style card that I had seen Jennifer McGuire make ages ago that I wanted to have a go at. Here's what the card looks like closed:
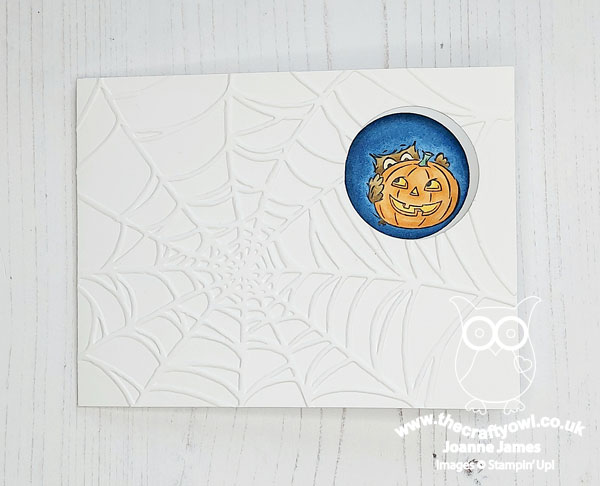
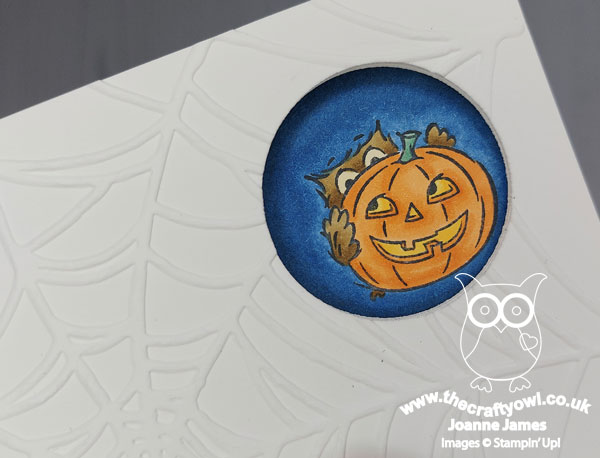
Then as you open the card, it reveals either another image or message - I went with a 'boo' courtesy of the owl hiding behind the pumpkin:

Perfect for the challenge over at Just Add Ink this week where they are all about moving parts too. Here's a short video clip so that you can actually see how the peek-a-boo mechanism works:
Isn't that fun?! I embossed the front of my card with my retired cobweb embossing folder to add to the spooky vibe; I'm hoping this doesn't take away too much from the CAS aspect of my card and my 'white space'. Here's a close-up of that mischievous owl:
No visual summary of the key products used on today's project since they are all retired; it was fun to take a trip into the retired box to create this super simple card to share with you today.
Enjoy your day; I'm off to the hockey pitch side lines! I'll be back tomorrow with my card for our new challenge at the Paper Players. Until then, happy stampin'!
Stampin' Up! Supplies Used:
- Have-A-Hoot stamp set (retired)
- Cobweb Embossing Folder (retired)
- Stampin' Blends - various
by Joanne James19. November 2020 09:31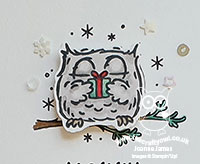
Thursday already - where does the week go?! Today I'm sharing a card that I meant to blog yesterday, but simply ran out of time! It uses this week's CAS(E) This Sketch layout and the current Colour Inkspiration colour palette:


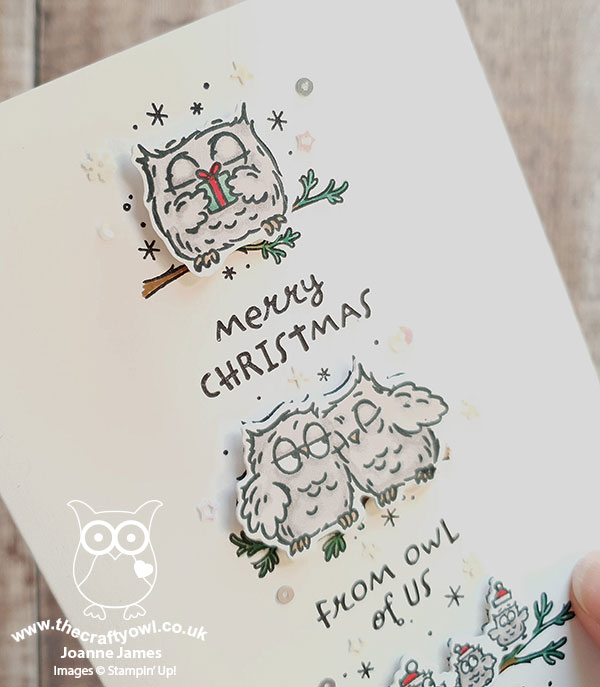
Firstly, I would like to say an big 'thank you' to the CAS(E) This Sketch team for choosing my entry last week as their winner - always an honour as the competition is stiff, with so many notable entries! If you missed it, you can see that card here. Now onto my card for this week! I thought long and hard about this sketch, especially because I couldn't come up with a design solely with words that I liked. I did come up with one non-Christmas idea that I am still playing around with, but as my challenge entry I decided to settle on creating the overall shape and mix some images in with my sentiments - after all, a sketch is for inspiration as a starting point, right? Take a look at what I came up with:
Here's the low-down on today's card:
I used the various festive owls in the 'Have A Hoot' stamp set and created my pyramid of owls and sentiments to follow the sketch layout. I used my Stamparatus to help with positioning and stamped the whole thing onto my card (minus the mistletoe above the pair) and then stamped the owls again and diecut them, so that I could pop them up on dimensionals. This was largely because my card is otherwise one layer, and I didn't want my Blends to bleed through to the reverse. I added a few snowflake sequins, and my card was complete - a #simplestamping Christmas card, save for the diecutting of the owls!
Here is the visual summary of the key products used on today's project for you to pin for easy reference:

You can see all of my 'How To' summaries on my 'How To - Tips and Techniques' Pinterest board in case you've missed any.
Enjoy your day and I'll be back tomorrow with another project. Until then, happy stampin'!
Stampin' Up! Supplies Used:
by Joanne James27. October 2020 08:00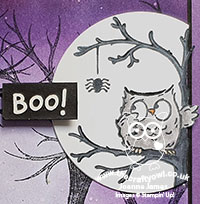
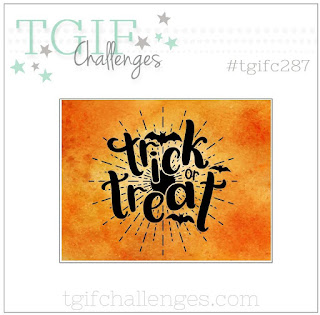
Today I'm sharing a card inspired by the photo inspiration over at Fusion that is also well timed for the last-minute Halloween crafting over at TGIF Challenges:
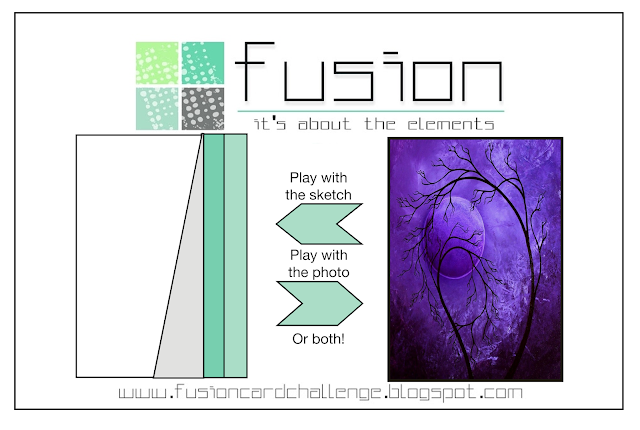
I couldn't get to grips with the angled line of the sketch, but I love that inspiration photo and whilst I don't really send Halloween cards, I wanted to get some use out of the Halloween owls in the 'Have A Hoot' stamp set so set to work:
Here's the low-down on today's card:
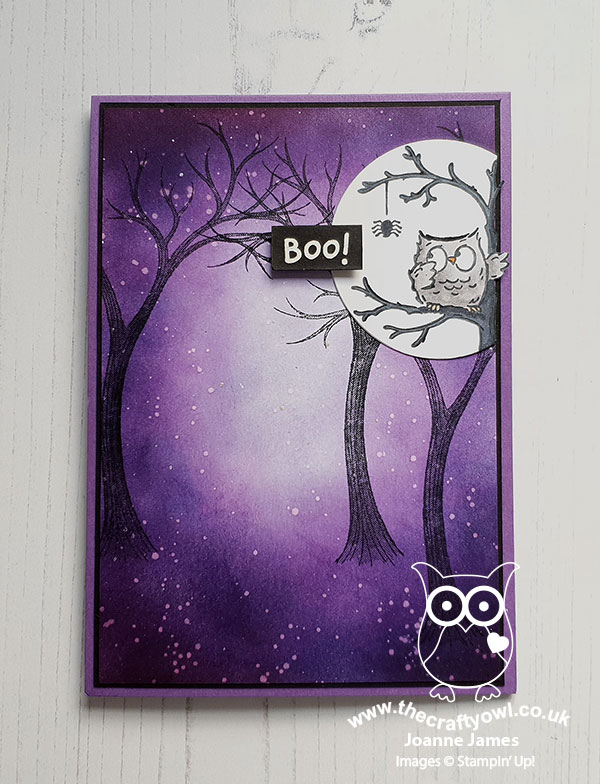
I decided to have a go at another sponged background, so took a variety of purple inks and gradually built up the layers to create my spooky night sky. I splattered it with water and then white frosted shimmer paint to complete. I used the tree from the 'Life is Beautiful' for my woods, stamping from both sides, then stamped my owl onto a partial circle and aligned the trees so that it looks as if the owl is in the trees, highlighted by the moon.
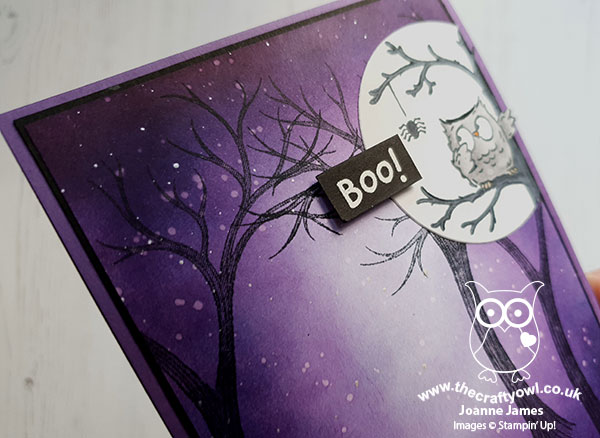
A heat embossed 'boo!' completes the outside of my card, with a further greeting on the inside:

So what do you think of today's card? Even if Halloween isn't your thing, I'd love to hear what you think of my sponged background.
Here is the visual summary of the key products used on today's project for you to pin for easy reference:
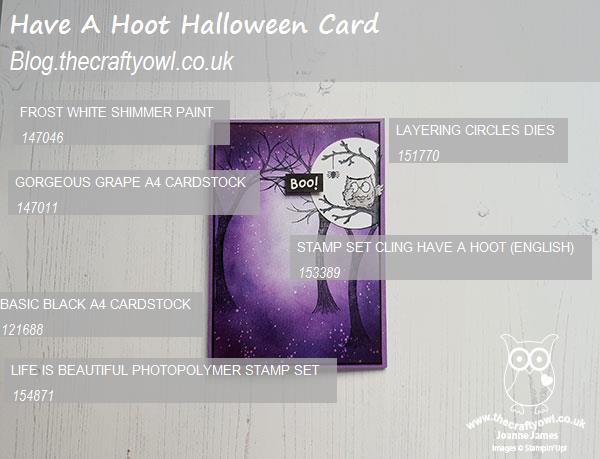
You can see all of my 'How To' summaries on my 'How To - Tips and Techniques' Pinterest board in case you've missed any.
Enjoy your day and I'll be back tomorrow with another project. Until then, happy stampin'!
Stampin' Up! Supplies Used:
by Joanne James25. August 2020 08:00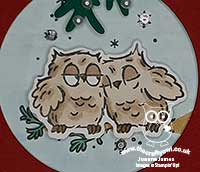
Today I'm sharing a card for this week's Inspired By challenge where it's all about the punny sentiment:


I love a good punny sentiment and a quick perusal of current stamp sets and I knew exactly where I was headed. I used the sketch layout this week too - take a look:
Here's the low-down on today's card:
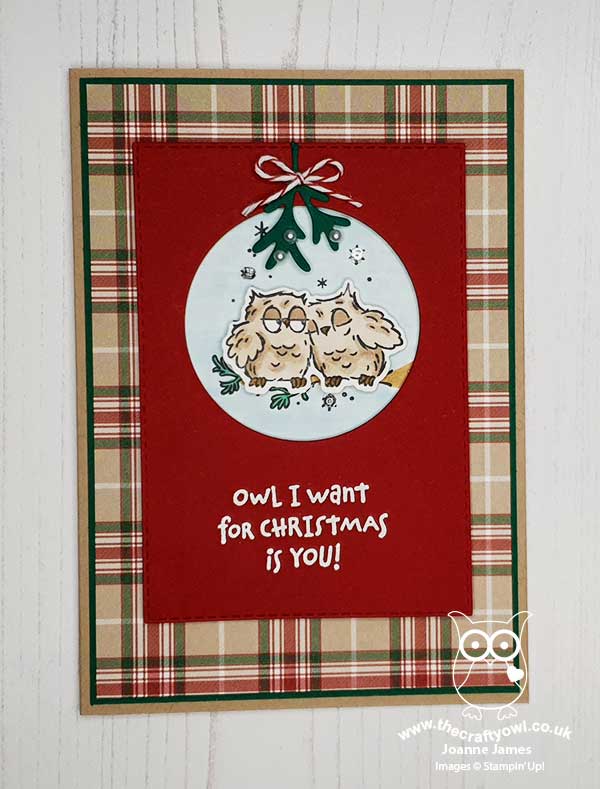
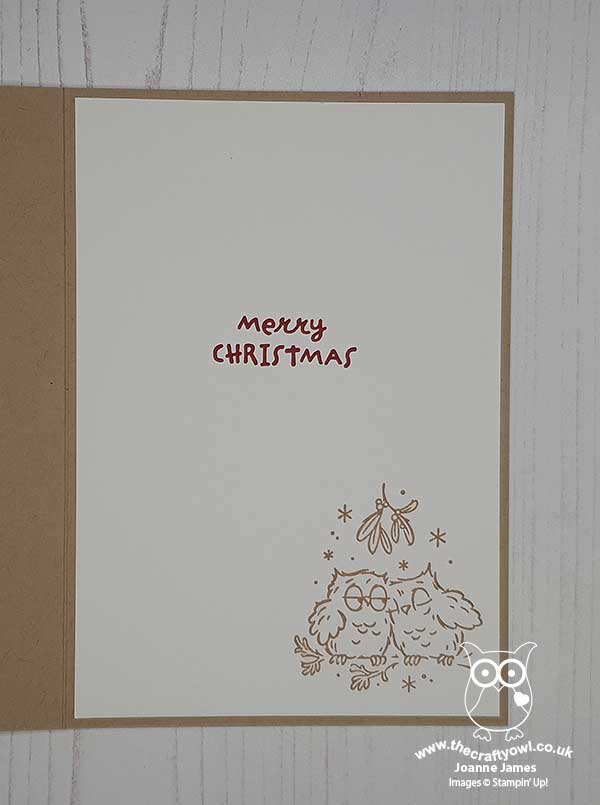
Have A Hoot - Yes, this adorable pair of loved-up owls and that festive punny sentiment 'owl I want for Christmas is you!' were a perfect fit for the challenge! I coloured my little scene with Blends and diecut my feathered friends and popped them up on dimensionals for a little lift, within their framed circle. I also added a little simple stamped detail inside my card:
Plaid Tidings - The colour scheme for my card was inspired by one of the many lovely patterns in the Plaid Tidings set, with a combination of Crumb Cake, Shaded Spruce, Cherry Cobbler and Whisper White. I used each of the colours in my layers, finishing with the Cherry Cobbler top panel for a festive touch.
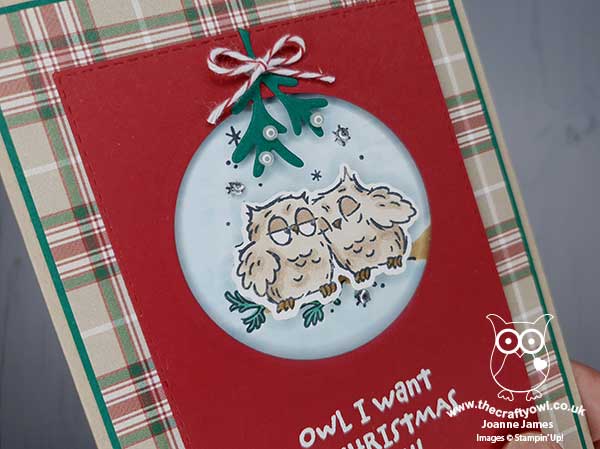
It's All In The Details - I added a sprig of mistletoe, complete with pearl berries and tied with some retired baker's twine, to the top of my window, perfectly positioned above my owls, and I also added some small rhinestones to the snowflakes for a little festive sparkle:
I'm also sharing today's card over at Christmas Kickstart where the challenge is 'Christmas Birds' - in truth, I'm not sure whether an owl constitutes a Christmas bird but these two are definitely set for Christmas so hopefully the ladies over there will appreciate it!
Here is the visual summary of the key products used on today's project for you to pin for easy reference:
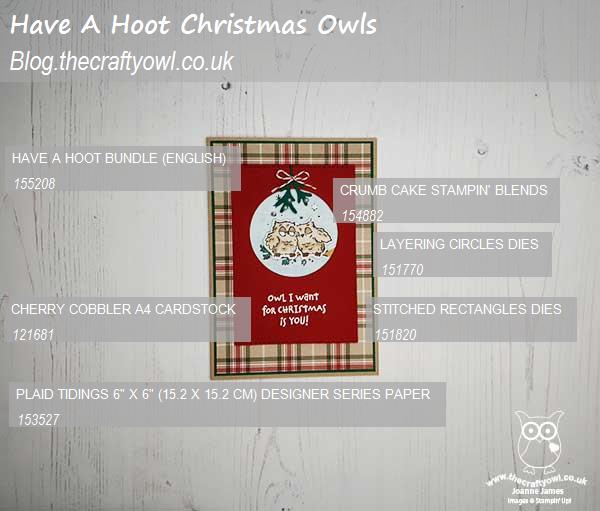
You can see all of my 'How To' summaries on my 'How To - Tips and Techniques' Pinterest board in case you've missed any.
Enjoy your day and I'll be back tomorrow with another project. Until then, happy stampin'!
Stampin' Up! Supplies Used:
by Joanne James18. July 2020 18:00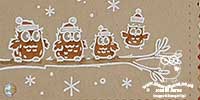
A late post from me today as we've been busy cycling and enjoying a dinner of homemade pizzas in our new pizza oven! I'm sharing a card using this gorgeous colour palette over at Colour Inkspiration and the current Paper Craft Crew sketch:


Whilst that lovely colour palette would work really well for an autumnal card, following my Autumn-Winter pre-order unboxing live session online this week, I couldn't resist making my first Christmas card with my new supplies - take a look:

Here's the low-down on today's card:
Have A Hoot - The cute little owls on today's card are courtesy of a new stamp set called 'Have A Hoot' - aren't they just the cutest?! I heat embossed them in white onto Crumb Cake to highlight the little snowflakes and coloured the owls with my Blends. Check out the punny sentiment too!
So Many Snowflakes - I stamped some background snowflakes tone-on-tone onto my Real Red card base and added a diecut snowflake in (retired) white glimmer paper and cut with my new So Many Snowflakes dies as an accent. I also added a sprinkle of snowflake sequins for a little sparkle.
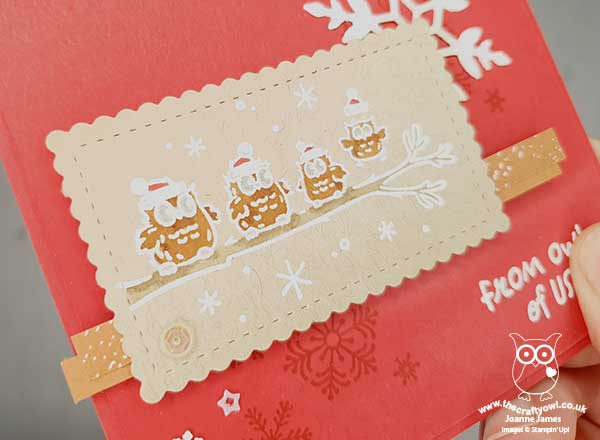
Stitched So Sweetly - My stitched scalloped panel is courtesy of the Stitched So Sweetly dies; I added a couple of strips of Cinnamon Cider cardstock and DSP behind just to highlight the colour and anchor the panel - here's a close up:
Here is the visual summary of the key products used on today's project for you to pin for easy reference:
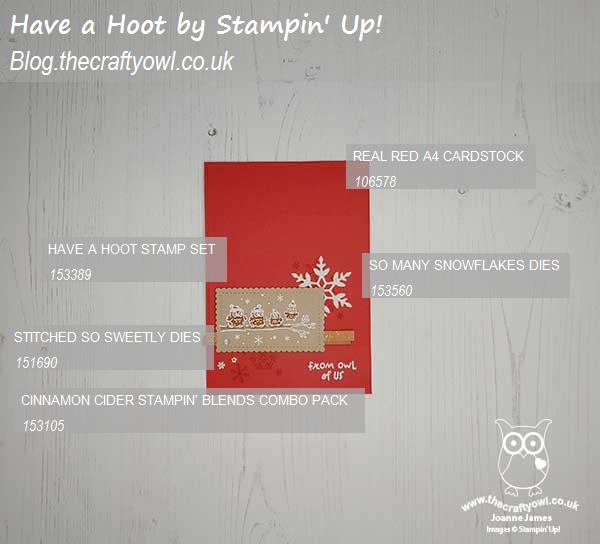
You can see all of my 'How To' summaries on my 'How To - Tips and Techniques' Pinterest board in case you've missed any.
Enjoy your evening and I'll be back tomorrow with another project. Until then, happy stampin'!
Stampin' Up! Supplies Used: