
It's Sunday and time for a new challenge over at The Paper Players! It's my turn to host this week and I have a great sketch for you to work with:
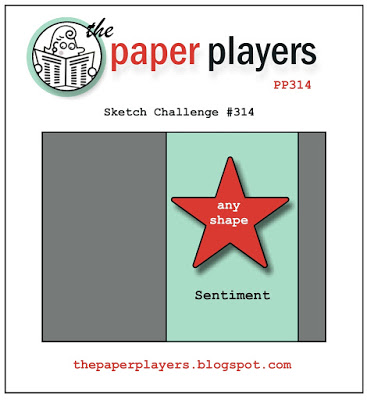
This is one of my 'go to' layouts; I used it most recently on this card here. It works for so many designs. I decided today to use one of the cute little mice from the 'Merry Mice' set. Here's my card:
Here's the low-down on today's card:
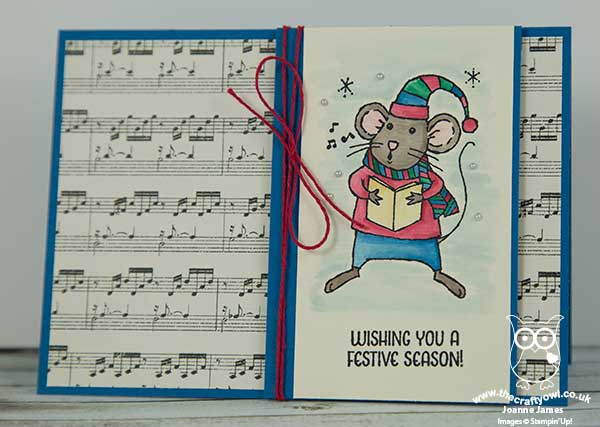
Merry Mouse - I featured the carol-singing mouse from the 'Merry Mice' set on my panel. I stamped him on Very Vanilla in Archival black ink and coloured him with inks and my aquapainter. I added a few pearl snowflakes and stamped my sentiment directly onto the panel just below.
Music This Christmas - For my background panel, I used the music paper from the This Christmas Specialty Designer Series Paper. This is one of the great reverse patterns in this pack, that works for Christmas but will also come in handy for other cards too. This is the perfect background to compliment my festive carol singer.
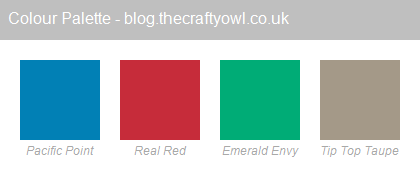
Primary Colours - I chose to use Pacific Point for my card and panel base today, along with some Real Red baker's twine and a little Emerald Envy green too with my Tip Top Taupe mouse. The blue is not a colour that I normally use on a Christmas card, but I think it works. Feel free to save this colour combination if it appeals to you too:
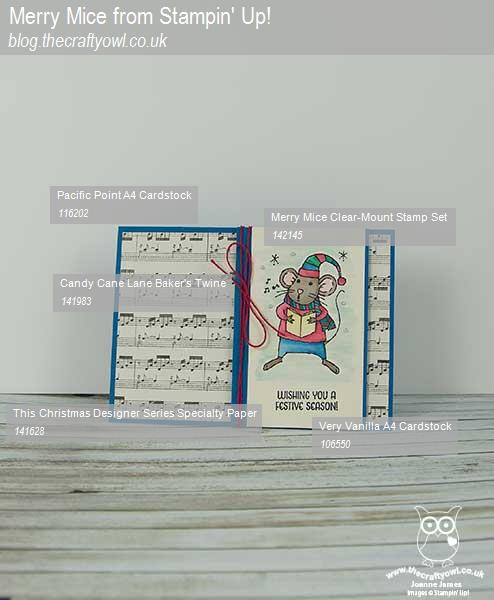
Here is the visual summary of the key products used on today's project for you to pin for easy reference:
You can see all of my 'How To' summaries on my 'How To - Tips and Techniques' Pinterest board in case you've missed any.
This is one of those sweet little cards that you could stamp a whole bunch of then colour in at your leisure - produce a whole bunch of Christmas cards and get some relaxation therapy into the bargain! I actually created a second version of this card too which is quite different that I will share with you tomorrow.
Before you reach for your ink and papers, check out what our amazing team has created to inspire you this week - their cards are varied and awesome:
The Paper Players Design Team
Here's a quick recap of our challenge rules:
1. Create a new paper project
2. Upload your creation to your blog with a link back to us and provide a direct link to the post featuring your challenge submission.
3. Please link your card to no more than four challenges, TOTAL.
4. Have FUN!
I look forward to seeing what you create with this week's sketch. We are off to basketball today and have plans for an otherwise restful day before the busy week ahead. Enjoy your Sunday - I'll be back tomorrow with another project; until then, happy stampin'!
Stampin' Up! Supplies Used: