There are lots of Christmas In July challenges about at the moment so I thought I would combine a couple and squeeze in an extra post today and share a couple of sneak peeks from the upcoming Autumn-Winter Catalogue with you in the process:


The team over at The Spot are looking for any kind of Christmas card creation and The Card Concept has a great inspiration photo that lead me to take my inspiration from one of the presents under the tree (front row, second from the right) to create a card and a matching gift card holder using some fun new products - take a look:
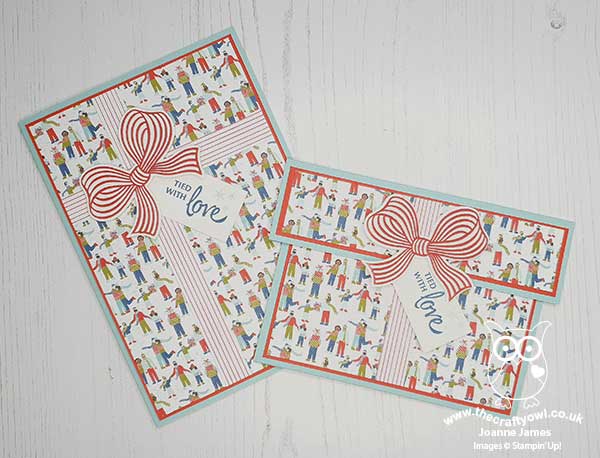
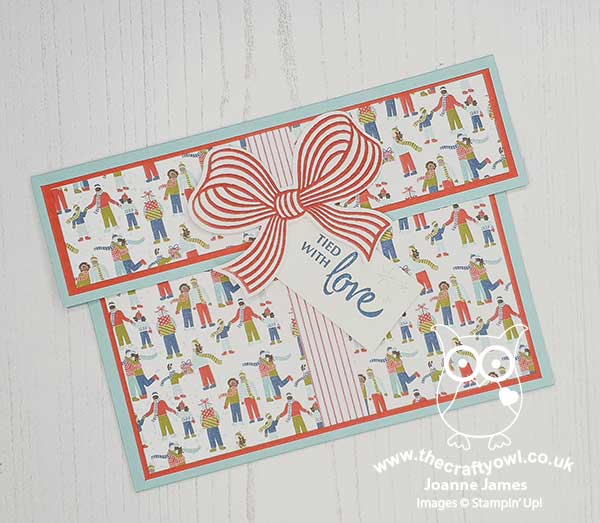
Here's the low-down on today's card firstly:
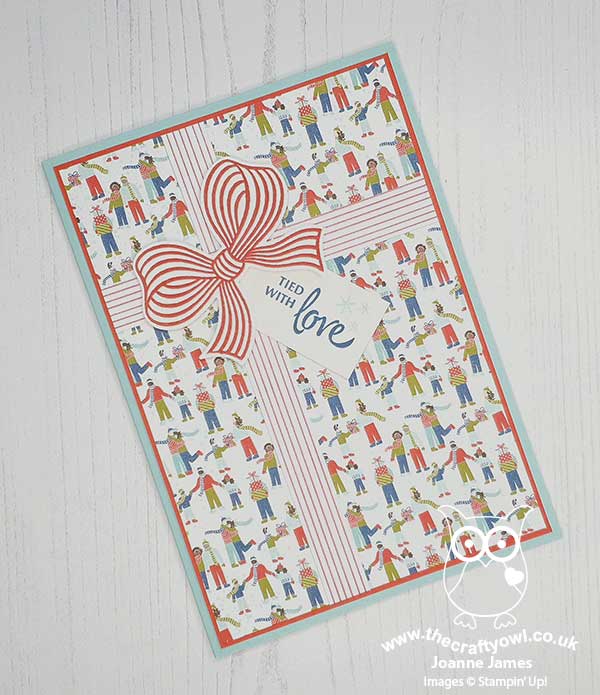
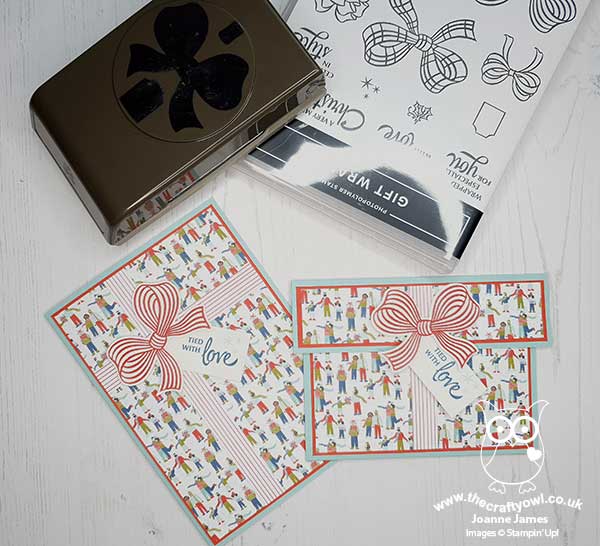
Trimming The Town - The designer series paper that covers the front of my card is from a new pack called 'Trimming The Town' - a pack full of contemporary designs featuring cosy villages and winter scenes. Some are really large and some really small and detailed, like the fun design I used to mimic wrapping paper on my gift parcel card.
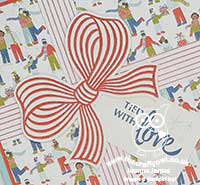
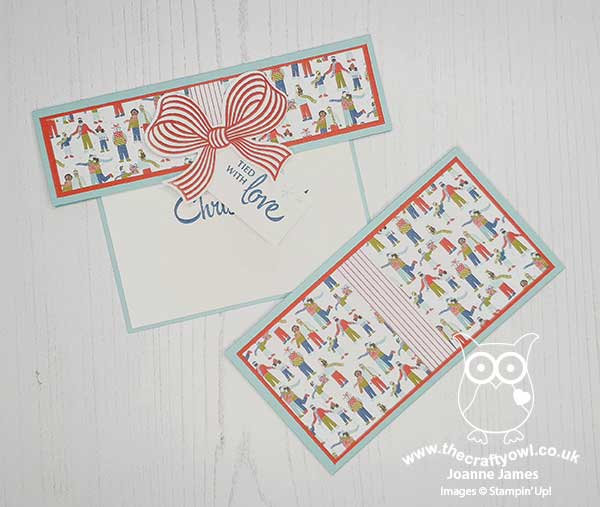
Gift Wrapped Bow (And A Trick) - My bow comes from a new stamp set called 'Gift Wrapped' and is stamped in Real Red on Whisper White cardstock and punched out with the new co-ordinating Gift Bow Builder Punch. I added a handcut tag and some 'ribbon' too - and therein lies the trick! I actually used a current DSP for the ribbon strips that co-ordinate with my bow; can you tell which one? It's actually the reverse of one of the patterns in the Playful Pets DSP pack - isn't that a great shortcut? I added a little more stamping on the inside of my card too:

Gift Card Holder - I thought my gift-inspired card would be great to go with a co-ordinating gift-card holder too - I always need a few of these at Christmas time:
I can't take the credit for the design; it's based on one designed by the talented Erica Cerwin of Pink Buckaroo Designs (you can see the measurements for her original project on her blog here). It's a great little make, where the lid pulls out of a sleeve and you can add a message and your chosen gift card:
I think these make a cute pair of projects and are a great start to my Christmas crafting. I'm slowly but surely increasing my Christmas crafting - it always seems harder to do when the sun is shining outside though!
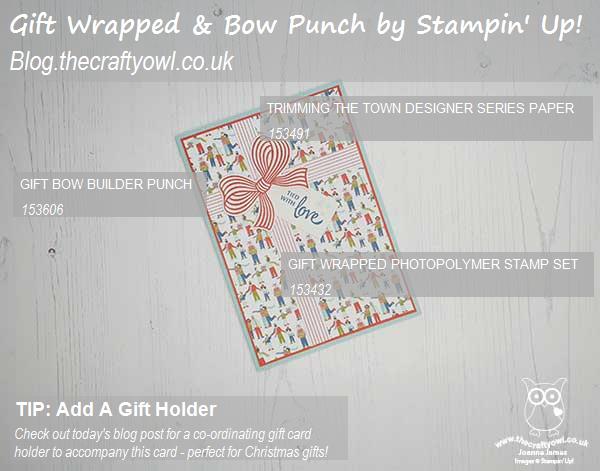
Here is the visual summary of the key products used on today's project for you to pin for easy reference:
You can see all of my 'How To' summaries on my 'How To - Tips and Techniques' Pinterest board in case you've missed any.
Enjoy your day and I'll be back tomorrow with another project. Until then, happy stampin'!
Stampin' Up! Supplies Used:
To be updated 4th August.