by Joanne James15. March 2022 12:00
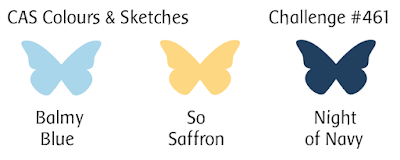
It's Tuesday and time for a new challenge over at CAS Colours & Sketches. Jeanne is hosting this month and this week it's a colour challenge:
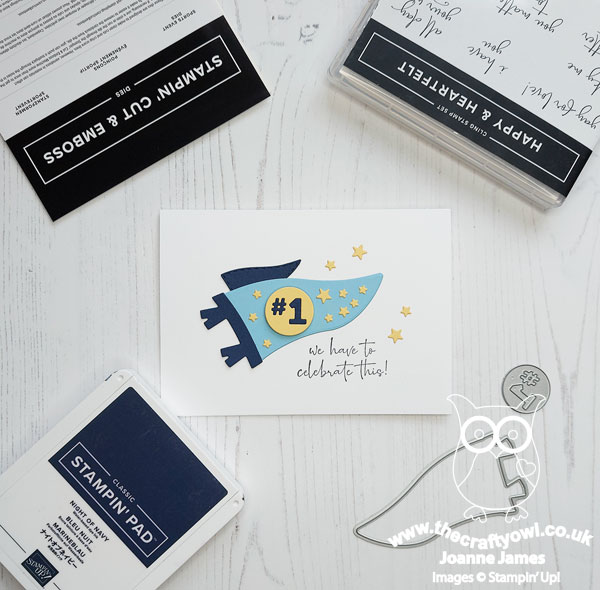
I don't know why but these colours really threw me for a loop this week! I spent an age working out how best to use them together on a clean and simple card. In the end I decided to grab some new and as yet unused dies from my shelf and this is what I came up with:

Here's the low-down on today's card:
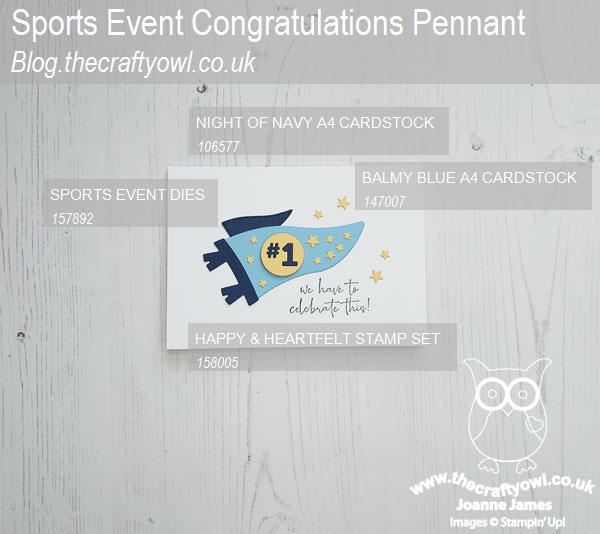
Today's card features the new Sporting Event Dies. I actually bought these because there are some great ticket dies in the set, although as I was looking at them I thought I could layer them to make a simple pennant. I added some stars (another useful die in this set) and a diecut #1 button that I popped up on dimensionals:

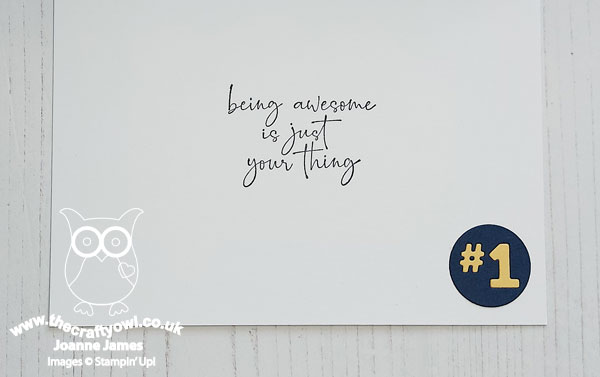
I added a fun sentiment from 'Happy & Heartfelt' and paired that with another one on the inside, along with a reverse button using the leftover pieces from the front of my card:
This will come in useful when the youngest of the James Juniors (hopefully!) passes his next piano exam. I'm hoping that it might encourage continued practice and playing too, but I won't hold my breath on that front! Despite the challenge of these colours, I've decided I quite like this colour combo. The rest of the team have made some fabulous cards with it so be sure to check them out!
Here is the visual summary of the key products used on today's project for you to pin for easy reference:
You can see all of my 'How To' summaries on my 'How To - Tips and Techniques' Pinterest board in case you've missed any.
As a reminder, for our colour challenges, you must use all of the stated challenge colours. You may also use neutral colours; however, the challenge colours should be the most noticeable ones featured on your card. We use Stampin' Up! color names for reference, but you are welcome to use any other companies' products as long as you match the challenge colours as closely as possible.
Enjoy your day and I'll be back tomorrow with another project. Until then, happy stampin'!
Stampin' Up! Supplies Used:
by Joanne James8. March 2022 13:00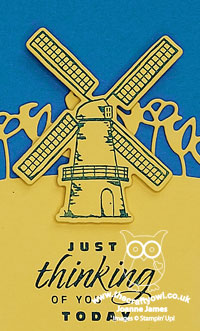
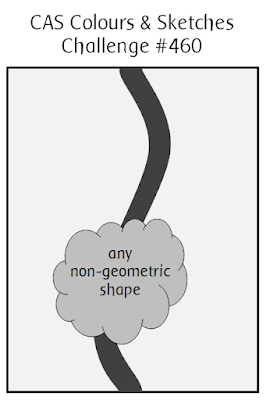
It's Tuesday and time for a new challenge over at CAS Colours & Sketches. This week's challenge is a sketch challenge and Jeanne has asked that we use a curve and non-geometrical shape in our designs.
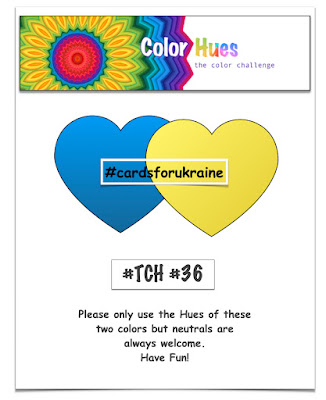
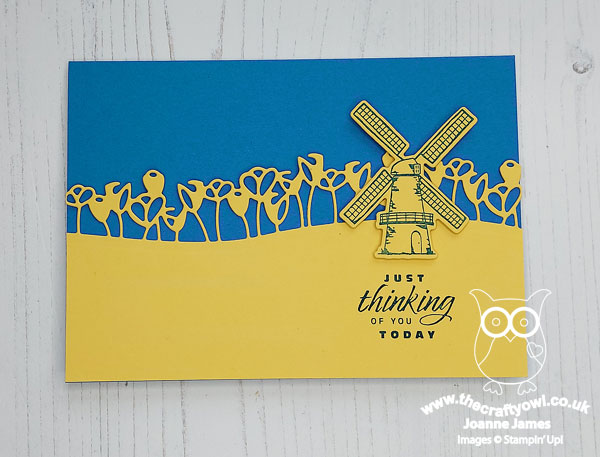
Feel free to flip or rotate the sketch when making your card. i did just that today and rotated the sketch through 90 degrees to create a landscape card. If you are a card maker you will undoubtedly have seen the flood of blue and yellow cards in support of #cardsforukraine. The lovely peeps over at Color Hues are having a double challenge in honour of this and are also featuring the colours of the Ukranian national flag in a bonus colour combo for this challenge, so I decided it was time for me to show my support and play along. The sunflower is the national flower of Ukraine and whilst I have one of those cards in the pipeline to share with you in another post, for today's challenge I decided to use the row of tulips in the Tulips Dies set for that wiggly line - take a look:
Here's the low-down on today's card:
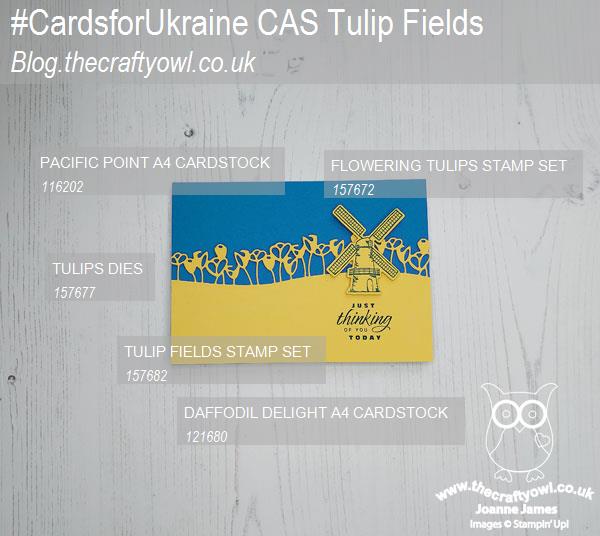
This card really is super simple to execute - the effort here was in the planning! A Pacific Point card base, then overlaid a panel of Daffodil Delight for the diecut tulips. I chose to feature a stamped windmill as my non-geometrical shape and stamped it in Pacific Point onto Daffodil Delight, stamping the sentiment from the Flowering Tulips set below it - the words seemed appropriate in the circumstances as the people of Ukraine are most definitely in our thoughts.
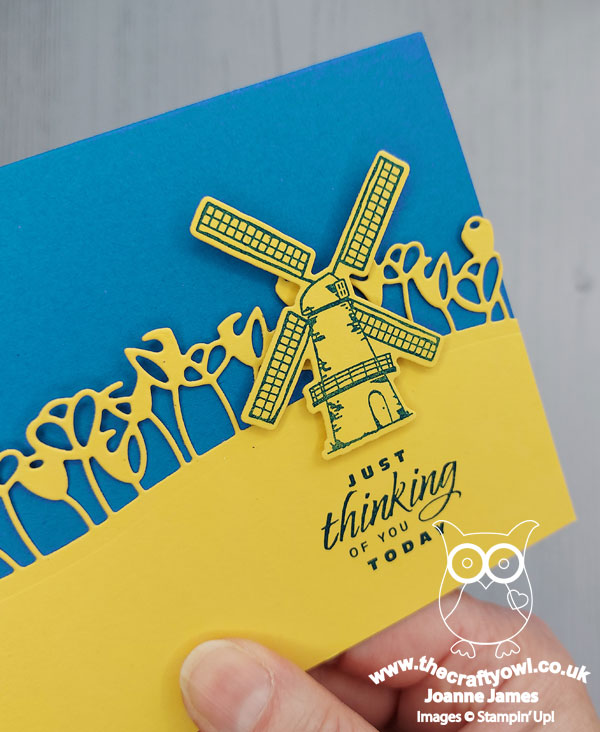
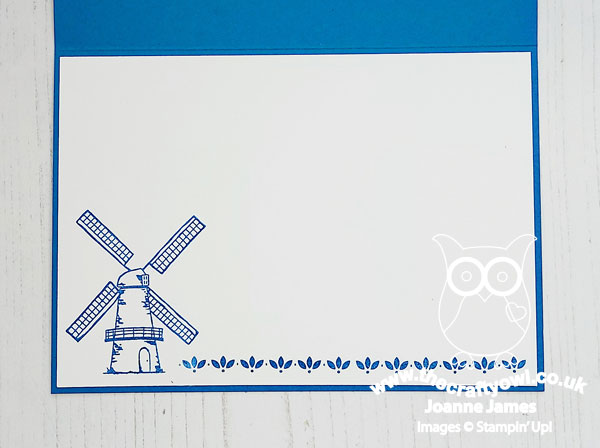
This card is all about the bold blocks of just two colours; it is unusual for there to be no white at all on this card, but having tried a few different things the blue-on-yellow windmill was definitely the way to go - the windmill is much more a part of the landscape and it emulates the horizontal lines of the Ukrainian flag. The only white was for my stamped panel on the inside of my card:
Do you ever use blocks of colour in this way in your crafting? Bold blocks of colour can have a big impact and by avoiding clutter that clean-and-simple feel and 'white space' is preserved.
Here is the visual summary of the key products used on today's project for you to pin for easy reference:
You can see all of my 'How To' summaries on my 'How To - Tips and Techniques' Pinterest board in case you've missed any.
As a reminder, for our colour challenges, you must use all of the stated challenge colours. You may also use neutral colours; however, the challenge colours should be the most noticeable ones featured on your card. We use Stampin' Up! color names for reference, but you are welcome to use any other companies' products as long as you match the challenge colours as closely as possible.
Enjoy your day and I'll be back tomorrow with another project. Until then, happy stampin'!
Stampin' Up! Supplies Used:
e79c0ee5-1345-4f32-8f52-2524ded00f50|0|.0|96d5b379-7e1d-4dac-a6ba-1e50db561b04
Tags: Stampin' Up, Stampin' Up Card, Stampin' Up Card ideas, Stampin' Up Supplies, Shop online, Shop Stampin' Up online, Shop Stampin' Up! Online, CAS Colours and Sketches, Flowering Tulips, Tulip Fields, Tulip Dies, Colour Blocking
Cards | Shop Online | Shop Stampin' Up! Online | Stamping
by Joanne James1. March 2022 13:00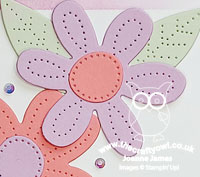
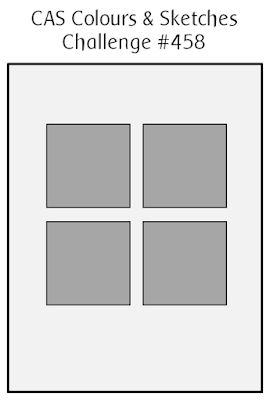
It's Tuesday and time for a new challenge over at CAS Colours & Sketches. It's the first of March and a new month means a new hostess! Jeanne is hosting this month and our first challenge is a colour challenge:
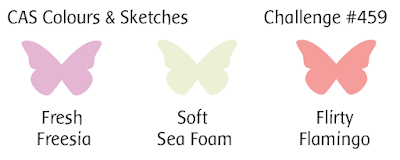
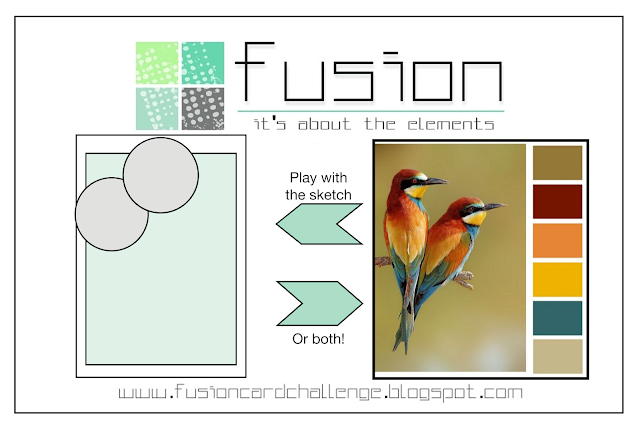

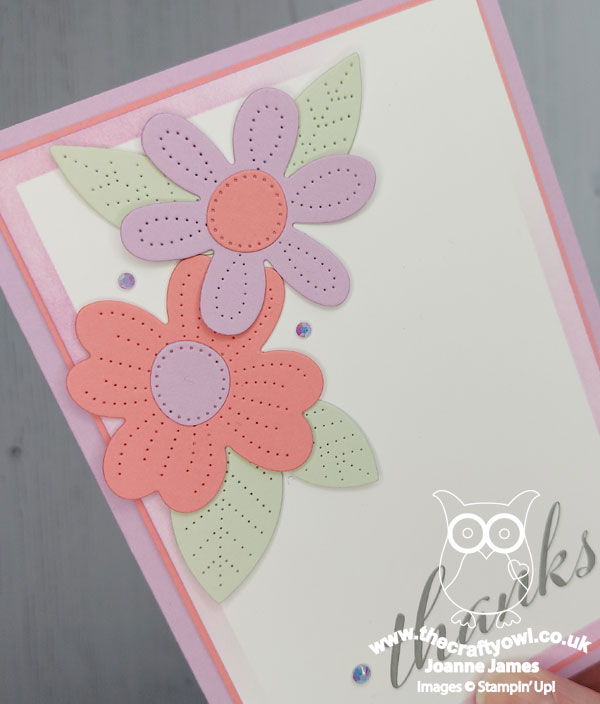
Since it's the first of March and St David's Day I feel like I should be using daffodils on my card, but Jeanne's colour choices don't really lend themselves to my national flower! Instead my card today features some pierced blooms and uses the sketch layout over at Fusion:
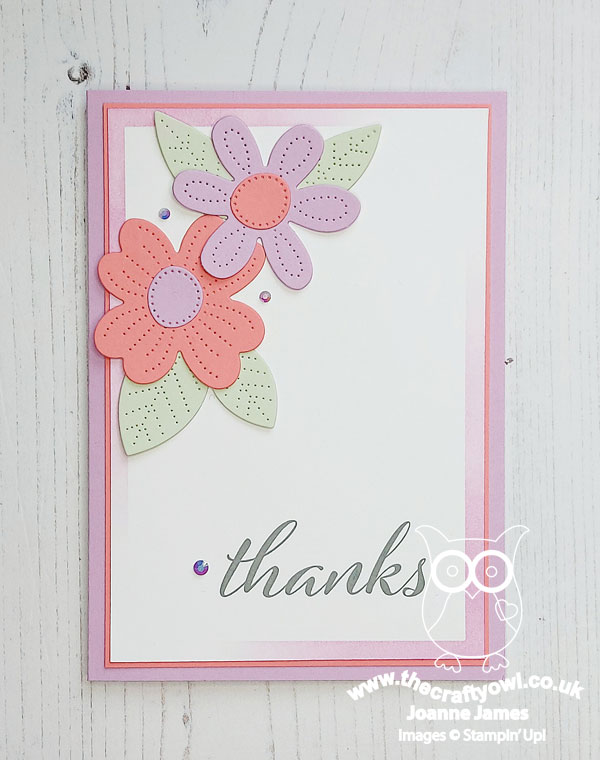
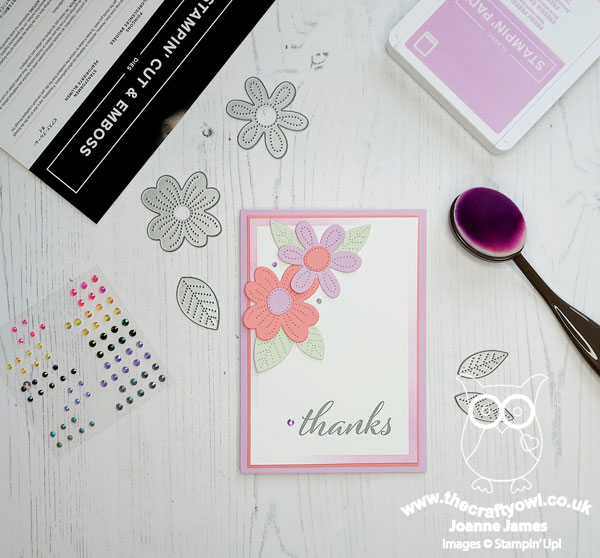
I used all three colours for my duo of diecut blooms and added them to a simple layered background. A 'thanks' sentiment from 'Artistically Inked' and a trio of Fresh Freesia rhinestones complete today's card and goes across the centre middle row of the Paper Craft Crew TicTacToe board too.
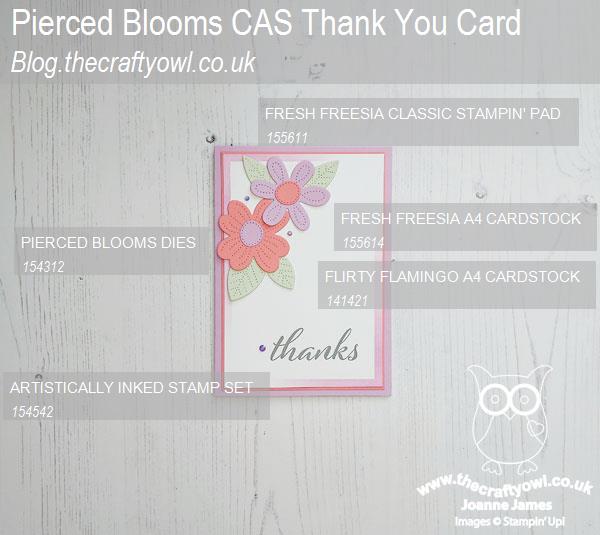
Here is the visual summary of the key products used on today's project for you to pin for easy reference:
You can see all of my 'How To' summaries on my 'How To - Tips and Techniques' Pinterest board in case you've missed any.
As a reminder, for our colour challenges, you must use all of the stated challenge colours. You may also use neutral colours; however, the challenge colours should be the most noticeable ones featured on your card. We use Stampin' Up! color names for reference, but you are welcome to use any other companies' products as long as you match the challenge colours as closely as possible.
Enjoy your day and I'll be back tomorrow with another project. Until then, happy stampin'!
Stampin' Up! Supplies Used:
by Joanne James22. February 2022 13:00
It's Tuesday and time for a new challenge over at CAS Colours & Sketches. This is the final challenge this month and YoonYoung is ending her hostess duties in style with this great sketch for us:
Feel free to flip or rotate the sketch when making your card. I combined today's card with my entries for the current challenges over at Addicted to CAS where the codeword is 'snowflake' and the lovely ladies over at The Alphabet Challenge Blog where Melanie has chosen 'W is for Winter'. The recent storms we've had here in the UK with wind, sleet and rain definitely had me thinking about the weather and although we have yet to get a proper snowfall here so far this winter I decided YoonYoung's sketch would be the perfect opportunity to add one to my card - take a look:
Here's the low-down on today's card:
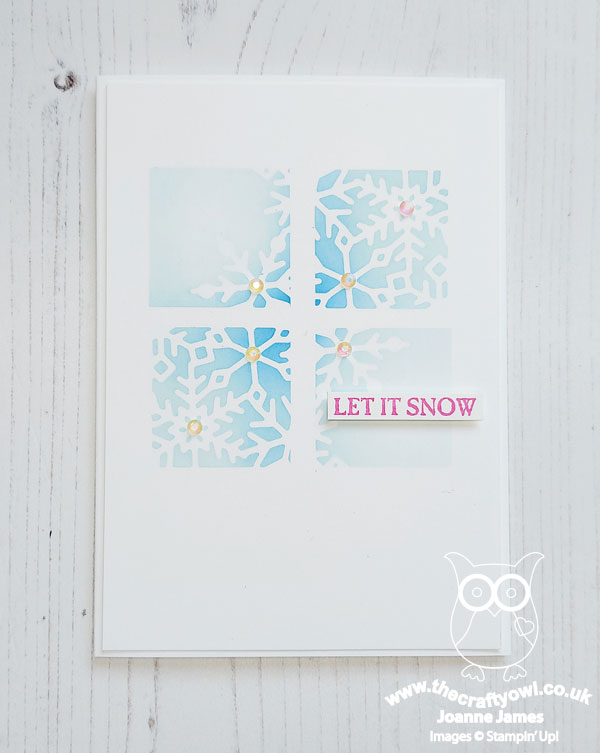
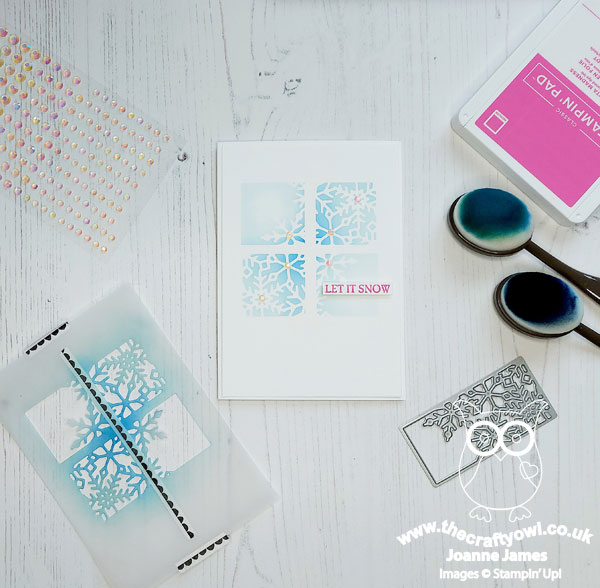
Following on from my experiment of using dies as stencils last week (you can see my first example of this in last week's post here), I decided to have another go at this technique. YoonYoung's sketch made me think of a window and I was inspired by the beautiful stencilled snowflakes on Jaydee's ATCAS card, so I took the snowflake die from the now retired giving Gifts Dies from last season and created a stencil by cutting the twice and then masking a central column using some washi tape to create my four quadrants (you can see my mask on the photo further down this post).
I then used a combination of Balmy Blue and Pacific Point inks with my blending brushes to add ink to my card, concentrating the darker colour across the diagonal and fading to the outer corners. Similarly inspired by Vicky's beautiful stencilled snowflake creation over at ATCAS where she used a contrasting bright orange for her sentiment, I decided to use bright pink and used a simple sentiment from the retired 'Sparkly Seasons' set for a pop of contrasting colour:
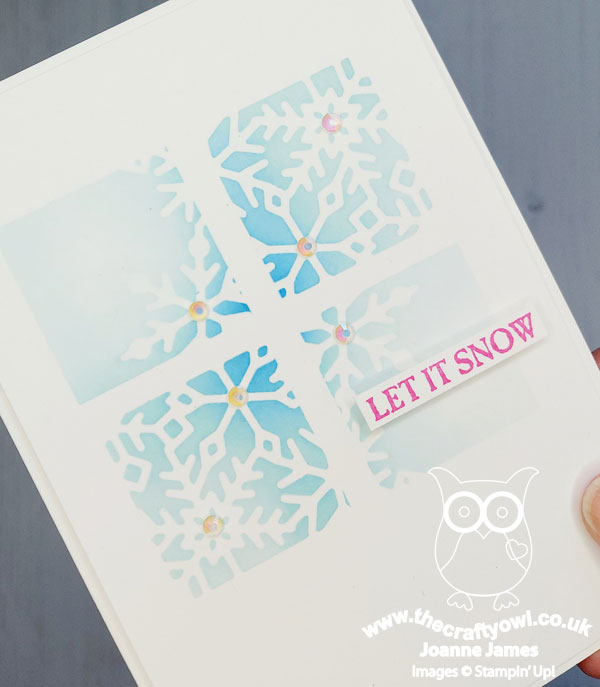
I also added some iridescent rhinestones to the centre of some of the snowflakes for a touch of subtle sparkle - I love the way they take on a slightly pink hue to compliment the sentiment too.
I didn't add a sentiment to the inside of my card as I haven't decided whether to use it as a Christmas card or just send as a festive winter notecard and write a note inside.
The James Juniors have been wishing for snow since the wintry weather arrived in October; anything for a day off school, or so they thought. Rebecca was most perplexed when we received a letter home from school recently stating that the plan should we be subject to inclement weather from this point onwards would no longer involve a day off; instead all learning would simply move online. Covid clearly has a lot to answer for - it would seem that improved use of technologies is not always welcome, for the pupils at least!!
Enjoy your day and I'll be back tomorrow with another project. Until then, happy stampin'!
Stampin' Up! Supplies Used:
7d959c9f-03b7-4a1c-9b58-87331ab2d1f8|0|.0|96d5b379-7e1d-4dac-a6ba-1e50db561b04
Tags: Stampin' Up, Stampin' Up Card, Stampin' Up Card ideas, Stampin' Up Supplies, Shop online, Shop Stampin' Up online, Shop Stampin' Up! Online, CAS Colours and Sketches, Giving Gifts Dies, Sparkly Season, Stencilling
Cards | Shop Online | Shop Stampin' Up! Online | Stamping
by Joanne James15. February 2022 13:00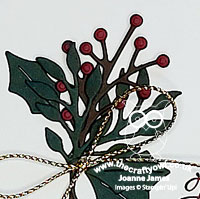
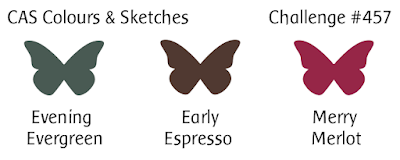
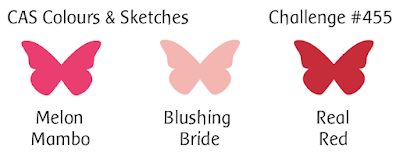
It's Tuesday and time for a new challenge over at CAS Colours & Sketches. YoonYoung is hosting this month and our challenge this week is a colour challenge:
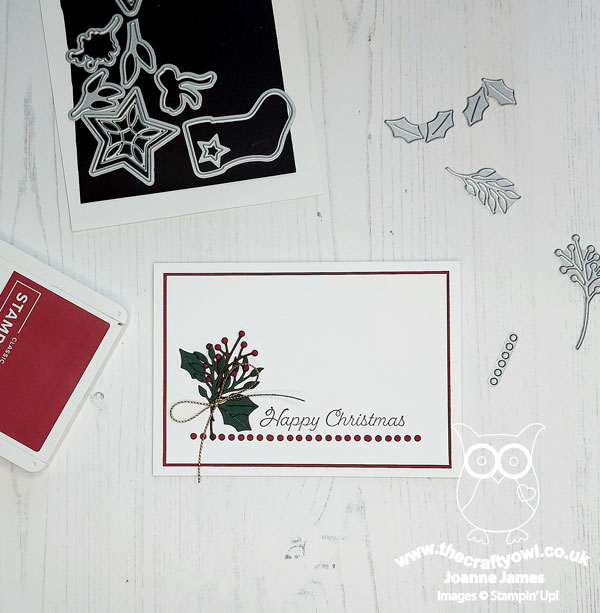
I struggled with this week's colours - they were a little dark for me to get my head around. After much to-ing and fro-ing, I decided they would work for Christmas so settled on a simple cluster of festive foliage cut with the Christmas Trimmings Dies and tied with a simple gold twine bow:

I added a sentiment from a retired Christmas set and then grounded this with some diecut detailing below:

If you'd like to know more about how I created the diecut border detail, then checkout the Tuesday Tip in my 'Crafty Owl Creatives' Facebook Group - if you're not already a member, you can join here. Despite my struggles, I actually quite like the finished card. I'm looking forward to see what you all create with these colours this week!
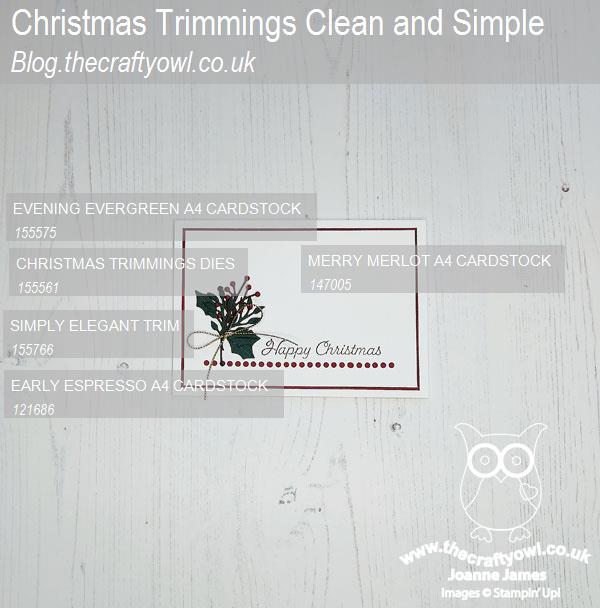
Here is the visual summary of the key products used on today's project for you to pin for easy reference:
You can see all of my 'How To' summaries on my 'How To - Tips and Techniques' Pinterest board in case you've missed any.
As a reminder, for our colour challenges, you must use all of the stated challenge colours. You may also use neutral colours; however, the challenge colours should be the most noticeable ones featured on your card. We use Stampin' Up! color names for reference, but you are welcome to use any other companies' products as long as you match the challenge colours as closely as possible.
Enjoy your day and I'll be back tomorrow with another project. Until then, happy stampin'!
Stampin' Up! Supplies Used:
by Joanne James8. February 2022 13:00
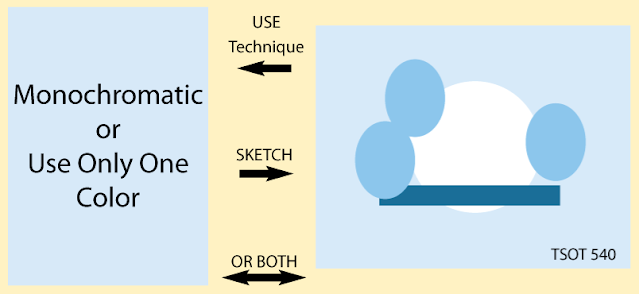
It's Tuesday and time for a new challenge over at CAS Colours & Sketches. This week's challenge is a sketch challenge and YoonYoung has asked that we include a trio of shapes towards the bottom of our panel and overlay with a sentiment. Feel free to flip or rotate the sketch when making your card.

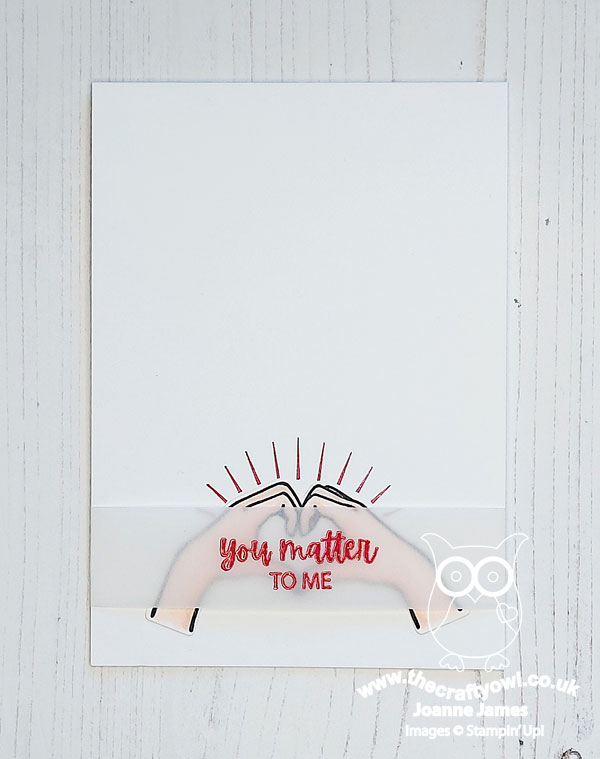
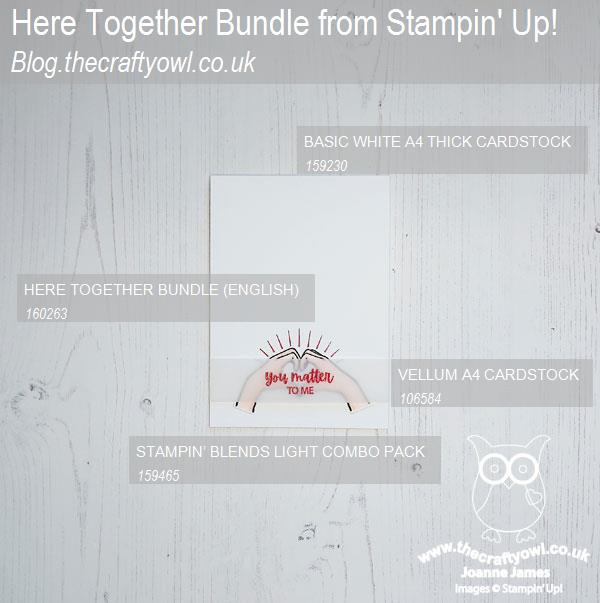
For my card today I thought I'd get a little practice using my new skin tone Blends and feature the 'heart hands' from the 'Here Together' stamp set - take a look:
Here's the low-down on today's card:
I stamped and coloured my hands with SU900 and SU1000 Stampin' Blends and diecut them using my Here For you Dies, adding an arch of colour to my white cardbase before adhering them to my card. I stamped my sentiment in Versamark onto vellum and heat embossed it in (retired) Lovely Lipstick embossing powder, before wrapping this around the hands on my card and adhering on the reverse of the panel.
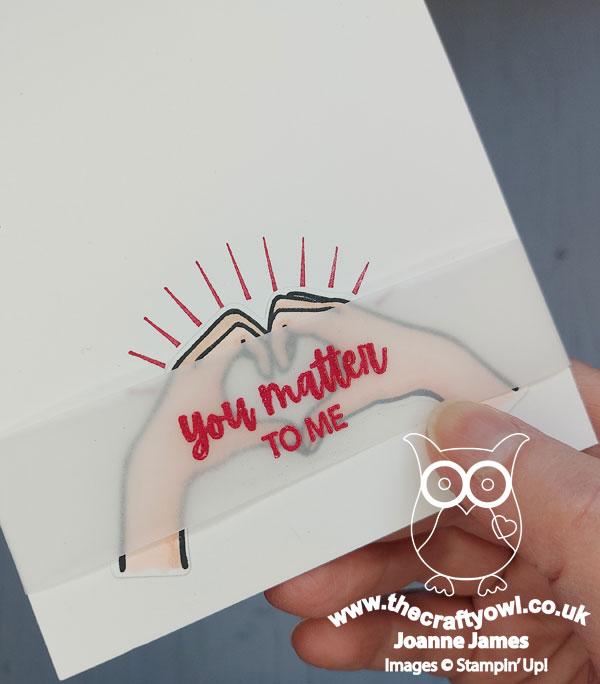
My card is a rather creative take on this week's sketch, with the hands representing the two outer shapes and the heart that they make the smaller central one. A vellum strip for my sentiment allows the hands and heart to remain visible, whilst also adding a pop of colour from the sentiment itself. By keeping the design to the lower portion of the card is a great way to preserve 'white space' and a clean, uncluttered feel. I'm also linking my card up with the team over at CASology, where the current theme is 'affection' - my teenage son is much more likely to make this sign with his hands than he is to kiss me these days, but he assures me it is a sign of affection so I'll take it! I'm also linking up for a second go with the lovely ladies over at Just Add Ink with another minimalist design.
Here is the visual summary of the key products used on today's project for you to pin for easy reference:
You can see all of my 'How To' summaries on my 'How To - Tips and Techniques' Pinterest board in case you've missed any.
Enjoy your day and I'll be back tomorrow with another project. Until then, happy stampin'!
Stampin' Up! Supplies Used:
by Joanne James1. February 2022 13:00
This is my second post of today - to read all about the pre-release of skin-tone Blends and the exclusive 'All Together' bundle, please see my earlier post here.
It's Tuesday and time for a new challenge over at CAS Colours & Sketches. YoonYoung is hosting this month and our first challenge is a colour challenge:
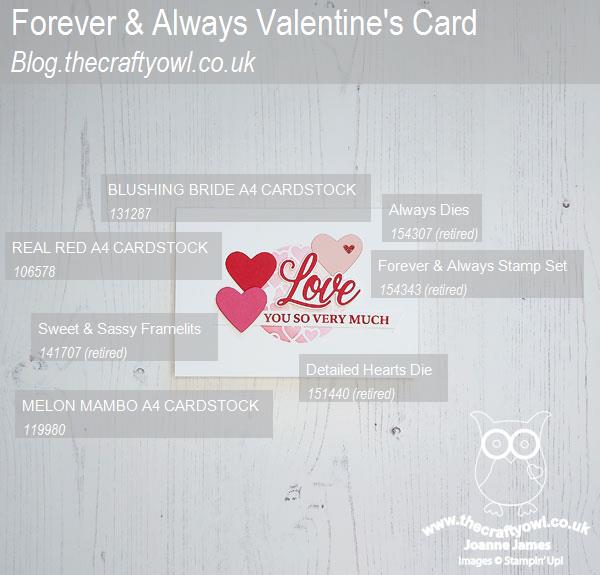
These colours are perfect for Valentine's so I dug out a bunch of my favourite retired Valentine's bits and pieces and along with the Try Stampin' on Tuesday sketch and some inspiration from my talented blog friend Kim Singdahlsen, I set to work! This is what I came up with:

Here's the low-down on today's card:
I absolutely loved this card that Kim made for last week's Freshly Made Sketches challenge - isn't that stencilled background amazing?! I didn't have anything similar in my stash, but decided that the TSOT sketch was perfect for a trio of (retired Sweet & Sassy Framelits) diecut hearts in this week's challenge colours, so I made my own stencil from a retired Detailed Hearts Die and blended all three colours into the central background circle to bring the diecuts together. I added a diecut and stamped sentiment from another retired stamp and die set, 'Forever & Always' and the Always Dies to complete my card:

These will always be some of my most favourite Valentine's items - so timeless and therefore super useful!
Here is the visual summary of the key products used on today's project for you to pin for easy reference:
You can see all of my 'How To' summaries on my 'How To - Tips and Techniques' Pinterest board in case you've missed any.
As a reminder, for our colour challenges, you must use all of the stated challenge colours. You may also use neutral colours; however, the challenge colours should be the most noticeable ones featured on your card. We use Stampin' Up! color names for reference, but you are welcome to use any other companies' products as long as you match the challenge colours as closely as possible.
Enjoy your day and I'll be back tomorrow with another project. Until then, happy stampin'!
Stampin' Up! Supplies Used:
669a7371-feb1-476d-a754-7fd6699b50ae|0|.0|96d5b379-7e1d-4dac-a6ba-1e50db561b04
Tags: Stampin' Up, Stampin' Up Card, Stampin' Up Card ideas, Stampin' Up Supplies, Shop online, Shop Stampin' Up online, Shop Stampin' Up! Online, CAS Colours and Sketches, Always Dies, Forever and Always, Detailed Hearts Dies, Sweet and Sassy Framelits, Valentines, Valentine's
Cards | Shop Online | Shop Stampin' Up! Online | Stamping
by Joanne James25. January 2022 13:00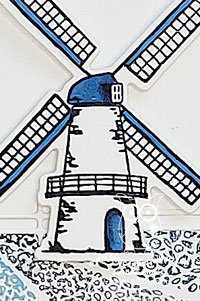
It's Tuesday and time for a new challenge over at CAS Colours & Sketches. Can you believe it's the last Tuesday of the month already and my hosting duties are nearly done? Where did that month go?! I am rounding out the month with a sketch challenge and this week I'd like to see a split panel with a sentiment and clear focal point that bridges the divide:
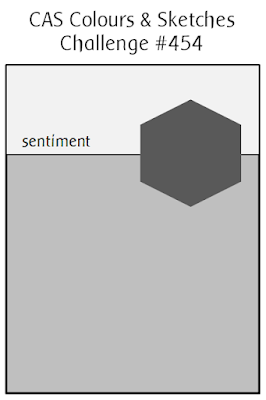

Feel free to flip or rotate the sketch when making your card.
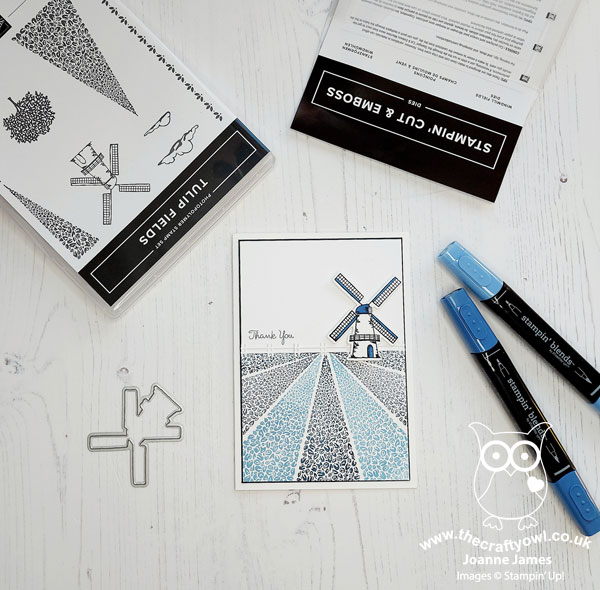
For my card today I decided to go Dutch, with a colour scheme inspired by the famous Delftware pottery and that lovely jug that is bottom left on the Double D Challenge board (no winter though!) - take a look:
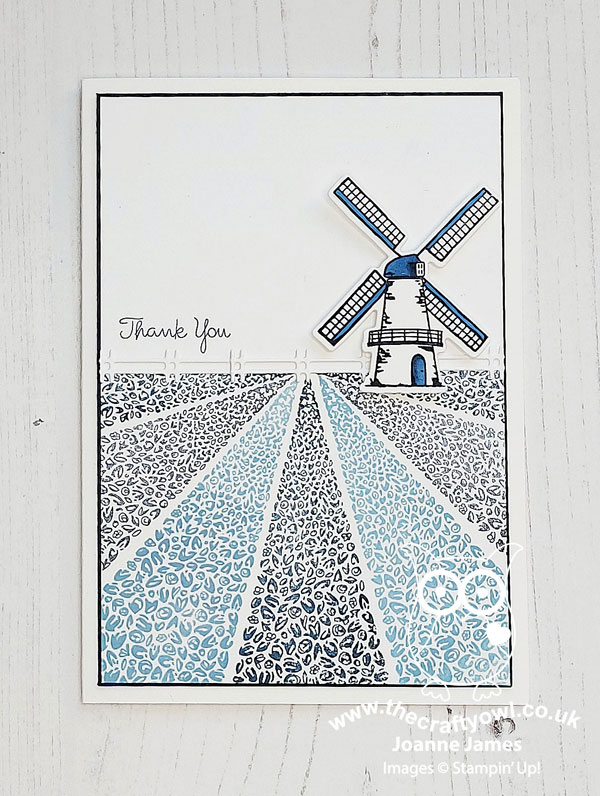
This card is not as tricky as it looks; the Stamparatus makes light work of stamping those rows of tulips (see today's 'Tuesday Tip' in my Crafty Owl Creatives Facebook Group for the best way to get a great result!). I left the sky portion blank to preserve my 'white space', added a simple white diecut fence and a small windmill as my focal point, stamped in Night of Navy and with some added colour using my Blends then cut out using the Windmill Fields Dies - I just love these!
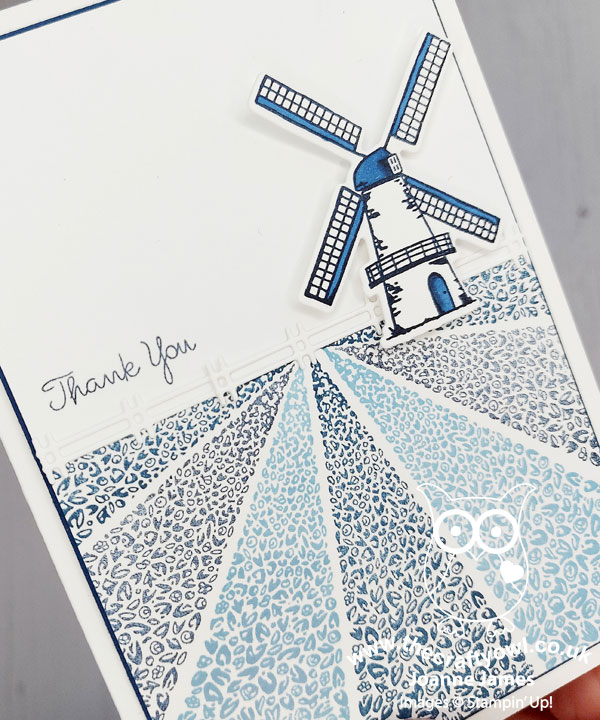
A simple thank you sentiment from the 'Pansy Patch' stamp set completes my card. A palette of blues may seem an unusual choice for the first outing with this stamp set, but I think the monochromatic palette contributes to the clean and simple feel of the card. What do you think? I'm also linking today's card up over at SUO Challenges for a second play, since they are challenging us to create 'Clean and Simple' cards this week too.
Here is the visual summary of the key products used on today's project for you to pin for easy reference:

You can see all of my 'How To' summaries on my 'How To - Tips and Techniques' Pinterest board in case you've missed any.
As a reminder, for our colour challenges, you must use all of the stated challenge colours. You may also use neutral colours; however, the challenge colours should be the most noticeable ones featured on your card. We use Stampin' Up! colour names for reference, but you are welcome to use any other companies' products as long as you match the challenge colours as closely as possible.
Enjoy your day and I'll be back soon with another project. Until then, happy stampin'!
Stampin' Up! Supplies Used:
784515d8-e9c7-4201-a2c1-4025384c4798|0|.0|96d5b379-7e1d-4dac-a6ba-1e50db561b04
Tags: Stampin' Up, Stampin' Up Card, Stampin' Up Card ideas, Stampin' Up Supplies, Shop online, Shop Stampin' Up online, Shop Stampin' Up! Online, CAS Colours and Sketches, Pansy Patch, Tulip Fields, Windmill Fields Dies
Cards | Shop Online | Shop Stampin' Up! Online | Stamping
by Joanne James18. January 2022 13:00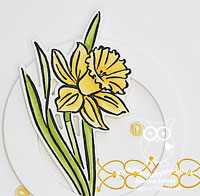
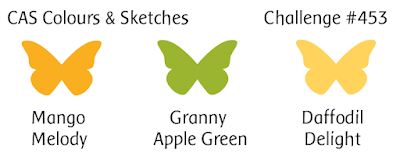
It's Tuesday and time for a new challenge over at CAS Colours & Sketches. I am hosting this month and this week it's my second colour challenge of the month and I chose some fresh, spring colours to create with:

For my card today I used the layout over at Paper Craft Crew and created a frame using two offset layering circle dies to highlight a single daffodil stem that I coloured with Blends in each of the three challenge colours:
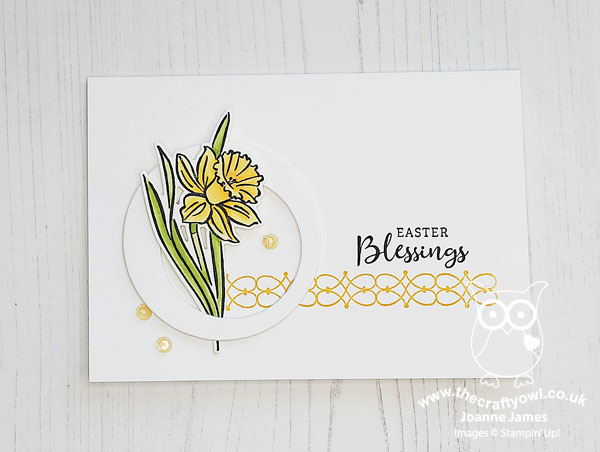
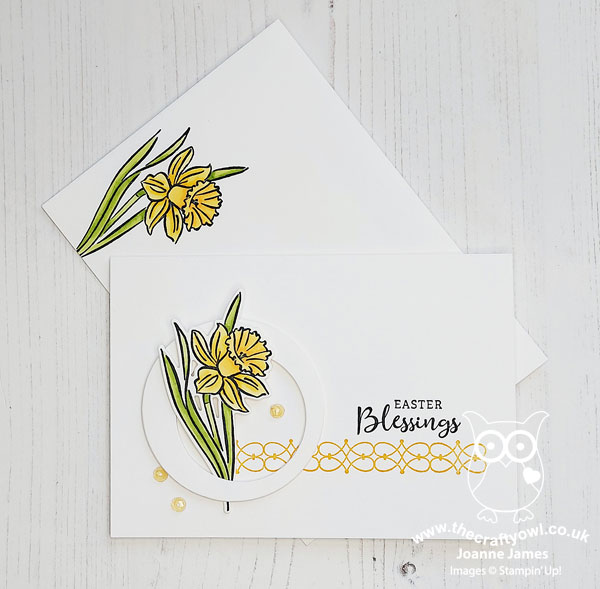
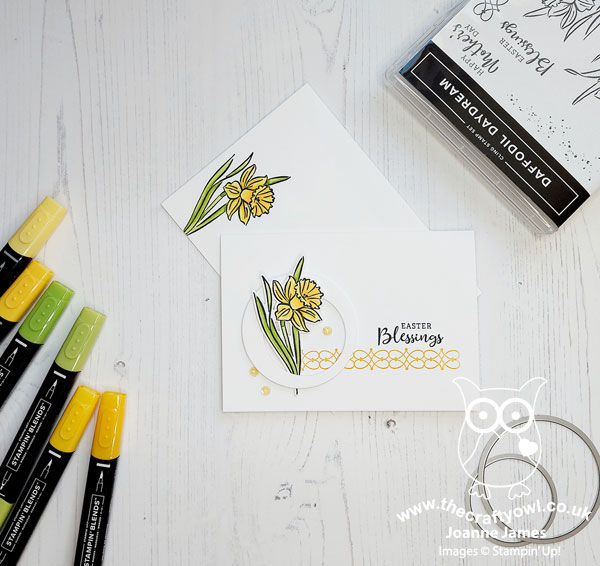
The daffodil is one of my favourite spring flowers (along with tulips!) and I couldn't resist the new 'Daffodil Daydream' stamp set and bundle as a result. I stamped the detailed border from the same set for my horizontal element and finished off with an Easter sentiment and a trio of Daffodil Delight sequins that I found in my embellishment stash. The flower is so easy to colour and the co-ordinating Daffodil Dies make it a cinch to cut out perfectly:
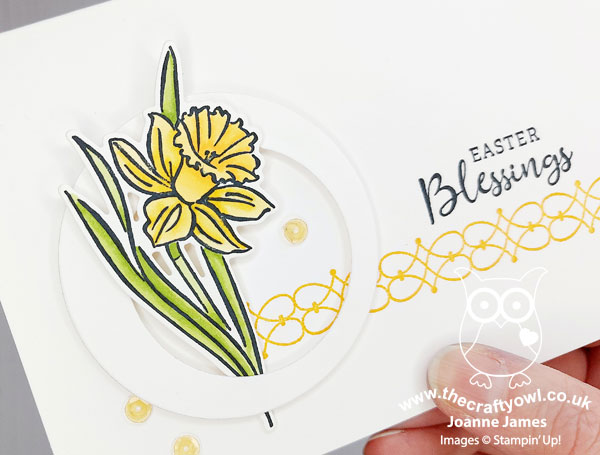
This is a great set if you are new to colouring and want to give it a try as you only need a couple of colours to start off with and the flowers themselves won't take too long to complete. I love to colour and having had so much fun colouring the stem for my cardfront, I decided to stamp another one on the front of my envelope too - no naked envelopes here today!
Whether you are new to colouring or it's your passion, I have another great tip that I'm sharing in my Crafty Owl Creatives customer Facebook group today that is all about using Blends markers - why not pop over and take a look? If you're not already a member, click here to find the group and request to join - everyone is welcome and it's the place to share projects, ask questions and where I share lots of tips and tricks.
Here is the visual summary of the key products used on today's project for you to pin for easy reference:

You can see all of my 'How To' summaries on my 'How To - Tips and Techniques' Pinterest board in case you've missed any.
As a reminder, for our colour challenges, you must use all of the stated challenge colours. You may also use neutral colours; however, the challenge colours should be the most noticeable ones featured on your card. We use Stampin' Up! colour names for reference, but you are welcome to use any other companies' products as long as you match the challenge colours as closely as possible.
Enjoy your day; it's super frosty here so no more excuse needed to run indoors on the treadmill and keep warm and craft until it's time for the school run! I'll be back soon with another project. Until then, happy stampin'!
Stampin' Up! Supplies Used:
by Joanne James11. January 2022 13:00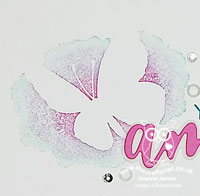
It's Tuesday and time for a new challenge over at CAS Colours & Sketches. This week's challenge is a sketch challenge and I want the sentiment to be the main feature of your card:


Feel free to flip or rotate the sketch when making your card.
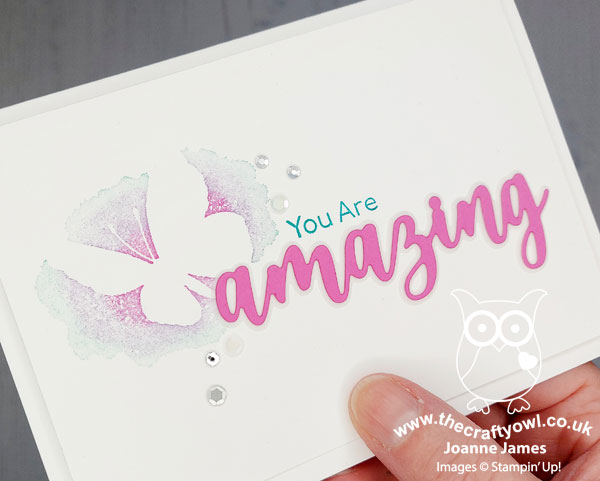
For my card today I was inspired by those fabulous bright colours on the peacock in the Color Dare challenge photo; with a nod to the colouring on the feathers I sponged a trio of Magenta Madness, Highland Heather and Coastal Cabana onto my butterfly 'Amazing Silhouettes' stamp and used it to accent a simple layered diecut of the word 'amazing' from the co-ordinating Amazing Thanks Dies set:
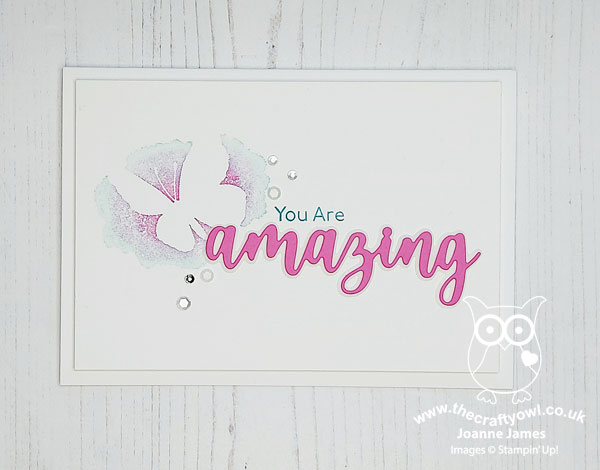
I couldn't wait to get my on these dies - I love a good sentiment die! - the stamp set was a free gift to all demonstrators who attended the recent Stampin' Up! Onstage event and I think they compliment each other beautifully. The butterfly is also the perfect image for CASology's challenge this month where the cue word is 'renew' - the transformation of the humble caterpillar into a beautiful butterfly is a great example of this.
Would you like to know how I created that blended colour on my butterfly? I have another great tip that I'm sharing in my Crafty Owl Creatives customer Facebook group today - why not pop over and take a look? If you're not already a member, click here to find the group and request to join - everyone is welcome and it's the place to share projects, ask questions and where I share lots of tips and tricks.
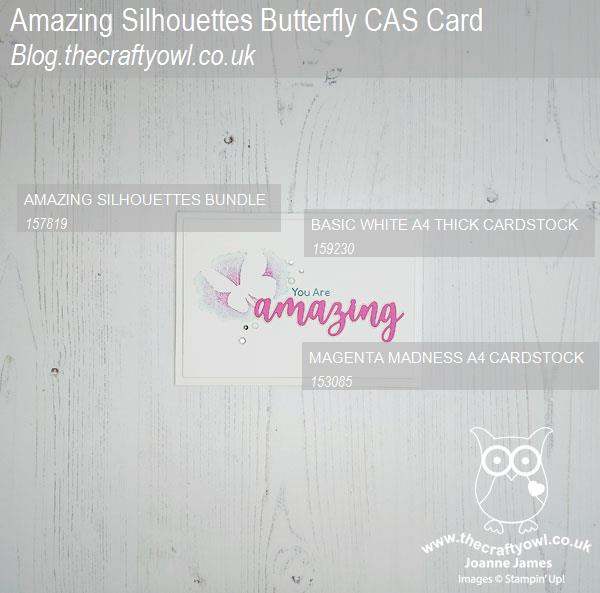
Here is the visual summary of the key products used on today's project for you to pin for easy reference:
You can see all of my 'How To' summaries on my 'How To - Tips and Techniques' Pinterest board in case you've missed any.
As a reminder, for our colour challenges, you must use all of the stated challenge colours. You may also use neutral colours; however, the challenge colours should be the most noticeable ones featured on your card. We use Stampin' Up! color names for reference, but you are welcome to use any other companies' products as long as you match the challenge colours as closely as possible.
Enjoy your day and I'll be back tomorrow with another project. Until then, happy stampin'!
Stampin' Up! Supplies Used: