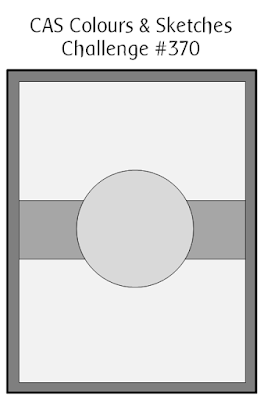
Today I'm sharing a card that I made using this week's CAS Colours and Sketches layout and the bright colour palette over at Just Us Girls this week:

Did you know that today marks the start of Mental Health Awareness Week and since I'm always partial to a bright colour (or 4!) this combination was perfect for a bright and cheery card to recognise this event - take a look:
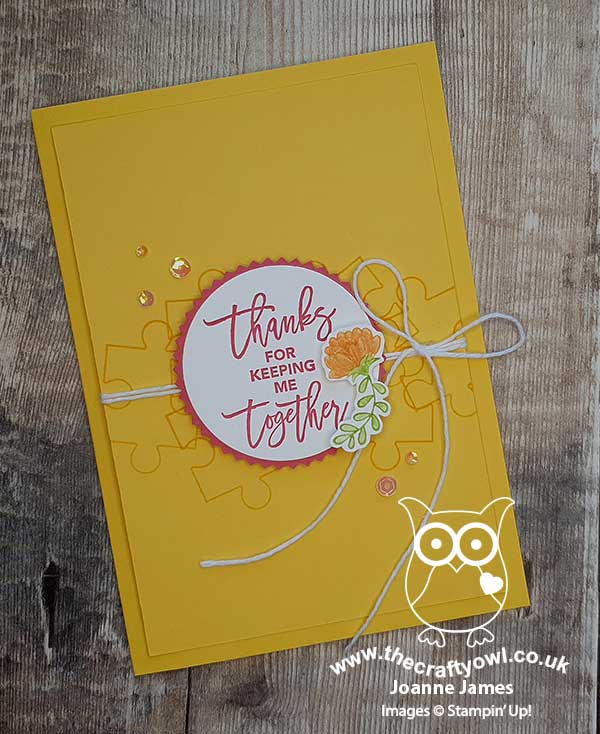
Here's the low-down on today's card:
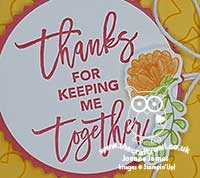
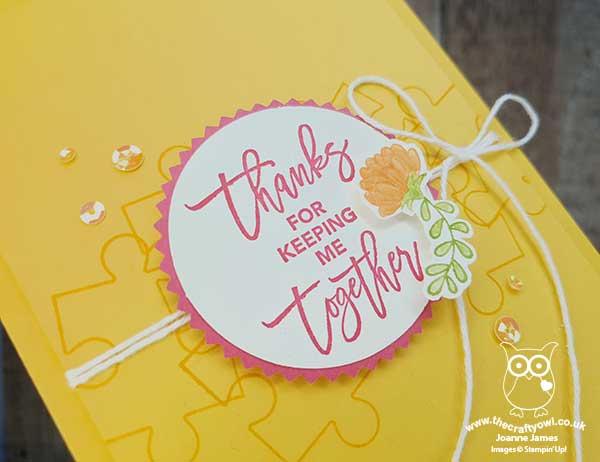
Love You To Pieces - The stamping on today's card comes from the retiring 'Love You To Pieces' stamp set. The idea of a jigsaw and puzzles seemed the perfect set and as the theme of this year's Mental Health Awareness Week is 'kindness' the sentiment is an ideal way to recognise someone who has been there to help and support through tough times. I love this set and the co-ordinating Puzzle Pieces Dies and for me they will be a 'keeper' as they really are so useful and versatile.
Spot The Starburst - I punched my sentiment with a 1 3/4" punch and layered it with a starburst for a pop of pink. The starburst punch is retiring at the end of the month, along with all but three of the standard circle punches (the 1 3/4" punch retired last year). The starburst punch is already out of stock but if you still have circle punches on your wishlist, be sure to pick them up now before it's too late.
So Long White Twine - Yes, you read it correctly - there is no Whisper White baker's twine in the new annual catalogue! I'm not sure how I am going to manage without this crafting storecupboard staple, so I have stocked up - take this as your call for last orders if you would like to do the same!
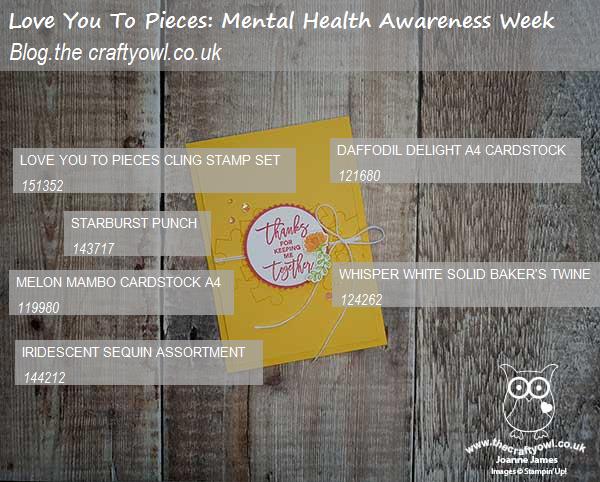
Here is the visual summary of the key products used on today's project for you to pin for easy reference:
You can see all of my 'How To' summaries on my 'How To - Tips and Techniques' Pinterest board in case you've missed any.
In the spirit of Mental Health Awareness week, please take a moment to think about someone who may be struggling, particularly in the current environment, and who perhaps hasn't overtly made a fuss or asked for help. Check in with them and make sure they know you are there and generally let's all try and show each other a little more kindness this week!
I hope this sunny Monday finds you well. This is going to be a busy week for me: I have a few online demonstrations planned, I have to get my class kits for next week's Birthday Jubilee class into the post and the end of the month sees a whole host of birthdays, so I need to lots of cards written and in the mail. I have also started the major craft room clear out of retiring stock to get ready for my catalogue launch 'By One, Get One Free' sale and make way for the new. We also start Common Entrance exams this week, with our first one, Geography, already completed this morning. I had to chuckle when I put on my stern invigilator voice to read young Master James the instructions and he said "Oo Mum, you make a mean invigilator; are you getting paid for this?" Such is the mind of an enterprising almost-teenager - I wish!
Enjoy your day and I'll be back tomorrow with another project. Until then, happy stampin'!
Stampin' Up! Supplies Used: